4
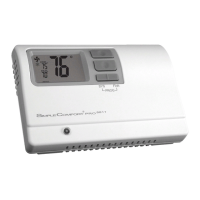
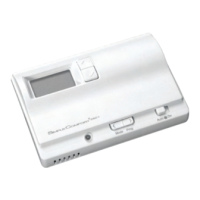
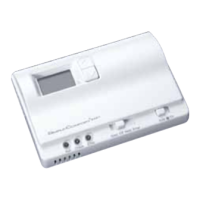
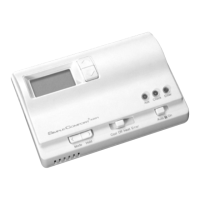
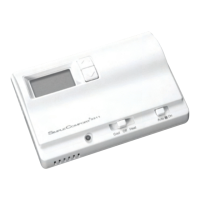
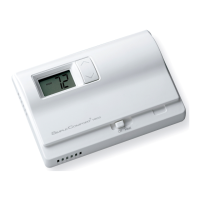
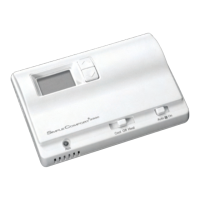
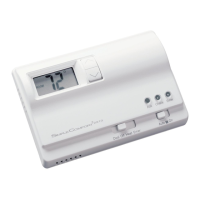
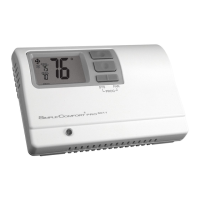
To Install Thermostat
ELECTRICAL SHOCK HAZARD
– Turn off power at the main service panel by removing the fuse
or switching the appropriate circuit breaker to the OFF position before removing the existing
thermostat.
IMPORTANT: Thermostat installation must conform to local and national building and electrical
codes and ordinances.
Note: Mount the thermostat about five feet above the floor. Do not mount the thermostat on an
outside wall, in direct sunlight, behind a door, or in an area affected by a vent or duct.
1. Turn off power to the heating and cooling system by removing the fuse or switching the
appropriate circuit breaker off.
2. To remove cover, pull gently at the seam at the top.
3. Put thermostat base against the wall where you plan to mount it (Be sure wires will feed through
the wire opening in the base of the thermostat).
4. Mark the placement of the mounting holes.
5. Set thermostat base and cover away from working area.
6. Using a 3/16” drill bit, drill holes in the places you have marked for mounting.
7. Use a hammer to tap supplied anchors in mounting holes.
8. Align thermostat base with mounting holes and feed the control wires through slit in thermal
intrusion barrier and into wire opening.
9. Use supplied screws to mount thermostat base to wall.
10. For 2 transformer systems, remove and discard RC/RH jumper.
11. Insert stripped, labeled wires in matching wire terminals.
CAUTION!: Be sure exposed portion of wires does not touch other wires.
12. Gently tug wire to be sure of proper connection. Double check that each wire is connected to the
proper terminal.
13. Turn on power to the system at the main service panel.
14. Configure thermostat (see Page 12) to match the type of system you have.
15. Replace cover on thermostat by snapping it in place.
16. Test thermostat operation as described in “Testing the Thermostat” (Page 19).
 Loading...