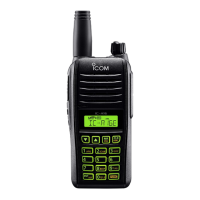
The Priority channel enables you to have quick access
to a specic channel. You can set one of the Memory
channels as the Priority channel.
D Setting the Priority channel
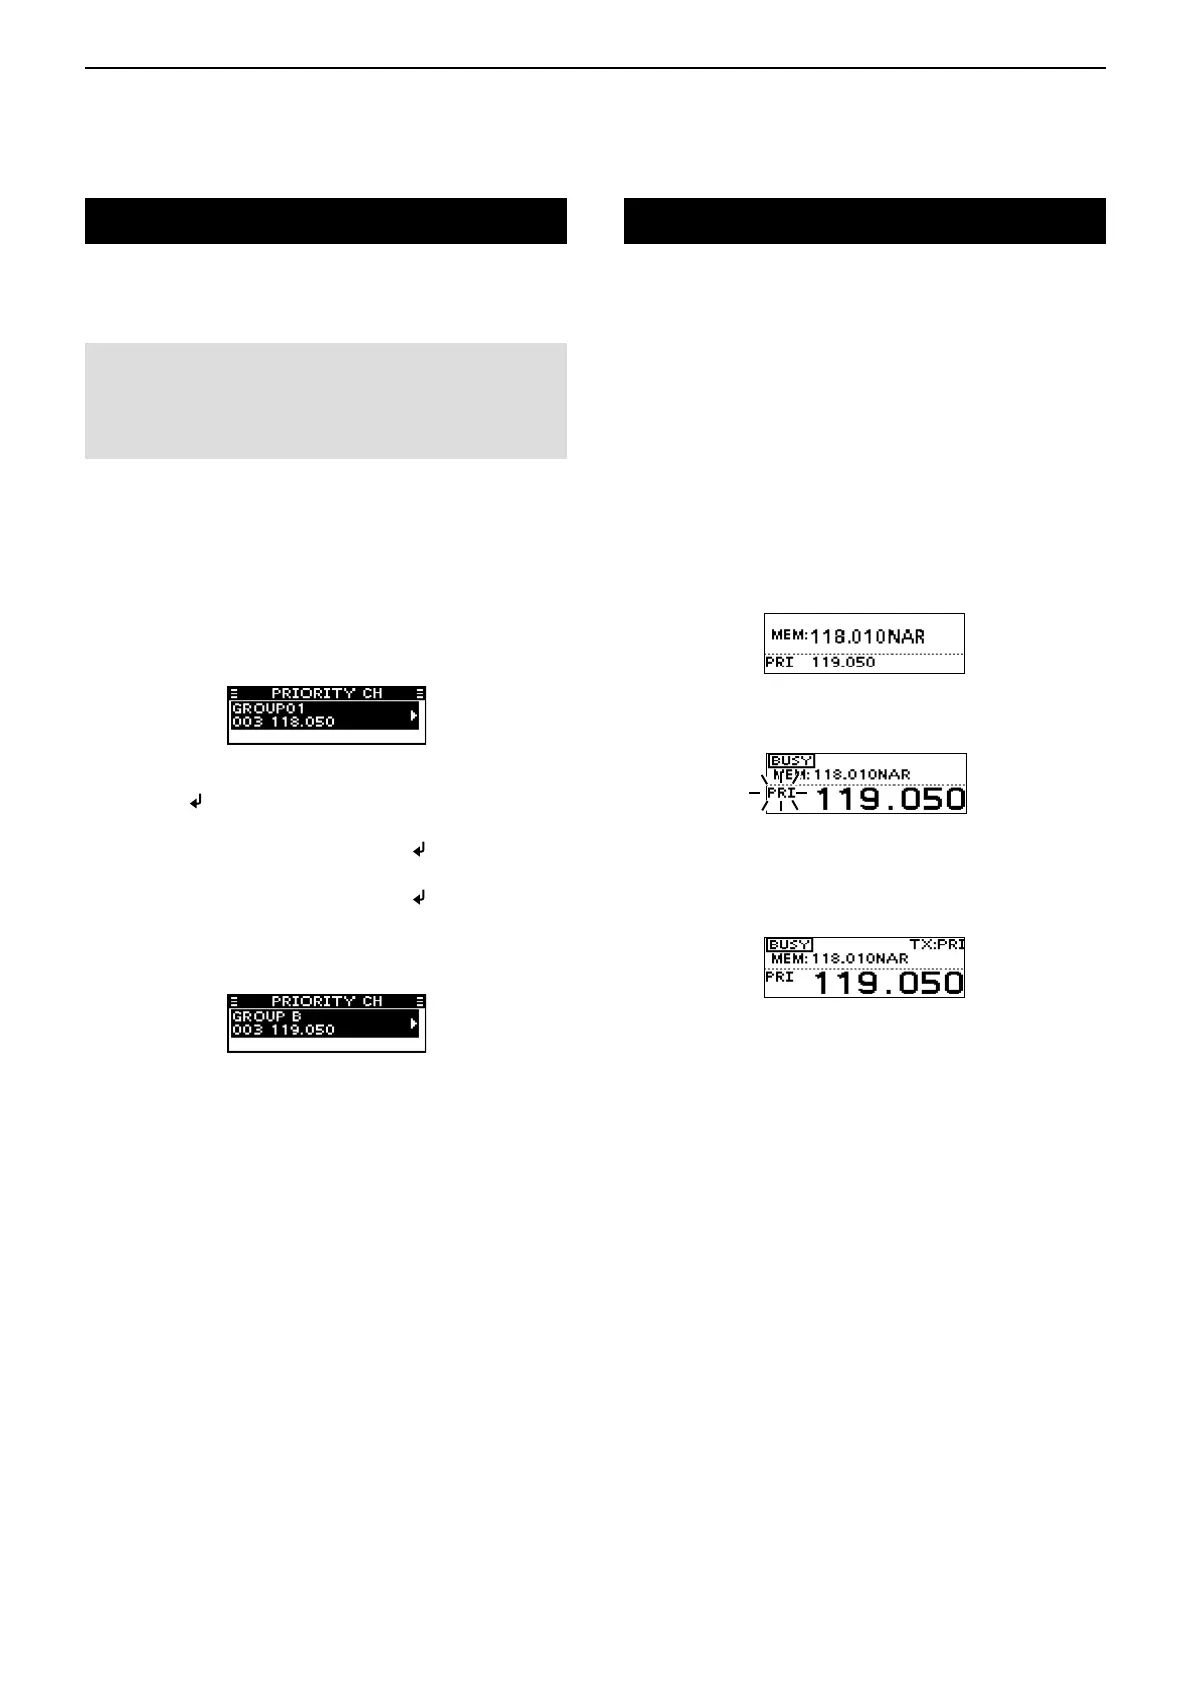
1) Open the “PRIORITY CH” menu.
MENU > SETTINGS > FUNCTIONS > PRIORITY
CH
•
The channel set as the Priority channel is displayed.
•
“OFF” is displayed if no channel is set as the Priority
channel.
2) Open the “GROUP” menu.
➥ Push [ /MHz/GRP].
3) Select the desired group.
➥ Push [∫] or [√] and then push [ /MHz/GRP].
4) Select the desired channel.
➥ Push [∫] or [√] and then push [ /MHz/GRP].
•
“Returns to the “PRIORITY CH” menu.
•
“The selected channel is displayed as the Priority
channel.
5
OTHER FUNCTIONS
5-2
Priority channel
NOTE: The Priority channel may be disabled,
depending on the transceiver’s setting. Ask your
authorized Icom dealer or transceiver administrator
for details.
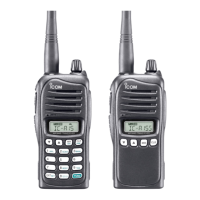
Dualwatch operation
Dualwatch monitors the Priority channel while a VFO*
or Memory channel is selected.
If a signal is received on the Priority channel,
Dualwatch changes to the Priority channel until the
Priority signal disappears. Dualwatch then returns to
the selected other channel.
*For only EXP, USA, and EUR versions.
Hold down [PRI/DUAL] for 1 second to turn ON the
Dualwatch function.
•
The Priority channel is displayed under the selected
channel.
•
The Priority channel’s name may be displayed, depending
on the Indication Type setting. See page 7-7 for details.
•
When a signal is received on the Priority channel, “PRI”
blinks and the Priority channel is displayed larger than the
selected channel.
• If the
“
STOP/TX CH
” item’s setting in the menu mode
(p. 7-6)
is set to
“
PRIORITY CH,
” “TX:PRI” is displayed as
shown below.