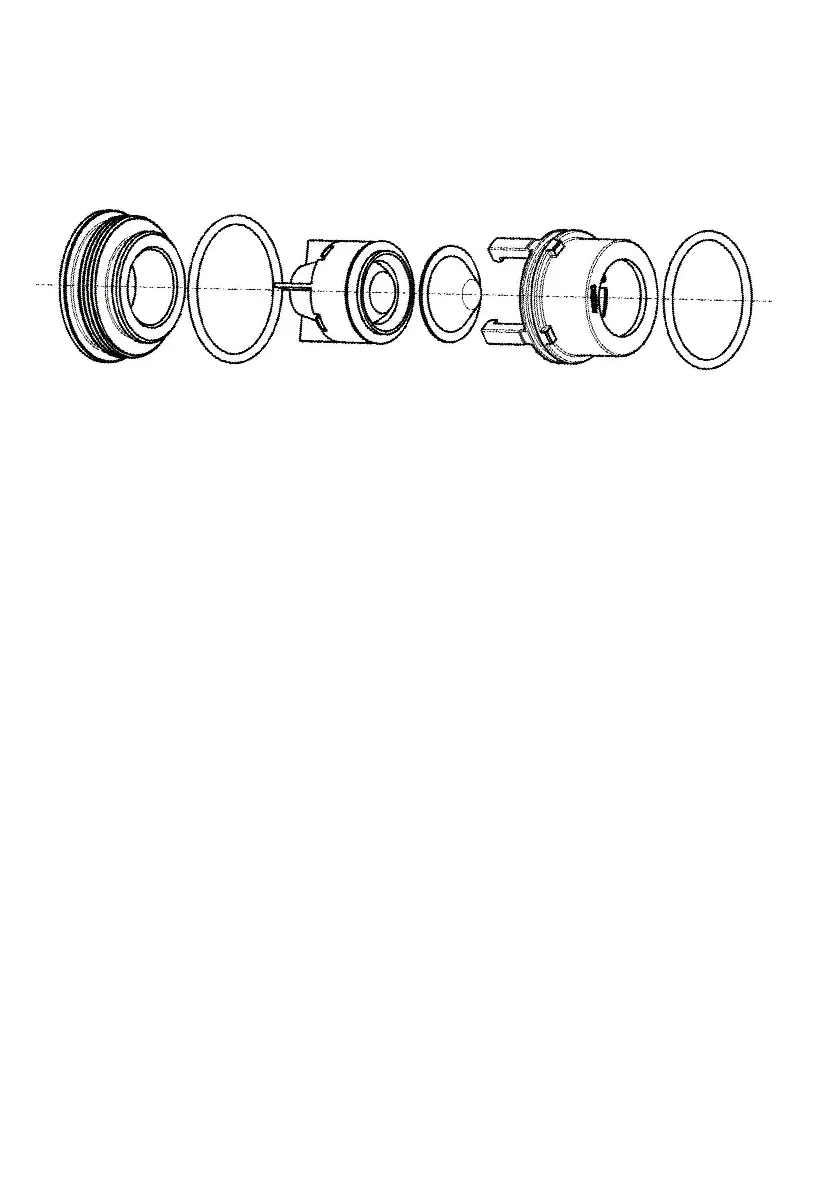
14 Check-valve cartridge replacement
To replace the check valve cartridges: (ISOLATE WATER SUPPLIES FIRST)
1. Remove all the chromed trim kit parts, see 6.1 & 6.2.
2. This should expose the check-valve housings, see 5.8.
3. Using a 15mm A/F socket undo the check-valve housings (x2), expect some
trapped water to escape.
4. Unclip the moulding from the brass housing to release the check-valve & lter mesh.
5. Clean or replace the parts & reassemble.
6. Reverse the sequence & re-t the check-valve housings back into the valve-box.
ENSURE PARTS ARE REASSEMBLED IN THE CORRECT SEQUENCE.
15 Cleaning chrome trim
When cleaning the shower valve always use soap based cleaners. Never use abrasive or scouring
powders and never use cleaners containing alcohol, ammonia, nitric acid, phosphoric acid, organic
solvents or disinfectants.
40
 Loading...