TRADUCTION OF THE ORIGINAL INSTRUCTIONS FOR USE
BS 400/60 AFI-Eing ED.2011 rev.00 18/60
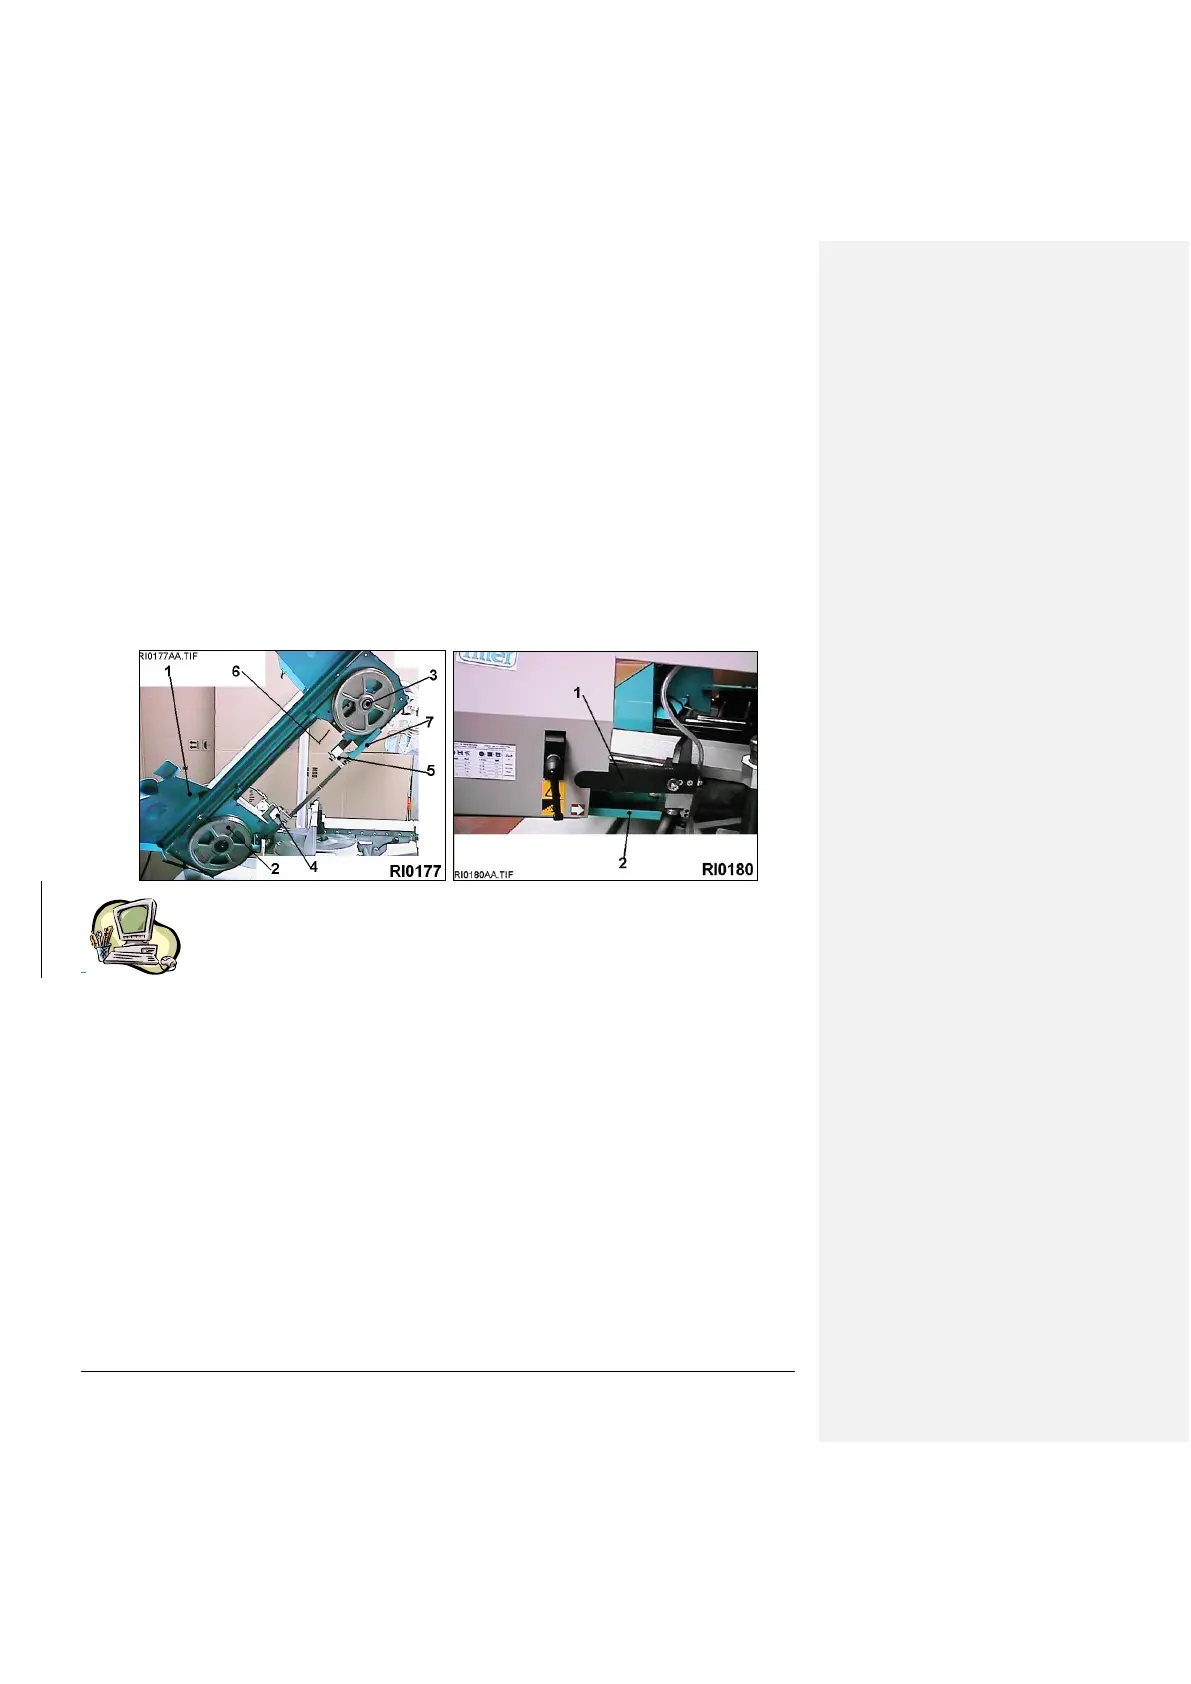
In position of cutting at 0 deg., with the saw frame completely up, open the hooks of the coverband carter - pos. 1 /
dr. RI0177 - and rotate it upwards till it stops. Be sure that the band is against the pulley and it is correctly put in the
band guides head -pos.3/dr.RI0177-.
If necessary loosen a little the screw of the front band stretcher, to place again the band , then assemble again the
protection guard by being sure that the safety stroke end .- is rightly pressed.
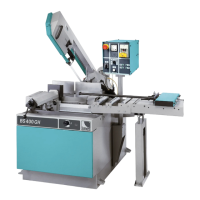
Press the main switch-, wait for some seconds that the panel stabilizes its workings, then press many times the
pushbutton MODE -pos.10/dr.RI0055- until the LED light marked with the "band" symbol -pos.6/dr.RI0055- is on.
If the LED flashes , it means that the band is not tensioned : screw the frontal screw -- by using the proper
spanner-until the LED will be continuinghly flashing.
The procedure to change the blade after a change of pitch, wear and tear and break is the same one of the above
described procedure .In this case it will be necessary a careful cleaning of all points of connection with the band.
In the following paragraph you will find the full controls list .
-
15 - WORKING
By turning on the system, the display shows the release software code (example 4,1 tron) during the loading of the
set up data from the permanent memory "Eeprom". Then, for a time of about 2 seconds, it shows the identification
code of the machine (for example t1 , SIL, 3AI or something else).
For going on it is necessary to push the button - pos. 19 / dr. RIOO55 - (=CLOSE THE VICE) that activates
the oil pump - in the hydraulic models If you push other buttons the display shows the error message:
ER0034.
If you do not push any other button within 10 minutes, the electronic control deactivates the oil pump - in hydralic
models -, or it stops the compressed air - in the hydropneumatic models-. For starting up the system push again the
button -pos..19/dr.RI0055- (=Close the vice) the display shows for an instant a series of led lights-.
After this operation the system is ready to work.
The led lights appearing on the keyboard show the operative functions of the machine.
Sometimes, after starting the machine or following to some “caused anomalies” (for ex. the blade is not tensioned
during the moving), the keyboard shows diagnostic error codes. In that case, please, refer to the enclosed errors
table (paragraph 9.3.2) for the identfication of the kind of error.
Push any button to cancel such errors, after removing the anomaly.
15.1 - KEYBOARD / Description and use of the buttons - See drawing RI0055
Pushing the FEED-BACK buttons made with polyester support and IP65 protection, you can program all machine
operations, including the positioning of the cutting unit :
BACKWARD (16): to remove the cutting unit from the workpiece up to the maximum programmed point. The led
light shows that the tool is moving. By pushing TEST + 16 you can get the barfeed forward.
For automatic machine only, if you press it within the TEST button -pos.4/dr.RI0055- it move the feeder backward.