NanoPhotometer
®
P-Class User Manual
Version 2.1 Page 54 / 70
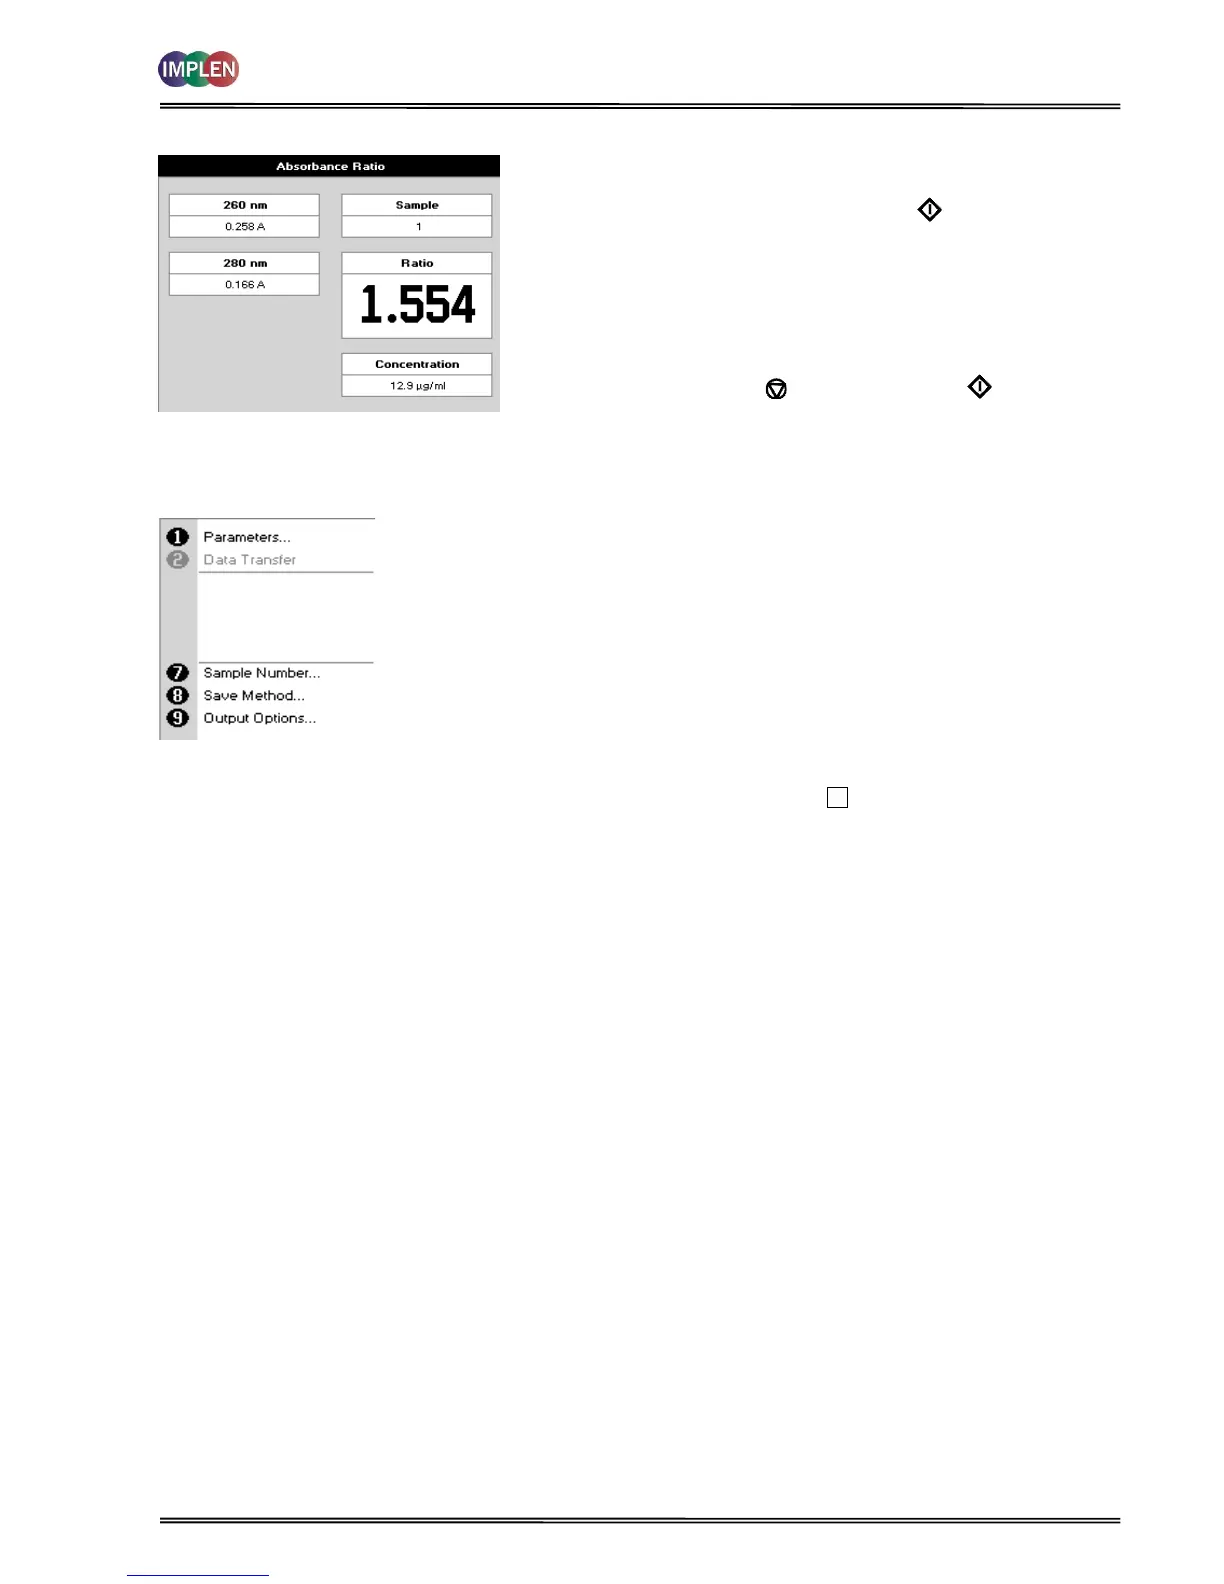
Results Screen
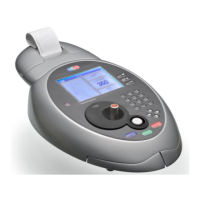
Menu (select using key pad numbers)
Results Screen
Step 14 Insert the reference sample. Press Blank key. This will be
used for all subsequent samples until changed.
Step 15 Insert sample and press Sample .
Step 16 Repeat for all samples. The absorbance at the selected
wavelengths is measured and the ratio between
wavelengths 1 and 2 is calculated (both corrected by the
background wavelength value if this was selected).
Step 17 Press Menu/Options to display available options which
are described below
Step 18 Press Escape and confirm with Yes to return to the
Functions folder. Query needs confirmation to avoid
unintended escaping the application.
Menu (select using key pad numbers)
1) Return to parameters screen.
2) Transfer the results via selected Output Options/Printer
settings.
7) Sample number – add a prefix to the sample number and
reset the incrementing number to the desired value.
8) Save method – use the left and right arrows to select a folder
to store in (User Methods 1-9), press the down arrow and enter
name.
9) Open Output Options / Printer settings, possibility to change
the Output Options / Printer settings within the method as
described in 7.3 Output Options / Printer
Exit Menu by pressing Escape , or wait.