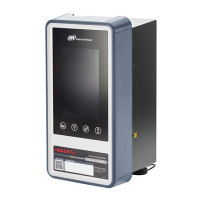
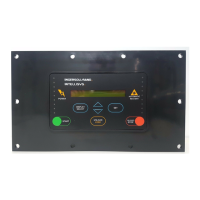
3.3 PRESSURE TRANSDUCER WIRING
Before beginning any work on the ISC, open, lock
and tag the electrical disconnect for the ISC.
1. The transducer cable assembly included in the ISC kit
comes with a preattached transducer connector. Route
the free end of the cable from the transducer to the ISC,
preferably in its own grounded conduit.
2. Connect the cable to the terminal strip inside the ISC
using the electrical schematic in Figure 6.9 as a refer-
ence. Be careful to match color codes and terminal
numbers.
3.4 ISC POWER WIRING
Before beginning any work on the ISC, open, lock
and tag the electrical disconnect for the ISC.
1. The ISC will operate on either a 115 or 230 volts AC,
single phase, 50 or 60 Hz power source. Position the
voltage selection slide on switch SW1, located inside the
ISC at the top left surface of the controller when viewed
from the back, so the number showing on the switch
matches the chosen power source voltage level.
2. Attach the ISC to the power source through an isola-
tion circuit breaker, and protect all wires in conduit. The
ISC draws less than 2 amps. Refer to the electrical
schematic in Figure 6.9.
3. Confirm that all electrical connections are made prop-
erly and tightened.
severe injury or death.

 Loading...