www.insigniaproducts.com
17
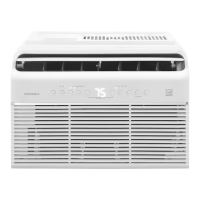
8,000 BTU Window Air Conditioner
Dealing with storm windows
If a storm window blocks your air conditioner, remove it before installing your air conditioner. If the storm window cannot
be removed:
• Make sure that the storm window’s drain holes or slots are not caulked or painted shut. Accumulated rain water or
condensation must be able to drain out.
• Attach a piece of wood across the entire window sill with nails or screws to correctly angle your air conditioner. Your
air conditioner should be tilted back about 3-4° downward toward the outside. After proper installation, condensate
should not drain from the overflow drain hole during normal use. If it does, adjust the angle of your air conditioner.
• You must secure the support bracket to the added wood piece using the provided 1” type A screws. Refer to Step 2:
Installing the support bracket on page 18.
Installing your air conditioner
Step 1: Preparing the support bracket
1 Remove your air conditioner, support bracket, and hardware from the box and place on a flat surface.
2 Remove the packing material.
3 Find the center of your window and lightly mark it with a pencil.
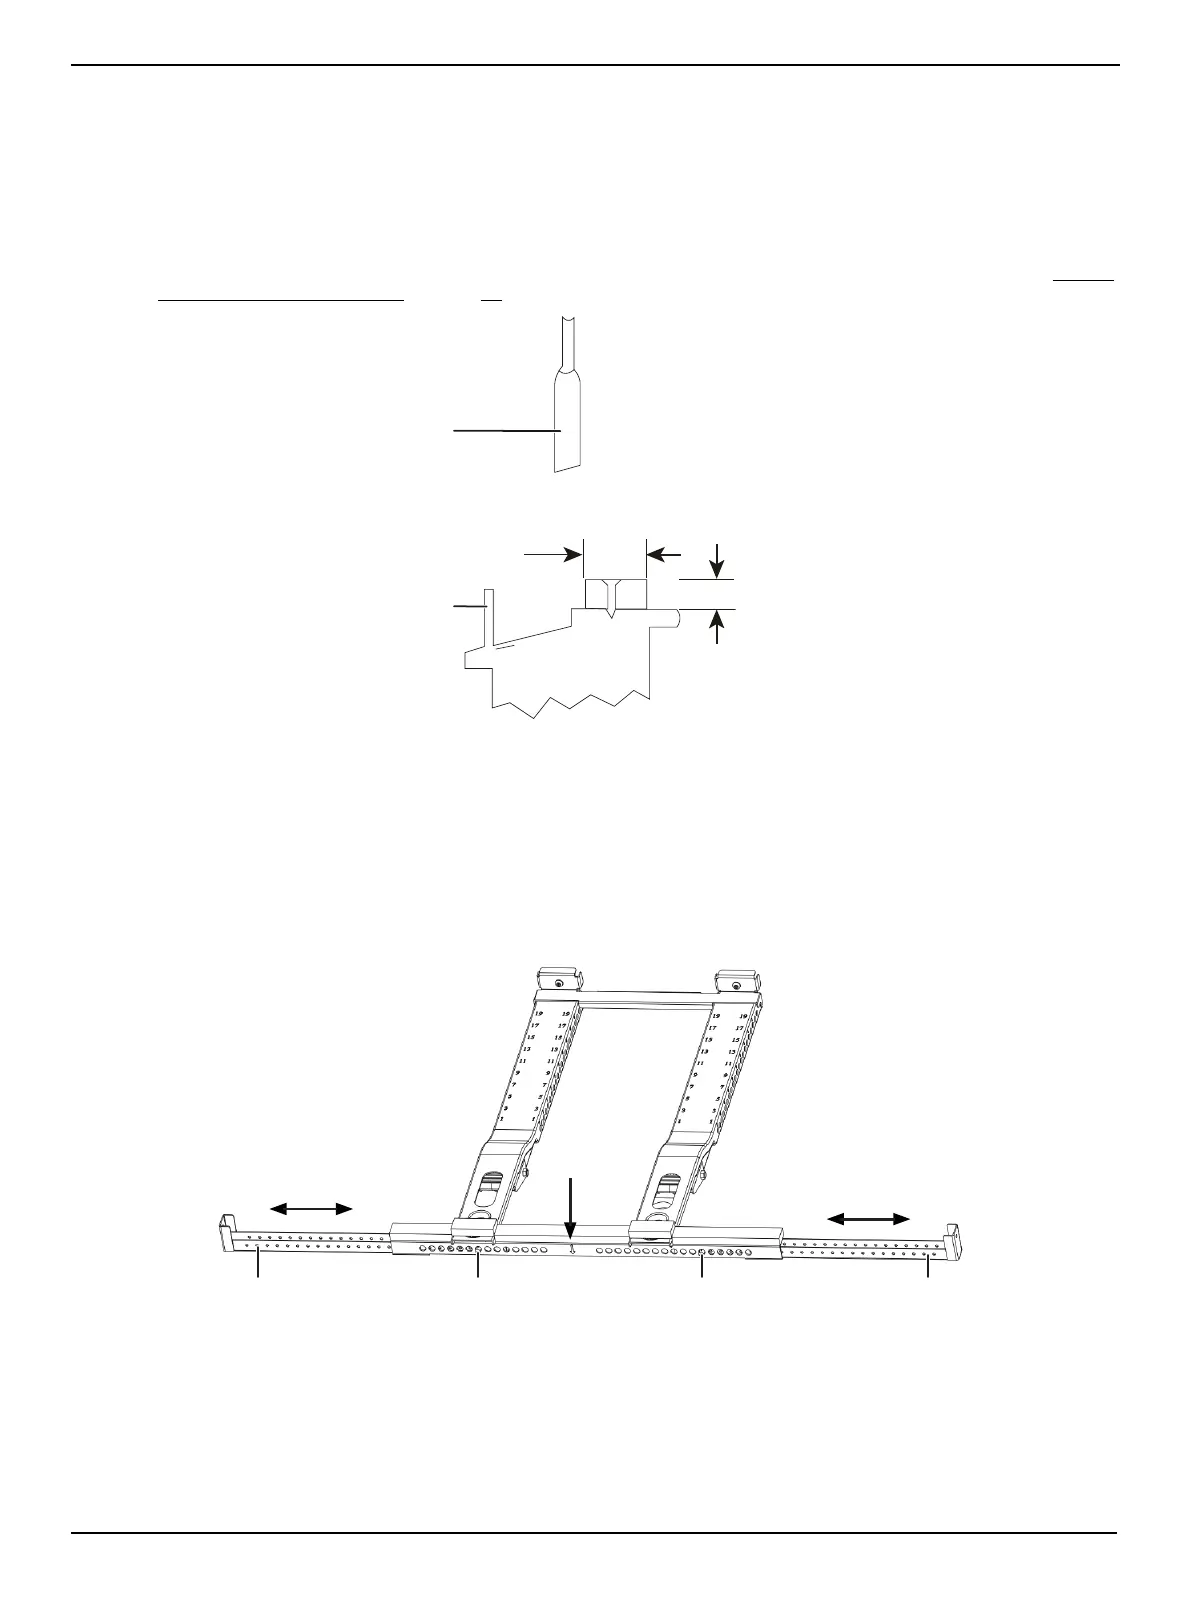
4 Press the left spring push pin and adjust the left extension arm out, then do the same for the right extension arm.
5 Measure the width of the inner windowsill. Making sure that the center of the support bracket lines up with the center
of the window, then adjust the extension arms to the width you just measured. The support bracket will be offset to
the left when centered.
Window sash
Storm window frame or other
obstruction
1.5 in. (3.8 cm)
Minimum
Make sure that the board thickness
will angle your air conditioner 3–4°
downward toward the outside.
Outside
Inside
Center
Adjust
Adjust
Left extension arm Spring push pin Spring push pin Right extension arm
 Loading...