7
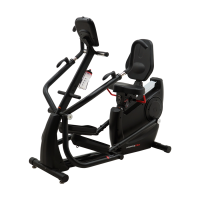
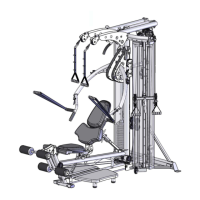
STEP 1: FRAME STABILIZER ASSEMBLY (See Step 1 Figure)
Required Hardware: STEP 1
4x (#27) M8x 70 Carriage Bolts 4x (#29) Curved Washer
3x (#30) Cap Screw 1x (#7) Child Safety Lock
Required Parts:
(#28) Rear Stabilizer (#62) Front Stabilizer
(#80) Seat Adjustment Handle L (#70) Seat Adjustment Handle R
Installing Stabilizers
A.) Carefully unpack contents of box leaving the 3 large styrofoam frame support blocks in place.
Locate the Styrofoam block with a red sticker packed near the Console Assembly.
Place aside for use in STEP 2.
B.) Remove large styrofoam support from REAR portion of frame.
The Rear Stabilizer mounting bracket should now be exposed.
C.) Place (#28) Rear Stabilizer underneath the Rear Mounting Bracket.
Ensure that the transport wheels are facing away from the unit.
D.) Attach the #28 Rear Stabilizer to the frame as shown in STEP 1 FIGURE with Step 1
Hardware.
E.) Remove large styrofoam support from FRONT portion of frame.
The Front Stabilizer mounting bracket should now be exposed.
F.) Place (#62) Front Stabilizer underneath the Front Mounting Bracket.
G.) Attach (#62) Front Stabilizer to the frame as shown in STEP 1 FIGURE with Step 1
Hardware.
NOTE:
(#7) Child Safety Lock is used instead of a
cap screw on USER left side of the Front Stabilizer.
Installing Seat Adjustment Handles
H.) Attach (#70) Seat Adjustment Handle R by loosening screws “a” in STEP 1.
NOTE: Ensure that the Right Cam Lock Handle has an “R” sticker on it.
I.) Attach (#80) Seat Adjustment Handle L by loosening screws “a” in STEP 1.
NOTE: Ensure that the Left Cam Lock Handle has an “L” sticker on it.