1. Click Profiles on the WiFi connection utility main window. Or if you are acting as the administrator, open
the Administrator Tool
.
2. On the Profiles list, click Add. The Create WiFi Profile General Settings opens.
3. Profile Name: Enter a descriptive profile name.
4. WiFi Network Name (SSID): Enter the network identifier.
5. Operating Mode: Click Network (Infrastructure). (This parameter is set to Infrastructure if you are using
the Administrator Tool.)
6. Administrator Profile Type: Select Persistent
or Pre-logon/Common. (This step applies only if you are
using the Administrator Tool.
7. Click Next to open the Security Settings.
8. Click Enterprise Security.
9. Network Authentication: Select WPA-Enterprise or WPA2-Enterprise (Recommended).
10. Data Encryption: AES-CCMP
is recommended.
11. Enable 802.1X: Selected by default.
12. Authentication Type: Select LEAP to be used with this connection.
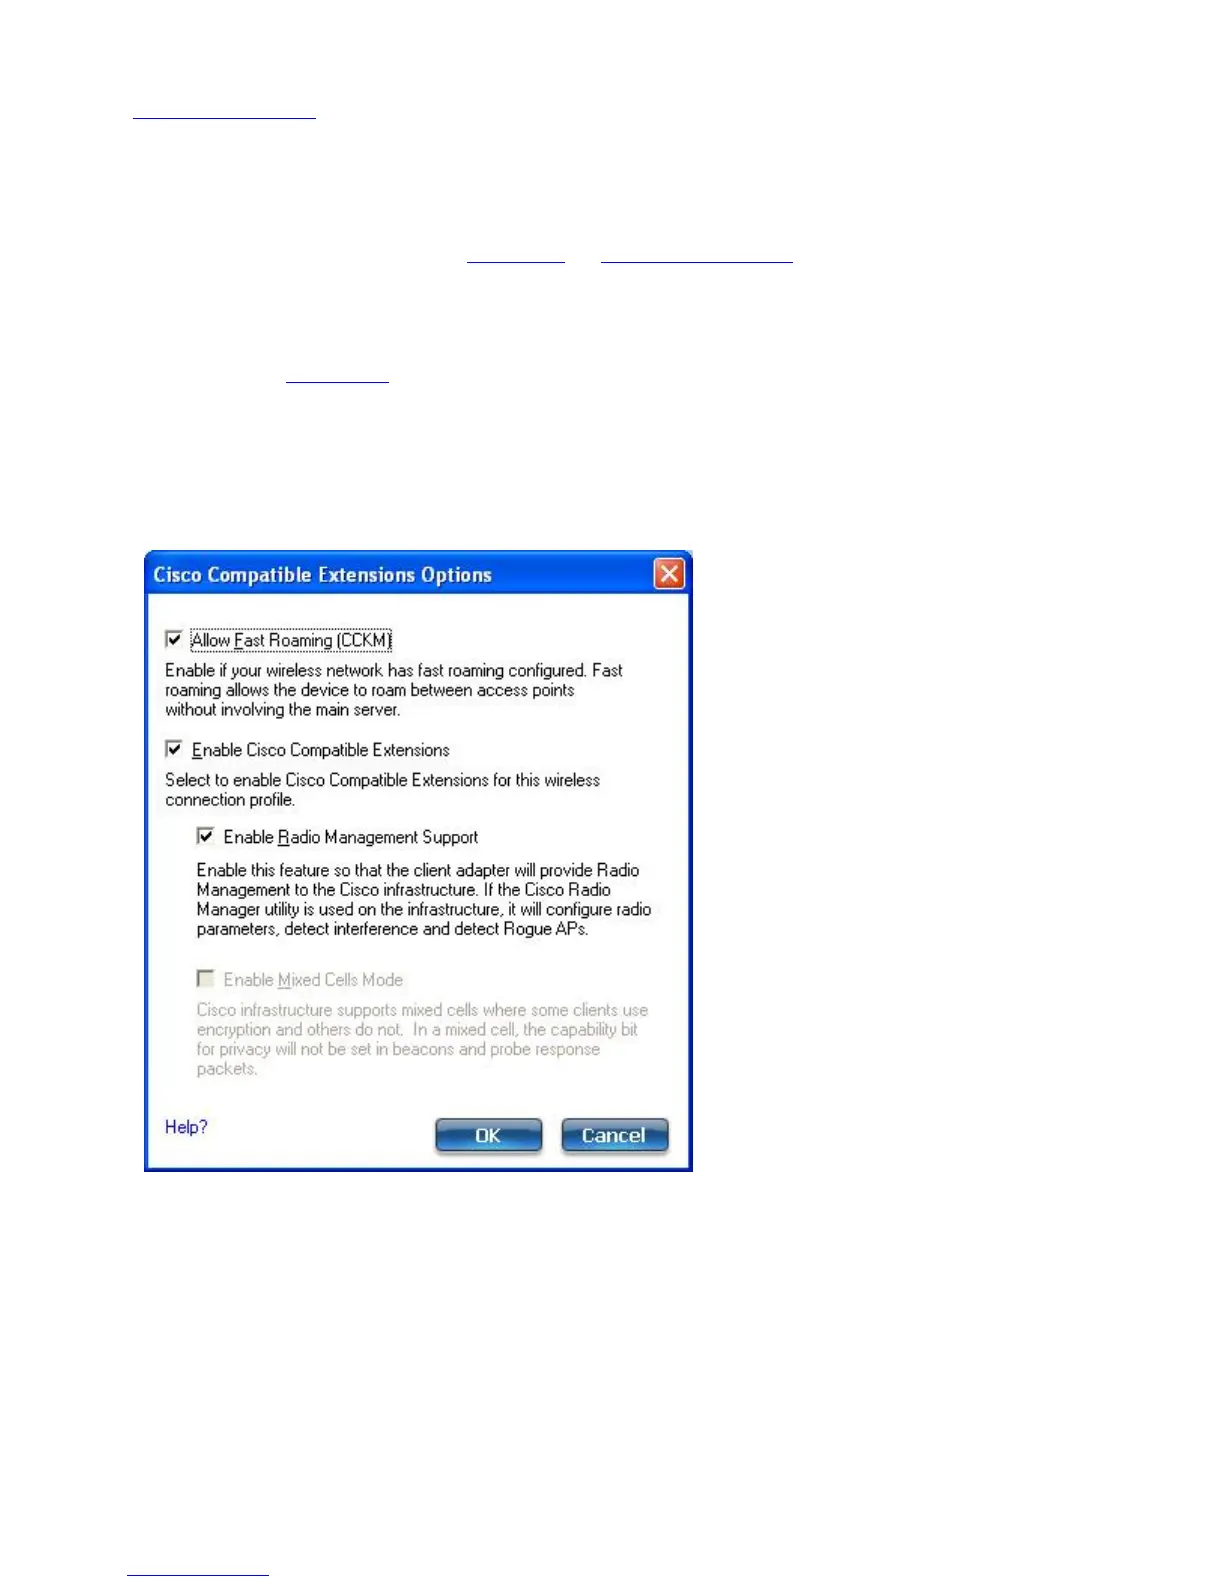
13. Click Cisco Options.
14. Click Enable Cisco Compatible Extensions to enable Cisco Compatible Extensions (CCX) security (Allow Fast
Roaming (CCKM), Enable Radio Management Support, and Enable Mixed Cells Mode).
15. Click Enable Radio Management Support to detect rogue access points.
16. Click OK to return to the Security Settings.
LEAP User:
Intel® PROSet/Wireless WiFi Connection Utility User's Guide
 Loading...