Back to Contents
Get Connected
Connect to a WiFi Network
First Time Connection
Using Wi-Fi Protected Setup*
Configure an Access Point and set up a WiFi Network
Connect an Enrollee to a WiFi Network or Access Point
Add an Enrollee to a WiFi Network at the Registrar
Other Wireless Managers
Connect to a WiFi Network
You can connect to a WiFi network with one of the following methods.
Automatic connection: If an existing profile matches an available network, you are automatically
connected to that wireless network.
Configure a new profile: Select a wireless network from the list of WiFi networks in the Intel®
PROSet/Wireless WiFi Connection Utility main window. Click Connect. If you successfully connect, a profile is
created in the Profiles list for future use.
Connect to a profile in the Profiles list: You can select a profile from the Profiles list. To activate it, click
Connect. This lets you connect to a network that is lower in the list (if it is available).
Right-click the Taskbar icon located in the lower right corner of your Windows desktop. Click Connect to
Profile. A list of previously configured profiles is listed. Select a profile.
First Time Connection
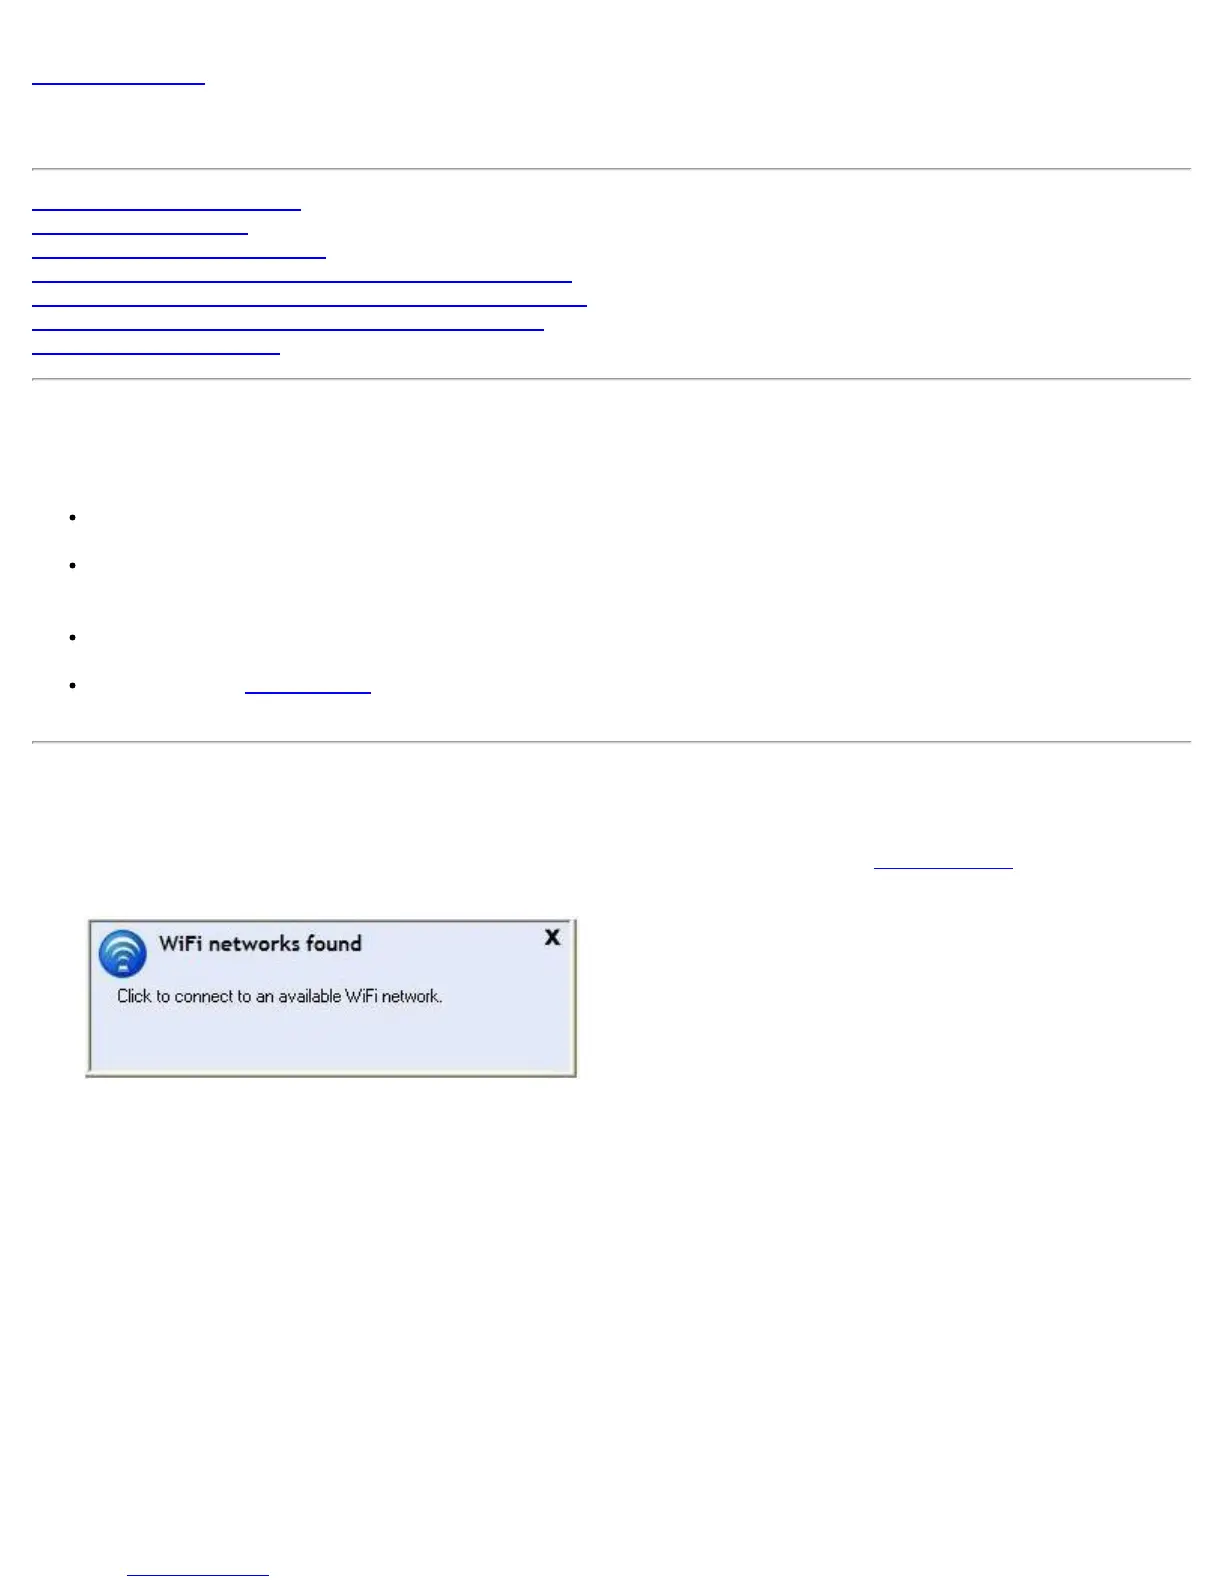
The WiFi connection utility automatically detects WiFi networks that are within range of your WiFi adapter. When a
network is found, a desktop alert notification displays: WiFi networks found. See
Taskbar Icons for more
information.
1. Double-click the desktop alert to open the WiFi connection utility main window.
2. Select a network from the WiFi Networks list.
Intel® PROSet/Wireless WiFi Connection Utility User's Guide