1. Click Profiles on the WiFi connection utility main window. Or if you are acting as the administrator, open
the Administrator Tool
.
2. On the Profiles list, click Add to open the Create WiFi Profile General Settings.
3. WiFi Network Name (SSID): Enter the network identifier.
4. Profile Name: Enter a descriptive profile name.
5. Operating Mode: Click Network (Infrastructure). (This parameter is set to Infrastructure if you are using
the Administrator Tool.)
6. Administrator Profile Type: Select Persistent
or Pre-logon/Common. (This step applies only if you are
using the Administrator Tool.
7. Click Next to open the Security Settings.
8. Click Enterprise Security.
9. Network Authentication: Select WPA-Enterprise or WPA2-Enterprise (Recommended).
10. Data Encryption: AES-CCMP
is recommended.
11. Enable 802.1X: Selected by default.
12. Authentication Type: Select EAP-FAST to be used with this connection.
NOTE: If CCXv4 Application Setting was not installed through an Administrator Package
, only EAP-
FAST User Settings are available for configuration. See EAP-FAST User Settings
.
Step 1 of 2: EAP-FAST Provisioning
1. Click Disable EAP-FAST Enhancements (CCXv4) to allow provisioning inside a server-unauthenticated TLS
tunnel (Unauthenticated-TLS-Server Provisioning Mode).
2. Click Select server to view any unauthenticated PACs that have already been provisioned and reside on this
computer. (This option is not available for Administrator profiles. It is only available for user profiles on
machines running Windows* XP.)
NOTE: If the provisioned PAC is valid, the WiFi connection utility does not prompt the user for
acceptance of the PAC. If the PAC is invalid, WiFi connection utility fails the provisioning automatically.
A status message is displayed in the Wireless Event Viewer
that an administrator can review on the
user's computer.
3. To import a PAC: (This option is not available for Administrator profiles. It is only available for user profiles
on machines running Windows* XP.)
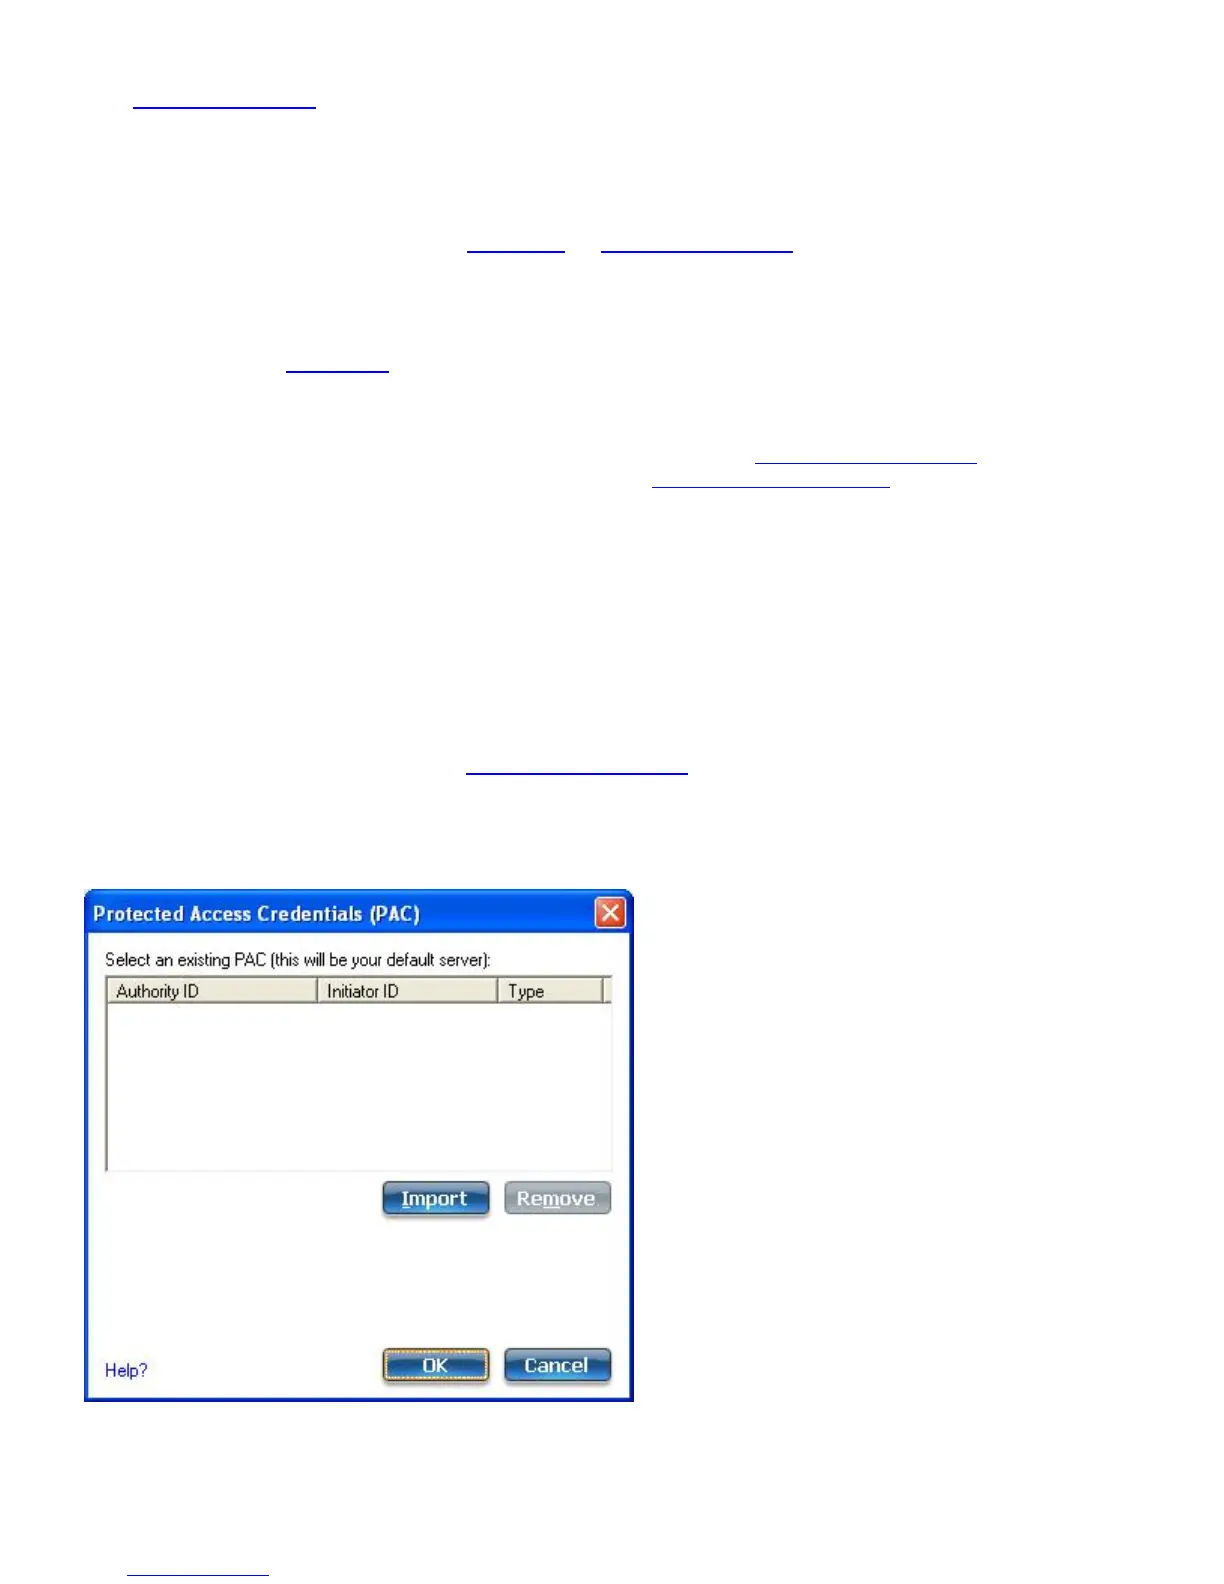
1. Click Select server to open the Protected Access Credentials (PAC) list.
2. Click Import to import a PAC that resides on this computer or a server.
3. Select the PAC and click Open.
Intel® PROSet/Wireless WiFi Connection Utility User's Guide
 Loading...