Disassembly
Removing the Hard Disk Drive Assembly 2 - 5
2.Disassembly
Removing the Hard Disk Drive Assembly
1. Turn the computer off and disconnect all peripherals and cables (including telephone lines).
2. Place the computer on a flat stable surface, preferably on a protective covering to avoid damage to the LCD screen.
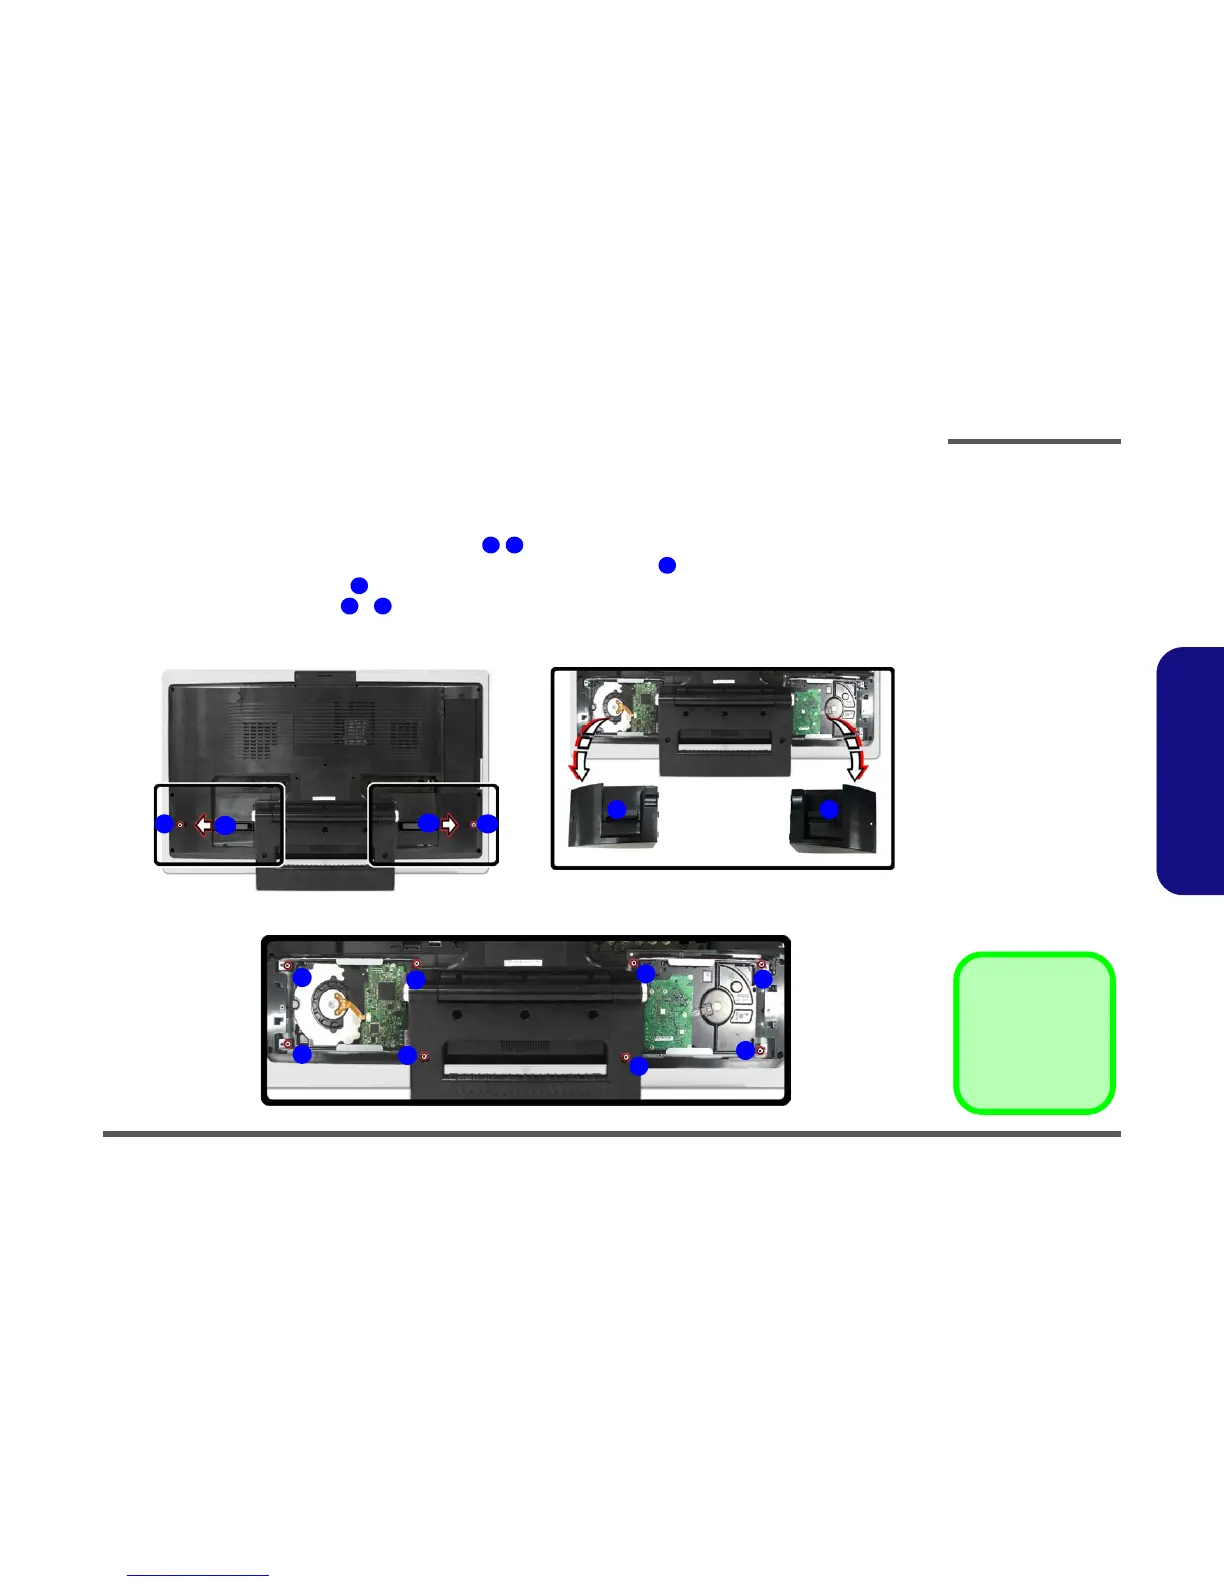
3. Locate the hard disk bay cover and remove screw / , depending on which hard disk you want to replace.
4. Remove the hard disk cover(s) by sliding it(them) in the direction of arrow .
5. Remove the hard disk cover(s) .
6. Remove the hard disk screws - from the hard disk(s) you want to replace.
1 2
3
4
5 8
a.
c.
1 2
3
3
4 4
5
6
7
8
5
6
7
8
b.
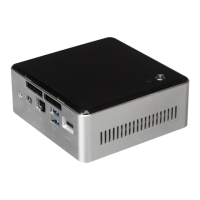
Figure 2 - 1
Hard Disk Removal
Sequence (con’td)
a. Remove the screw(s)
from the HDD Bay-
Cover.
b. Remove the HDD
Cover.
c. Remove the screws
from the HDD.
3. HDD Bay Cover
•5 Screws
 Loading...