13
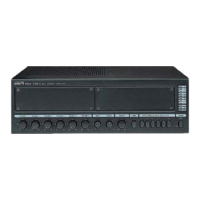
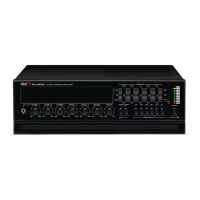
EMI-300
7-CHANNEL 2 X 150W MIXING AMPLIFIER
Connection of Sound Sources
Connection of Sound Sources
Line Inputs (25)
After the speakers are installed, you can now connect all your stereo devices, such as CD players, cassette
players, tuner etc. to their corresponding RCA-type inputs.
One line input can be selected at a time with its corresponding Line Input switch (12 - 16).
Microphone Inputs (10) (11)
Both microphone inputs can be used simultaneously. The pin configuration of the XLR input connectors is pin 1
= ground, pin 2 = signal + (out), and pin 3 = signal – (cold). Use the controls (2) and (3) on the front panel to
adjust the microphone volume levels.
General Instructions
1. Switch off any powered instruments, mics, or devices before connecting to your EMI-300. Also be sure to
reduce all channel and main output levels before making connections.
2. Connect cables to your mics, instruments, and devices before inserting the other end firmly into the
appropriate 3-pin low or 1/4” high impedance jacks on channels 1-6.
Please note that the low and high impedance inputs cannot be used simultaneously.
3. Switch devices on in the order they are connected to your EMI-300. Reverse the order when switching power
off.
4. Set the Main section’s Master control to the “—“ position.
5. To set correct input channel levels, adjust the Input Channel Level control so that the “0” LED of the Main
section’s peak level meter illuminates intermittently.
6. Rotate the Input Channel EQ knobs to change that channel’s tone as desired.
7. Use the Master Volume control to adjust the overall volume.