Chapter 6: Network settings
TruVision DVR 12 User Manual 35
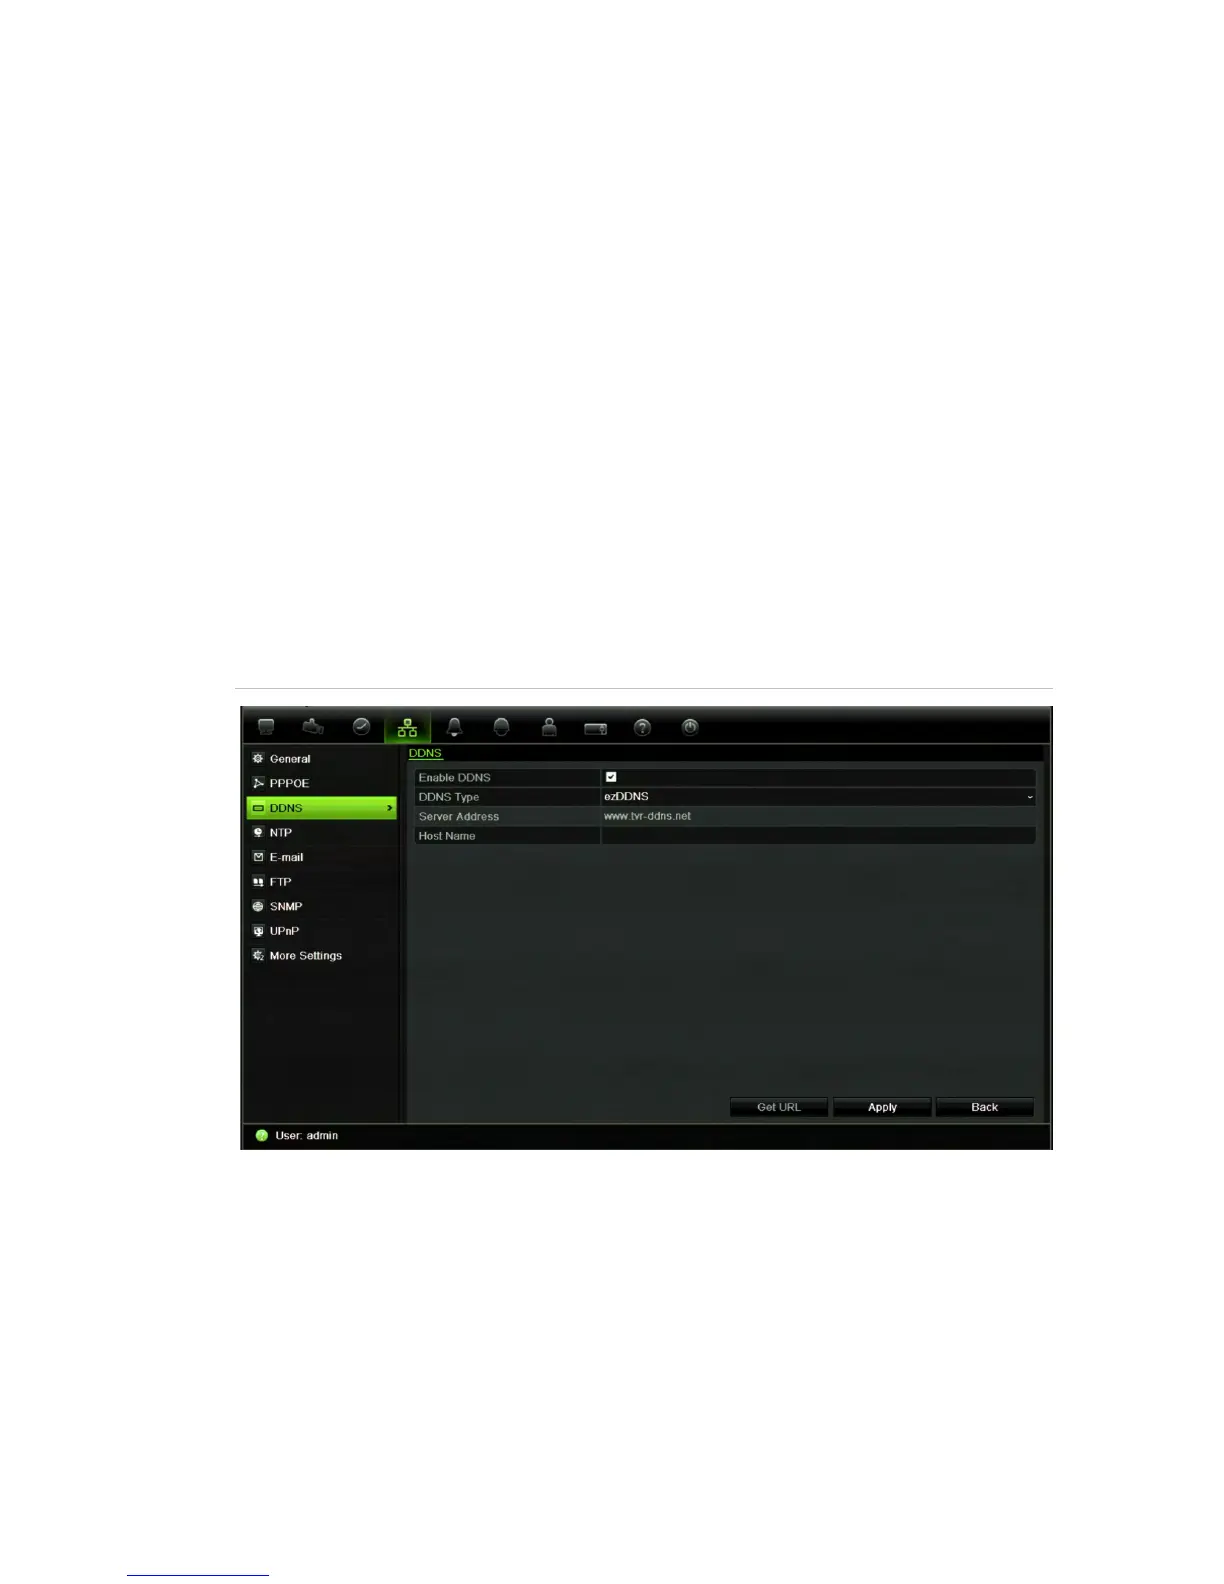
Configuring DDNS
A static IP address never changes so you can enter it into the browser or CMS
and the DVR network connection will always work with it.
However, if you have a dynamic IP address for your public IP address, it will
change every time you connect to the network. Under such situations, you can
set up a dynamic domain name system (DDNS) that will link your public IP
address to a host name so that you can connect to the DVR with the host name.
Note: if you are not seeing video over your cellular network, some cellular
providers block port 554 so you may need to change it to another value. See
Appendix C “Port forwarding information” on page 127 for more information.
There are two ways to set up a DDNS:
• DynDNS: Manually create your own host name. You will first need to create a
user account using the hosting web site, DynDDNS.org.
• ezDDNS: Activate the DDNS auto-detection function to set up a dynamic IP
address. The server is set up to assign an available host name to your DVR.
Figure 7: ezDDNS setup window
Note: You cannot have two DVRs with the same host name.
To set up DDNS:
1. From the menu toolbar, click Network Settings > DDNS.
2. Check the Enable DDNS box to enable this feature.
3. Select one of the DDNS types listed:
DynDNS: Select DynDNS and enter the server address for DynDNS
(members.dyndns.org). In the DVR domain name field, enter the domain