Chapter 4: Recording
TruVision DVR 12 User Manual 17
Chapter 4
Recording
This chapter provides instructions on how to define the recording settings of your
DVR. This chapter covers how you can configure your initial recording settings,
schedule recordings, and protect your recorded files.
Enter menu mode by pressing the Menu button on the front panel or use the
mouse menu to select Menu (see “Controlling live view” on page 60 for further
information). See Menu overview on page 55 for a list of the menu icons.
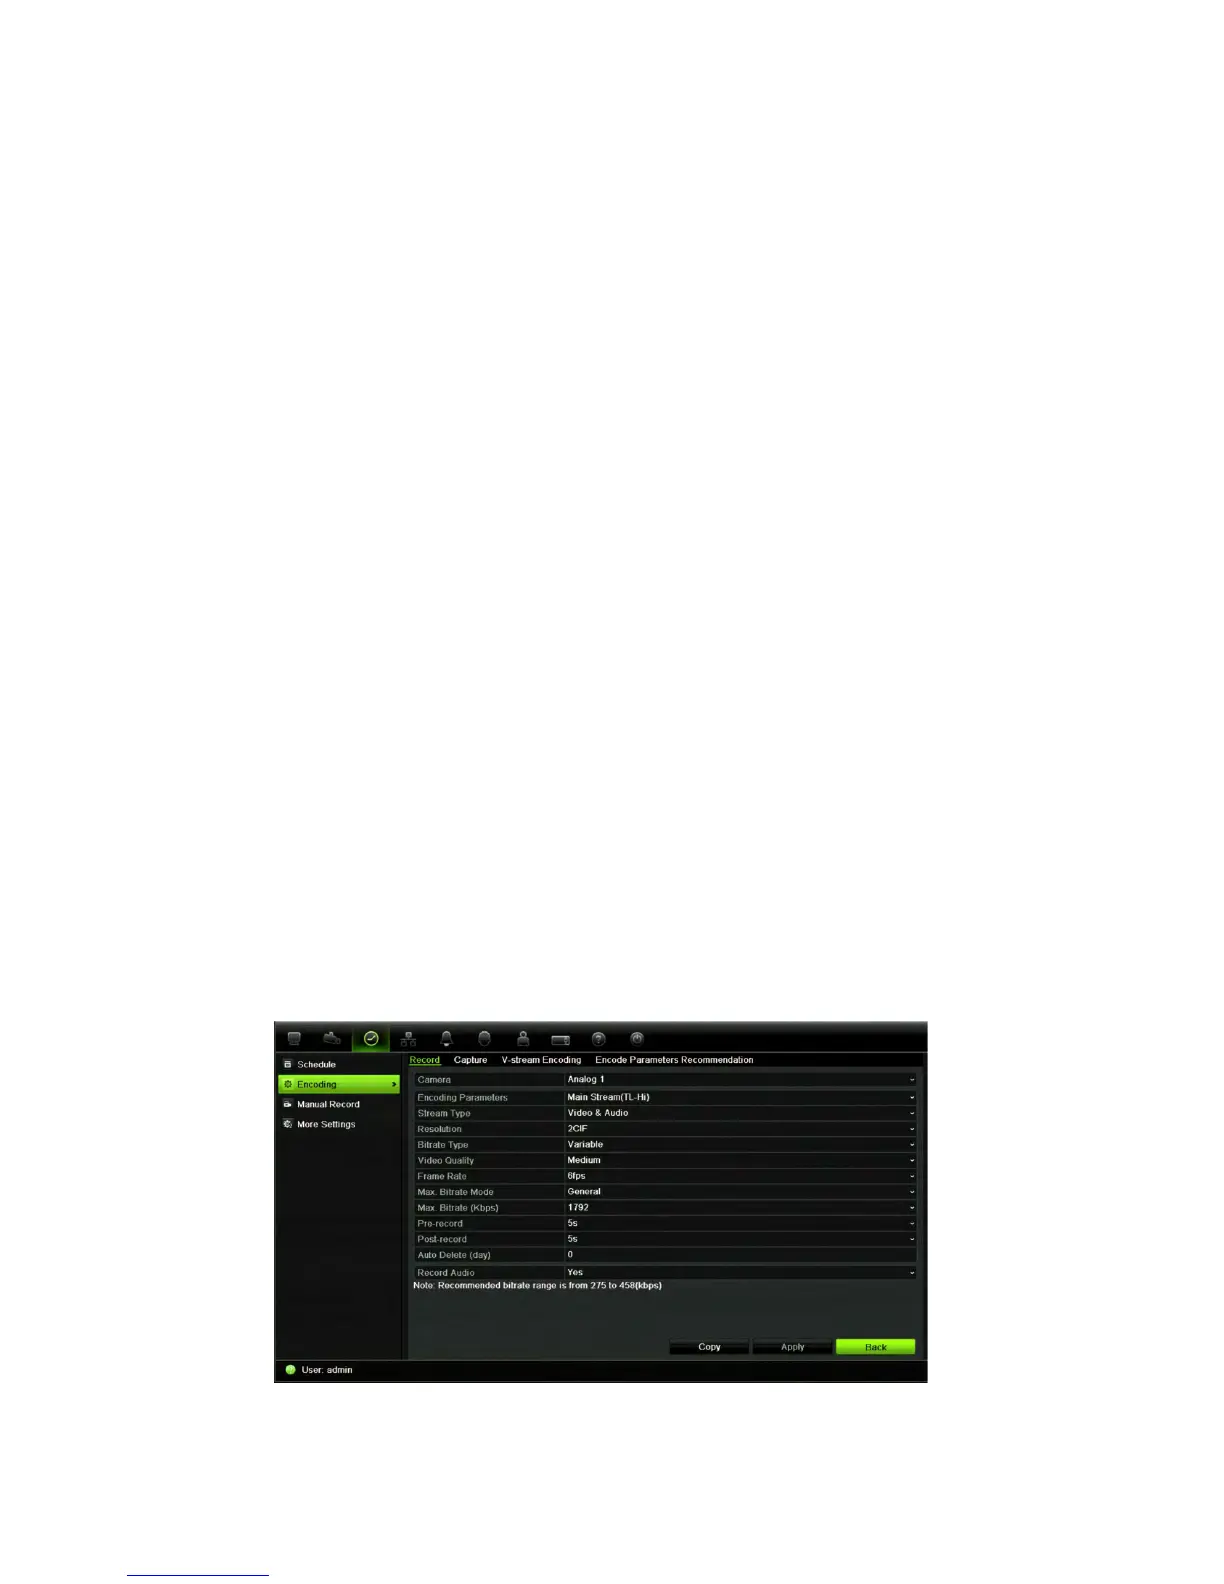
Initializing the recording settings
Before you can set up your DVR to begin recording, you must first configure
general recording settings for the analog cameras.
Ensure that the HDD has been installed and initialized before configuring the
recording settings. See Chapter 7 “HDD management” on page 43 for more
information.
To configure recording settings:
1. From the menu toolbar, click Video Schedule > Encoding > Record.
2. Select the camera you want to configure.“Using the soft keyboard” on page
56.