13
Chapter 1: Assembly & Set-up
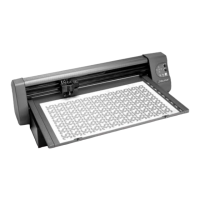
Step 4: Install the material and tray
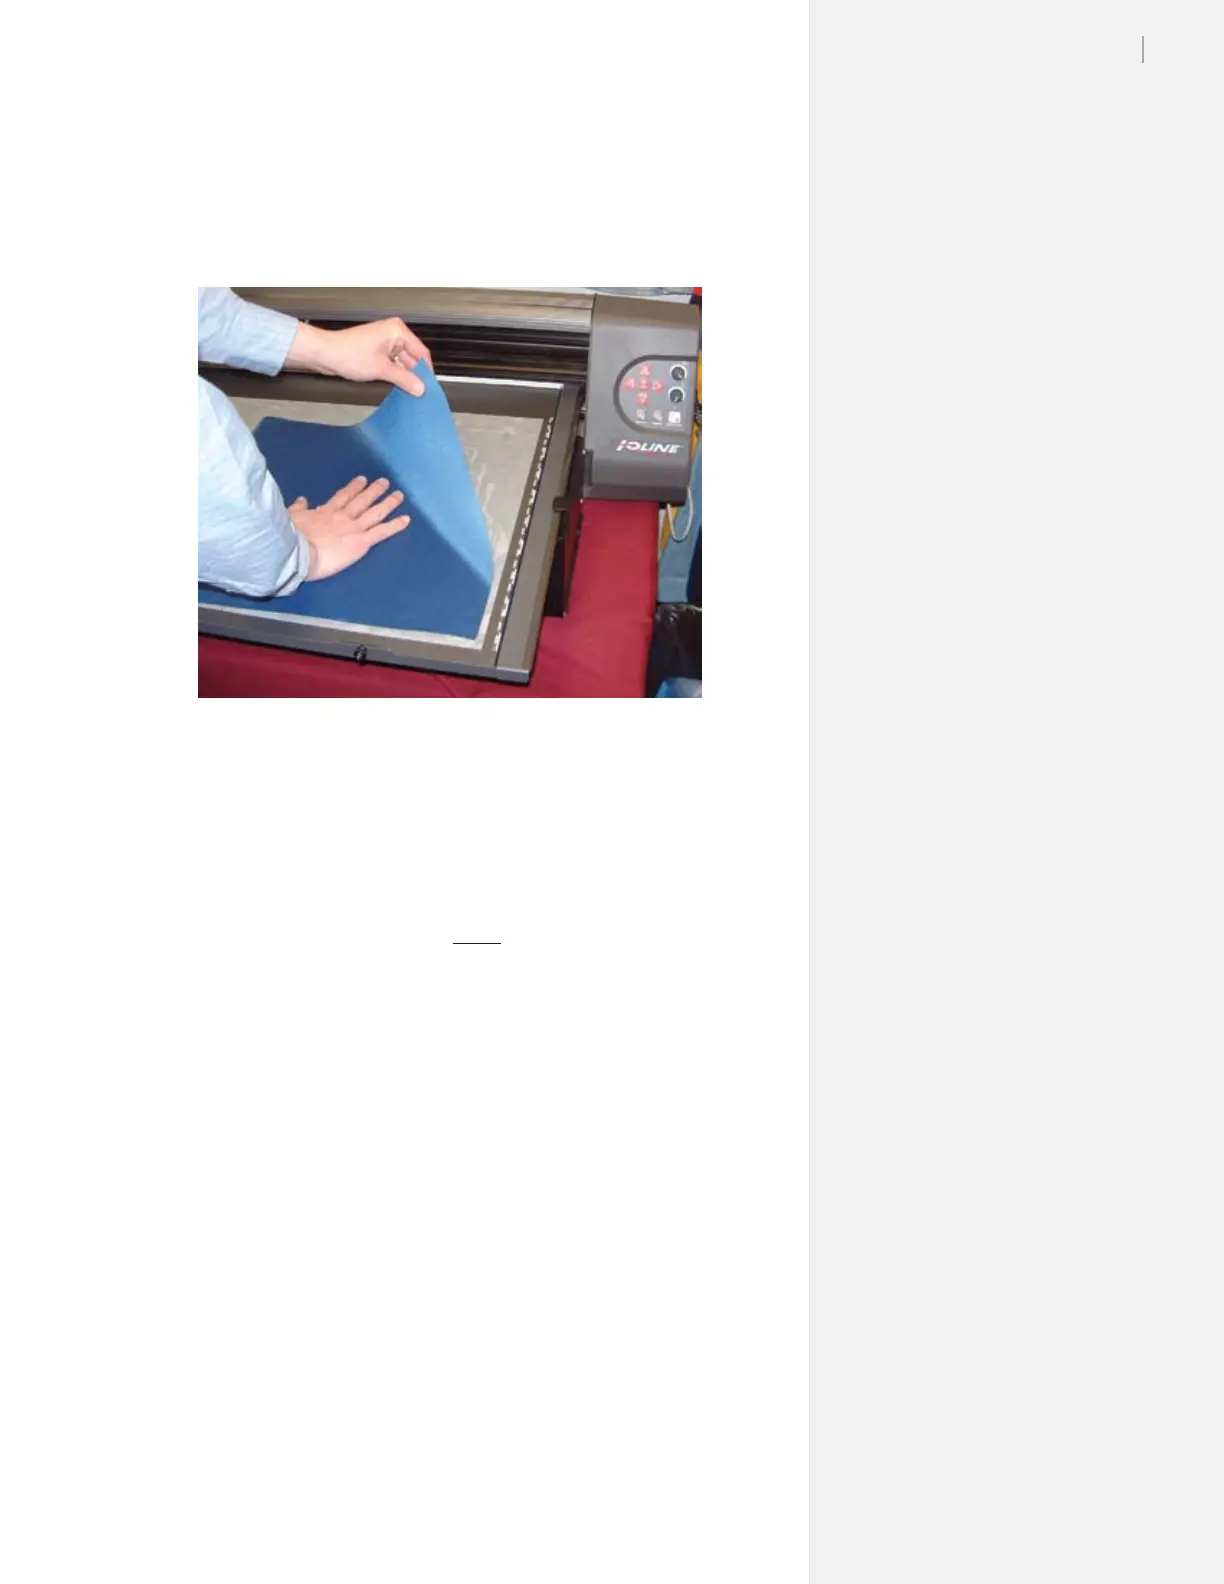
1. Remove the cover from the Adhesive Sheet and carefully ap-
ply fabric to the Tray. Smooth all bubbles out of the material.
(See Figure 10.)
2. Slide the Tray onto the Table with the thumb nuts facing the
front of the machine. Make sure the rear lip of the Tray ts
tightly under the white strip in the rear of the Table. The thumb
nut posts should drop smoothly into the slots on the front of
the Table.
3. Press the Tray down into the Table and tighten the thumb nuts.
4. Use the Arrow keys on the keypad to position the carriage and
Table so that the blade is in lower right corner of the Table.
This is where cutting will start.
5. Press Set Origin on the keypad. The light on the keypad will
turn green.
Figure 10. Apply the material on top of the Adhesive Sheet on the Tray.