ioSafe Duo User Manual30
i. The Disk Activity LEDs will glow a solid green once the array has been created. Repeat the
steps above to verify the RAID.
5.2 Replace a Failed Drive in a RAID 1 Array
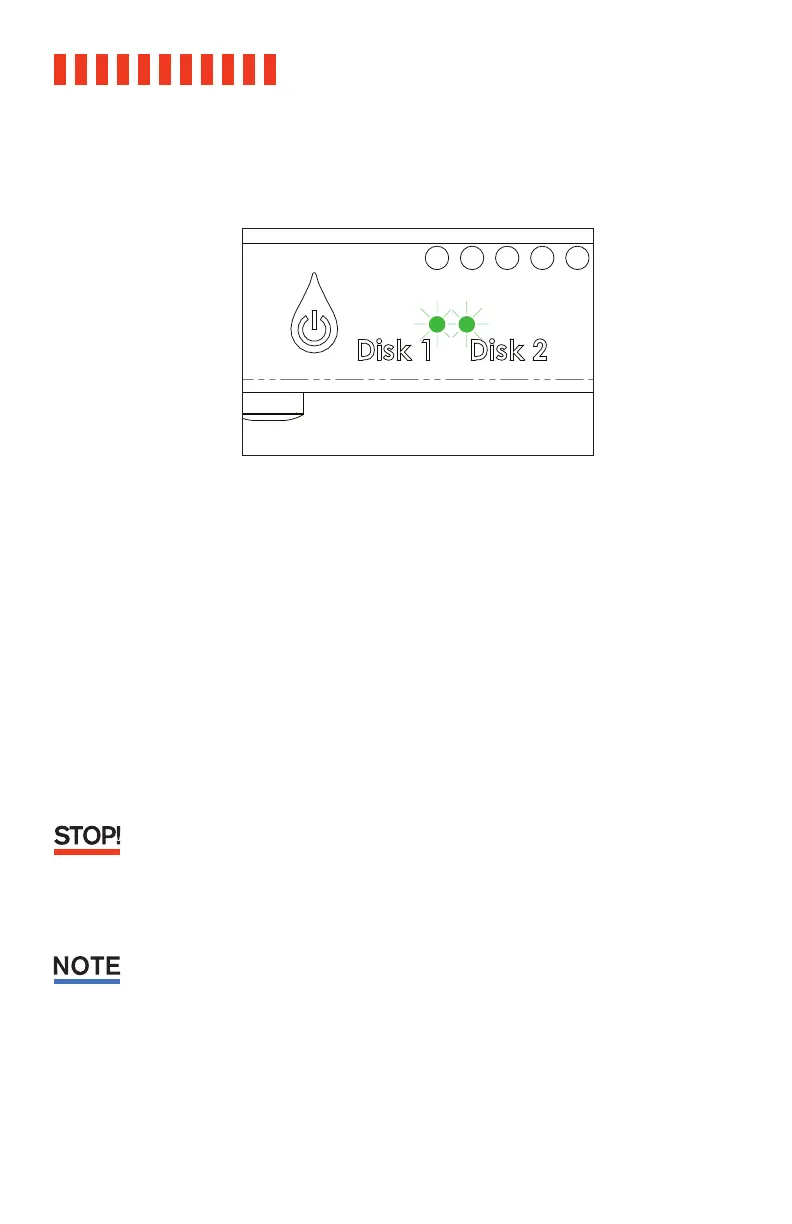
a. Note which drive has failed, indicated by the Disk Activity LEDs on the front of the ioSafe
Duo. The LED corresponding to the failed drive will be red.
b. Shut down the ioSafe Duo.
c. Disconnect the USB cable connecting the ioSafe Duo to your computer.
d. Remove the failed drive. Refer to Section 2.1.2 for detailed instructions.
e. If the good drive is located in the bay labelled “Disk 2”, then move it to the side labelled
“Disk 1”.
It is very important to move the remaining good drive to Bay 1. After being powered off, the
ioSafe Duo will always rebuild a RAID 1 mirror from the drive located in Bay 1. Failure to place
the good drive in Bay 1 will cause your data to be overwritten.
f. Insert the replacement drive into the bay labelled “Disk 2”.
ioSafe recommends that you use a replacement drive with the same capacity as the remaining
drive.
g. Reattach the waterproof drive cover and the front cover. Refer to Section 2.1.2 for detailed
instructions.
h. Turn on the ioSafe Duo. The Disk Activity LED corresponding to the drive being overwritten
will begin flickering red very quickly, indicating that the RAID is rebuilding. This process
may take several hours.