J‐S180F/J‐S199F 11
MounttoWall
wallinstallaon
brackets
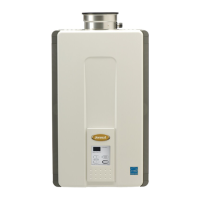
1. Idenfytheinstallaonlocaonandconfirmthat
theinstallaonwillmeetallrequiredclearances.
2. Securelyaachthewaterheatertothewall
usinganyoftheholesinthewallinstallaon
bracketswhichareatthetopandboomofthe
waterhea
ter.Ensurethattheaachment
strengthissufficienttosupporttheweight.
Refertotheweightofthewaterheaterinthe
Specificaonssecon.
NOTE:Thewaterheatershouldbeinstalledinan
uprightposion.Donotinstallupsidedownoronits
side.
ChecklisttoDetermineInstallaon
Locaon
□Thewaterheaterisnotexposedtocorrosive
compoundsintheair.
□Thewaterheaterlocaoncomplieswiththe
clearances.
□Theplannedvenngwillnotexceedthe
maximumlengthforthenumberofelbowsused.
□Theplannedvenngterminaon/airintake
locaonmeetstheclearances.
□Thewatersupplydoesnot containchemicalsor
exceedtotalhardnessthatwilldamagetheheat
exchanger.
□ Astandard3prong120VAC,60Hzproperly
groundedwalloutletorother120VAC,60Hz
sourceisavailable.
□VerifythatswitchNo.1intheSW1DIPswitchhas
beenadjustedforventlengthifnecessary.Refer
tothesecononMaximumVentLength.
□Theinstallaonmustconformwithlocalcodesor,
intheabsenceoflocalcodes,withtheNaonal
Fuel Gas Code, ANSI Z223.1/NFPA 54.Ifinstalled
inamanufacturedhome,theinstallaonmust
conformwiththeManufactured Home
Construcon and Safety Standard, Title 24 CFR,
Part 3280.
RemovetheFrontPanel
1. Pressthetopandboomofeachsidecoverand
pullthesidecoverawayfromtheproduct.
2. Removethe4screwsaachingthepaneltothe
waterheater.
 Loading...