49
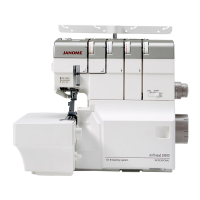
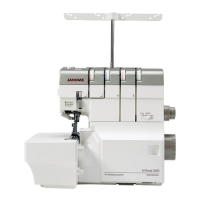
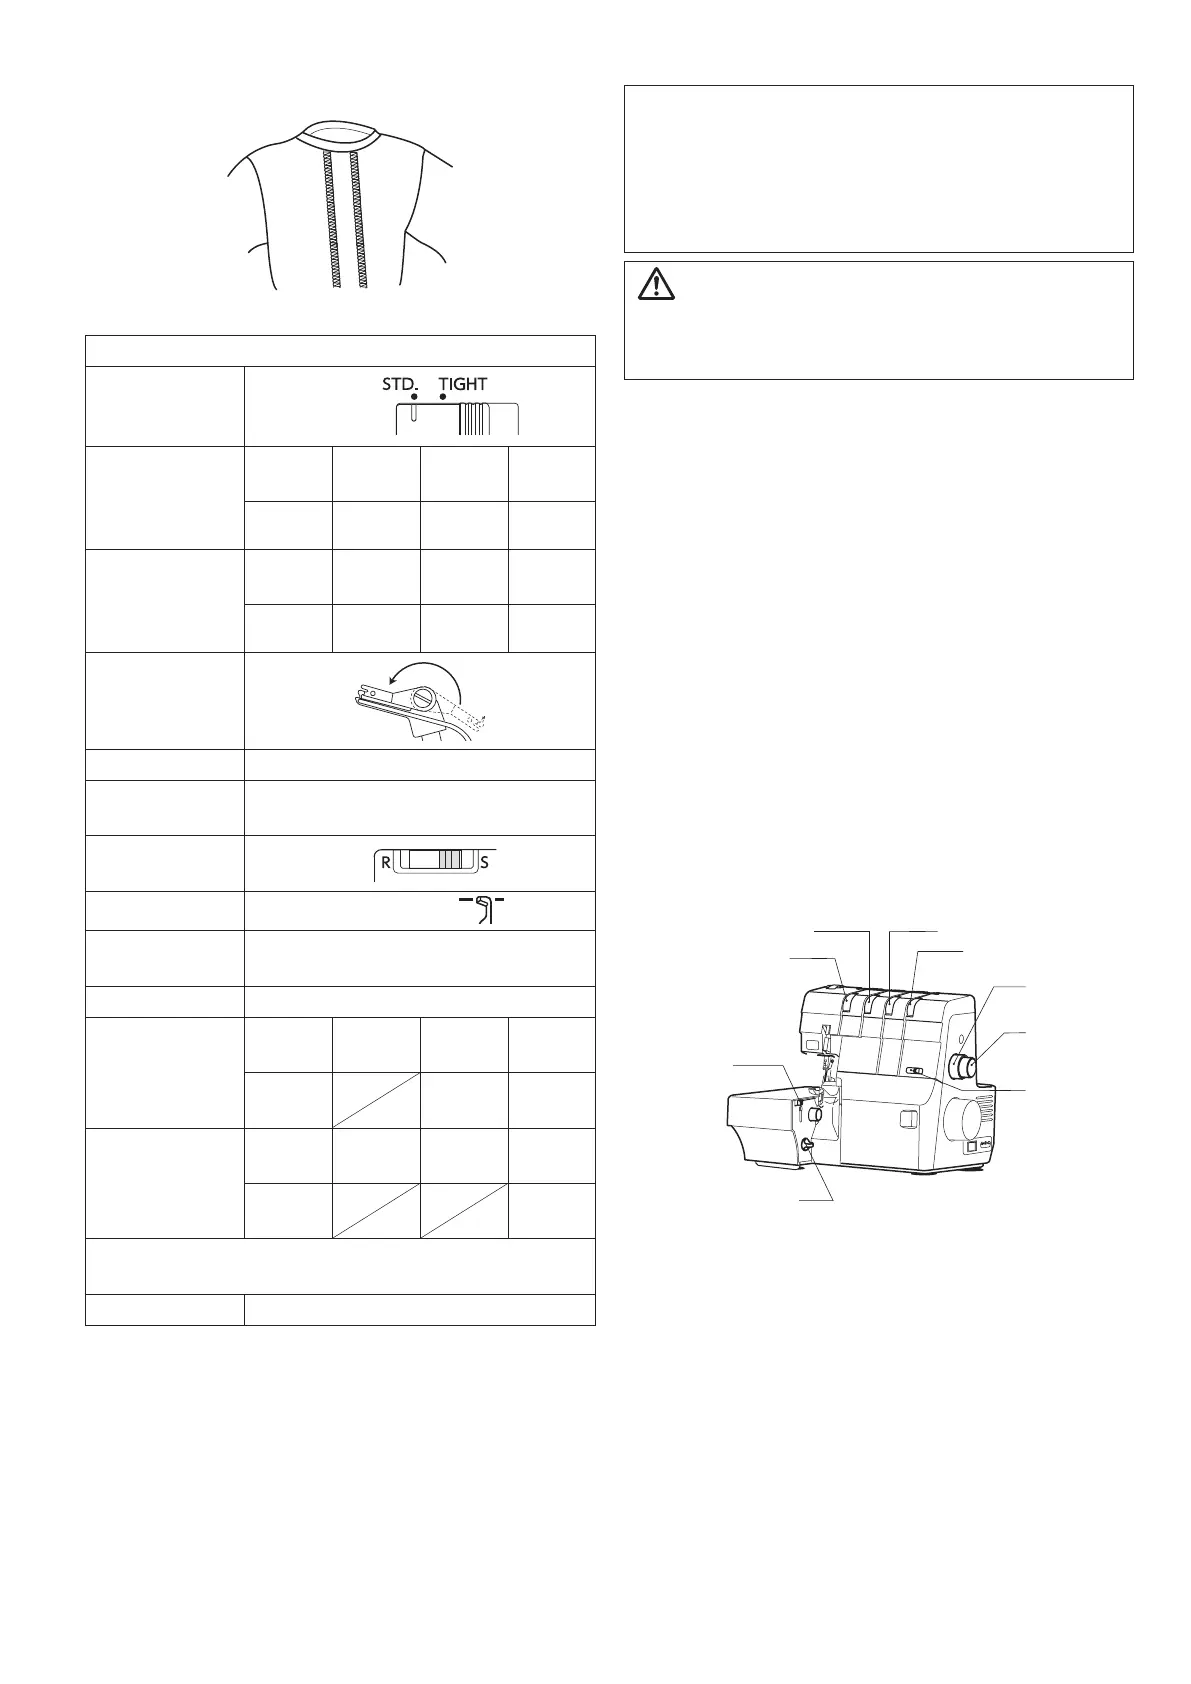
q Left needle thread tension dial
w Right needle thread tension dial
e Upper looper thread tension dial
r Lower looper thread tension dial
t Chaining nger switch knob
y Upper knife release knob
u Stitch length dial
i Differential feed dial
o Lower looper pre-tension setting slider
* Refer to page 10 for details on how to remove the
needle.
* Refer to page 11 for details on how to adjust the
stitch length.
* Refer to page 11 for details on how to adjust the
difference ratio.
* Refer to page 12 for details on how to deactivate/
activate the upper knife.
* Refer to page 13 for details on how to adjust the
chaining nger switch knob.
* Refer to page 18 for details on how to raise and
lower the spreader.
Flatlock
CAUTION
Make sure to turn the power switch off before
changing the needle, deactivating/activating the upper
knife or setting the chaining nger switch knob.
w
q
e
r
t
y
u
i
o
Machine Setting
Lower looper
pre-tension
setting slider
STD.
Standard setting
of tension dials
(1 needle 3
threads)
Left
needle
Right
needle
Upper
looper
Lower
looper
0-2 - 0 6-7
Standard setting
of tension dials
(1 needle 2
threads)
Left
needle
Right
needle
Upper
looper
Lower
looper
0-2 - - 7
Spreader
(1 needle 2
threads)
Stitch length dial 3-4
Differential feed
dial
1.0
Chaining nger
switch knob
S
Upper knife Deactivated
Needle
Use the left needle:
HA-1 SP No. 14 or No. 11
Needle thread Synthetic: No. 60 - 100
Upper looper
thread
Left
needle
Right
needle
Upper
looper
Lower
looper
Synthetic:
No.60-100
Decorative
thread
Synthetic:
No.60-100
Lower looper
thread
Left
needle
Right
needle
Upper
looper
Lower
looper
Synthetic:
No.60-100
Decorative
thread
* Use the looper threading wire or a standard thread for
threading.
Fabric Medium weight
NOTE:
• You may need to adjust the thread tension
depending on the type of fabric and thread being
used.
• If the tension balance on the test piece is not
satisfactory, you can adjust the thread tension with
the thread tension dial.