


J
Jose GonzalezSep 2, 2025
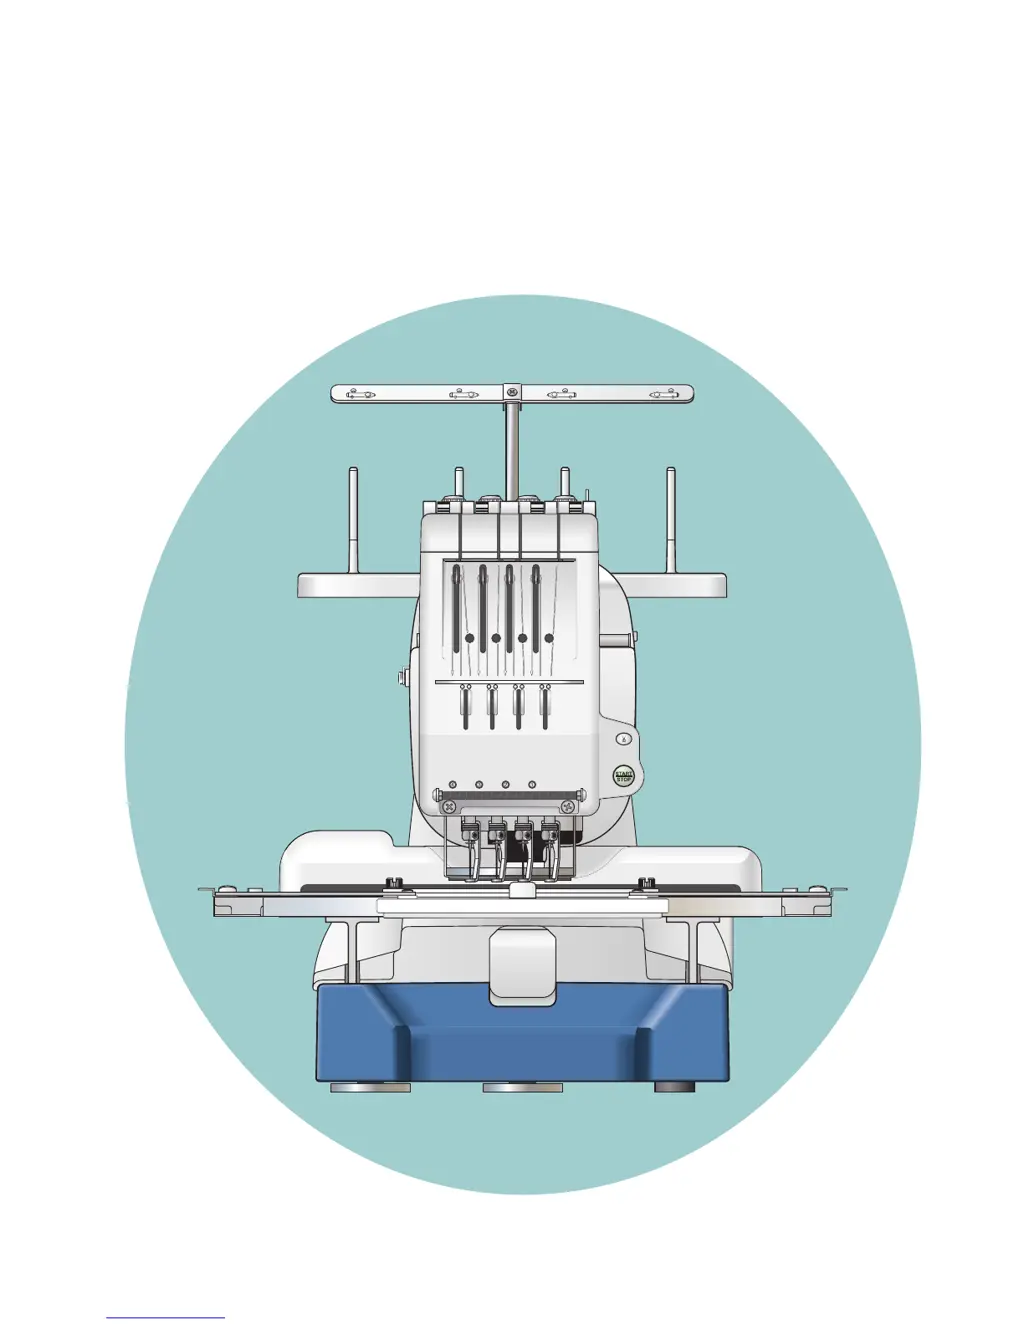
Why is my Janome Sewing Machine running noisy and not smoothly?
- DDebra ThompsonSep 2, 2025
Your Janome sewing machine may not run smoothly and could be noisy if: * Threads have been caught in the hook mechanism. * The feed dog is packed with lint.