Preparing the Cab Frame Aperture
1 If damp or wet, dry the aperture area using a hot air gun
(sourced locally).
2 Use 'Active Wipe 205' to thoroughly clean and 'prime'
the trimmed sealant. Use a lint free cloth to apply the
'Active Wipe 205', allow 5 minutes flash off (drying)
time.
Note: Do not use any other type of cleaning fluids, otherwise
they may be absorbed into the old sealant and ultimately
prevent the new glass from bonding.
Preparing the New Glass
1 Make sure that the new glass correctly fits the frame
aperture K.
a Put two spacer blocks L onto the bottom part of the
frame aperture.
b Install the new glass on the spacer blocks - ALWAYS
USE GLASS LIFTERS M, refer to Service Tools.
Check that there is an equal sized gap all round the
edge of the glass.
Note: The spacer blocks are rectangular in section to give
two common gap widths. If necessary they can be trimmed
to a smaller size to give an equal sized gap around the glass.
IMPORTANT: The glass edges MUST NOT touch the frame,
otherwise movement of the frame will chip and eventually
break the newly installed glass.
21 - 3
Direct Glazing (cont'd)
Removing the Broken Glass and Old Sealant (cont'd)
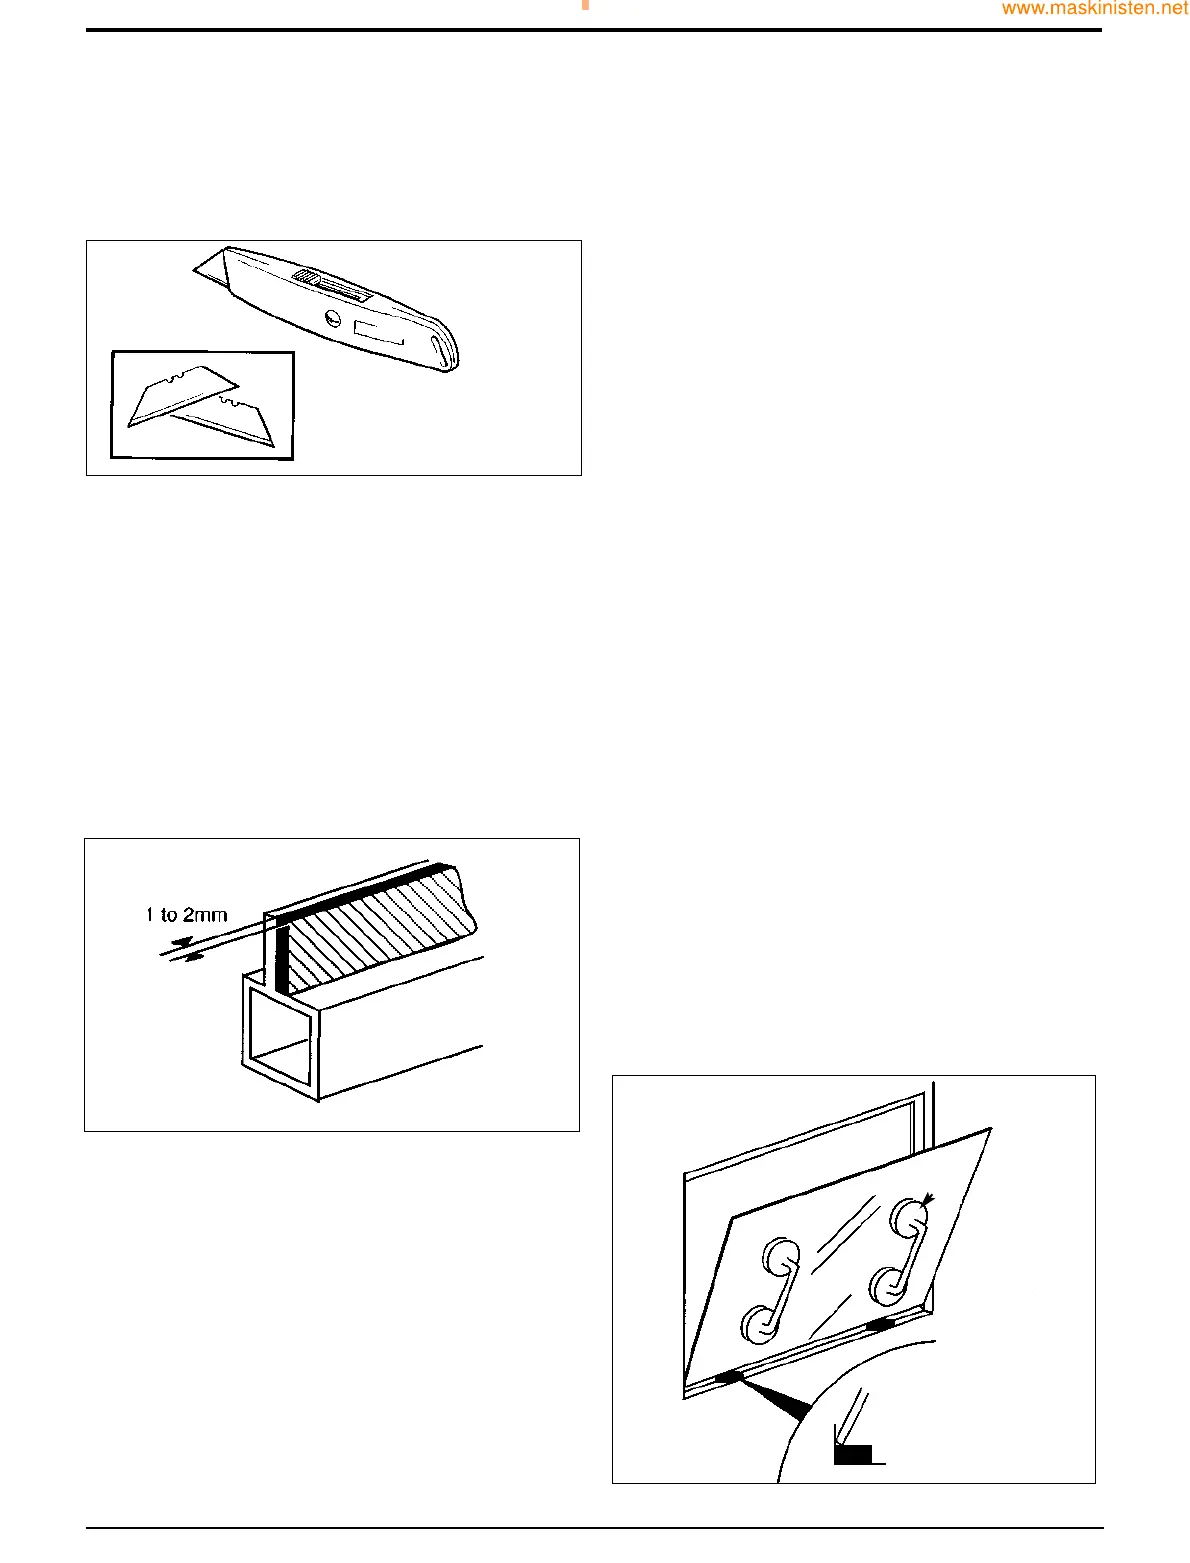
d Craft Knife H. The blades are replaceable.
(i) Insert the knife blade into the sealant.
(ii) Pull the knife along and cut out the old sealant.
Note: There are other tools available to cut out the old
sealant. For example, there is a long handle type craft knife
to give extended reach. Refer to Service Tools, for details of
this and any other tools.
4 Remove the cut off sealant and all remaining particles
of shattered glass.
5 If necessary, trim off the remaining old sealant to leave
approximately 1 to 2 mm on the upright face of the cab
frame aperture, as shown at J.
6 Apply a coat of 'Black Primer 206J' to the paintwork if:
a Paintwork was damaged or scratched during the
glass/sealant removal procedures.
b The old sealant was inadvertently cut back to the
cab frame during the glass/sealant removal
procedures.
Section B Body & Framework
9803/7130
Section B
21 - 3
Issue 1
Service Procedures
S186370
S189900
HH
JJ
S189910
MM
LL
KK