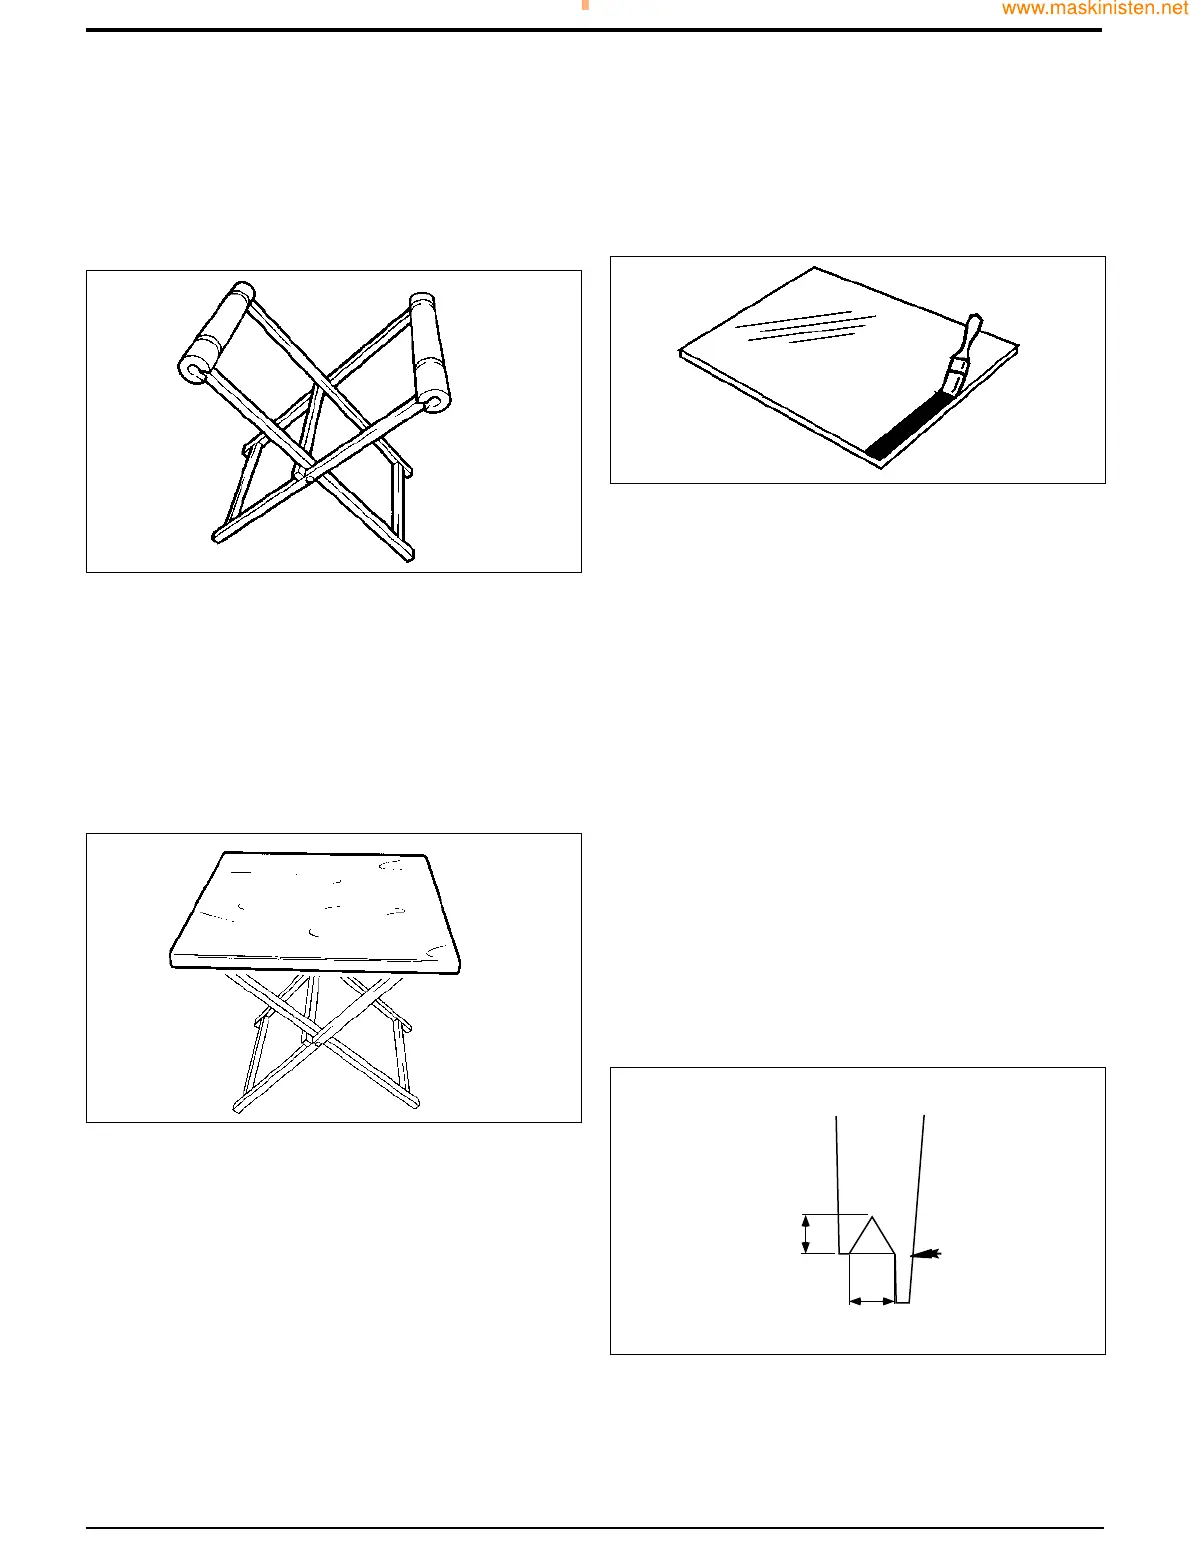
b If the glass does not have a black ceramic ink band,
paint a band on the glass using 'Black Primer 206J'.
The band should be approximately 25mm (1in) wide,
and the edge should be a neat straight line as shown
at R.
5 Install the Ultra Fast Adhesive cartridge,(refer to Sealing
and Retaining Compounds and Note 2 below) into a
suitable applicator gun:
a Remove the aluminium disc cover from the base of
the cartridge and discard the 'dessicant capsule'.
b Make sure that the rolled edge of the cartridge is not
damaged - if necessary, the edges should be
pressed flat, otherwise it will be difficult to remove
the cartridge from the applicator gun.
c Pierce the front 'nozzle' end of the cartridge to its
maximum diameter.
d Fit the pre-cut nozzle shown at S.
e Install the cartridge in the applicator gun.
Note 2: Cold material will be very difficult to extrude. The
cartridges must be pre-heated in a special oven, (refer to
Service Tools) for 1 hour to a temperature of 80°C (176°F).
Pre-heating the cartridges makes the adhesive more
workable and also brings the 'curing' time down to 30
minutes.
21 - 4
Direct Glazing (cont'd)
Preparing the New Glass (cont'd)
2 After checking for size, remove the new glass and place
it on a purpose made glass stand N, refer to Service
Tools.
Small panes of glass will need locating on a 600 x 700 mm x
15 to 19 mm thick plywood board P (sourced locally to fit
the glass stand N). It is recommended that an access hole is
cut in the board to accommodate the glass lifter, making it
easier and safer to handle small panes of glass. The board
should be covered with felt or carpet to give an anti-scratch
surface. Resting the glass on four spacer blocks will ensure
clearance of the cartridge nozzle tip during application of the
polyurethane sealant.
3 Make sure the glass is positioned on the stand the
correct way up (i.e. with the black ceramic ink band
upwards) ready for application of primer etc.
4aUse 'Active Wipe 205' to thoroughly clean and
'prime' the black ceramic ink band printed on the
glass (see Note 1). Use a lint free cloth to apply the
'Active Wipe 205', allow 5 minutes flash off (drying)
time.
Note 1: Do not touch the glass after cleaning with the
'Active Wipe 205'.
Section B Body & Framework
9803/7130
Section B
21 - 4
Issue 1
Service Procedures
S186280
S189920
NN
RR