c Make sure that the glass is correctly positioned, then
gently press around the edges of the glass and
ensure full adhesive contact is achieved. Do not
press too hard or too much adhesive will squeeze
out.
3 Make the inside seal smooth:
a Wearing surgical gloves, dip your finger in a soapy
water solution.
b Use your finger to make the inside seal smooth.
4 All exposed edges must be sealed using Black
Polyurethane Sealant, refer to Sealing and Retaining
Compounds.
5 Clean the glass after installation:
IMPORTANT: Use extreme caution when wiping the inside
of the new glass - pushing too hard on the inside of the
glass will affect the integrity of the bonded seal.
a Small amounts of sealant can be cleaned from the
glass using the 'Active Wipe 205'.
b Large amounts of excess sealant should be left to
'cure' (see Note 4) and then cut off with a sharp
knife.
Note 4: On completion of the glass replacement procedures,
the sealant 'curing' time is 30 minutes. This means that the
machine can be driven and used after 30 minutes, but it
MUST NOT be used during the curing period of 30 minutes.
c Clean the glass using a purpose made glass cleaner.
6 On completion of the glass installation procedures tidy
the work area:
a Remove ALL broken glass from the cab area.
b Remove the protective covers from the cab seat and
control pedestals.
c Renew all 'warning' and 'information' decals so that
the new installation conforms with the original cab
installation.
21 - 5
Section B Body & Framework
9803/7130
Section B
21 - 5
Issue 1
Service Procedures
Direct Glazing (cont'd)
Preparing the New Glass (cont'd)
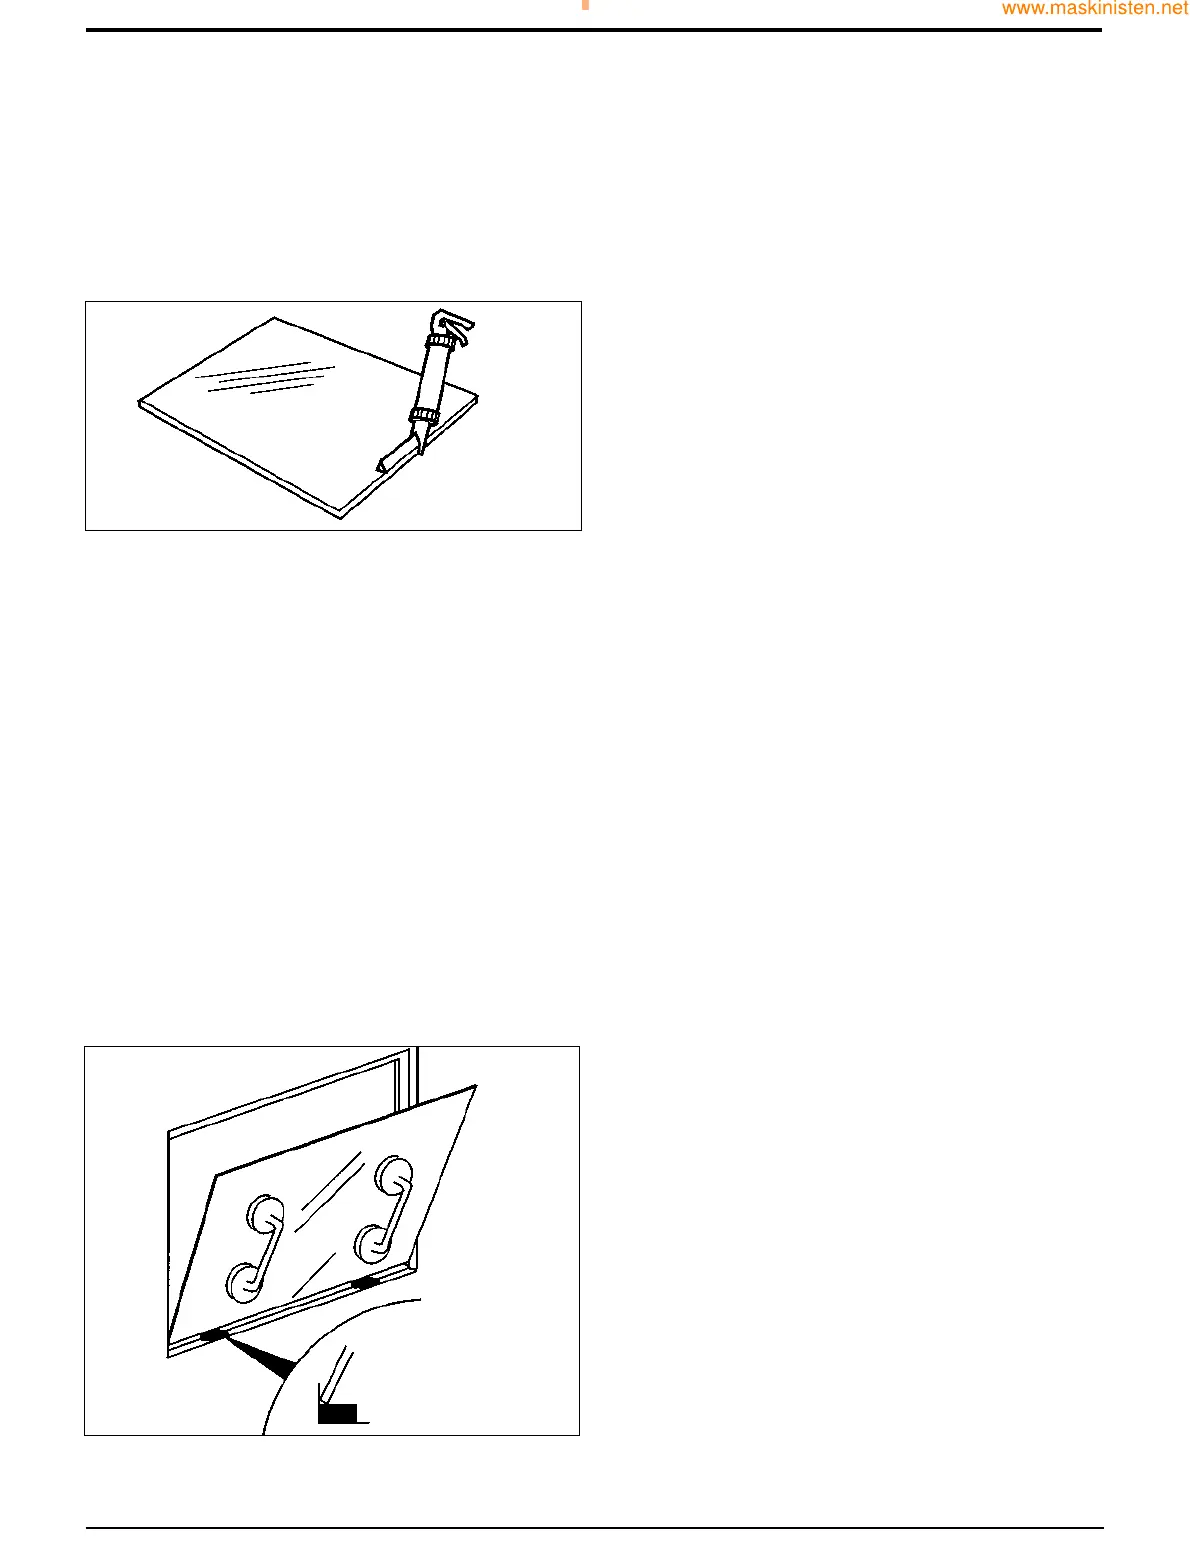
6 Apply the pre-heated adhesive to the glass (do not start
in a corner). Keep the nozzle guide T against the edge
of the glass and make sure that the adhesive forms a
continuous 'pyramid' shape.
Note 3: Once the pre-heated adhesive has been applied to
the glass, install the glass in the aperture as soon as
possible. After approximately 10 minutes the sealant will
form a 'skin', this will prevent the glass from bonding.
7 After applying the adhesive, leave a small amount of
sealant protruding from the nozzle. This will prevent any
adhesive left in the cartridge from 'curing'.
Installing the New Glass
1 Make sure the two spacer blocks are in position (see
step 1 of Preparing the New Glass).
2 Install the glass in the frame aperture:
a ALWAYS use the special lifting tools when moving
the glass.
b Sit the bottom edge of the glass on the spacer
blocks as shown X.
XX