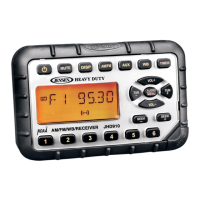
JHD910
4
Regular
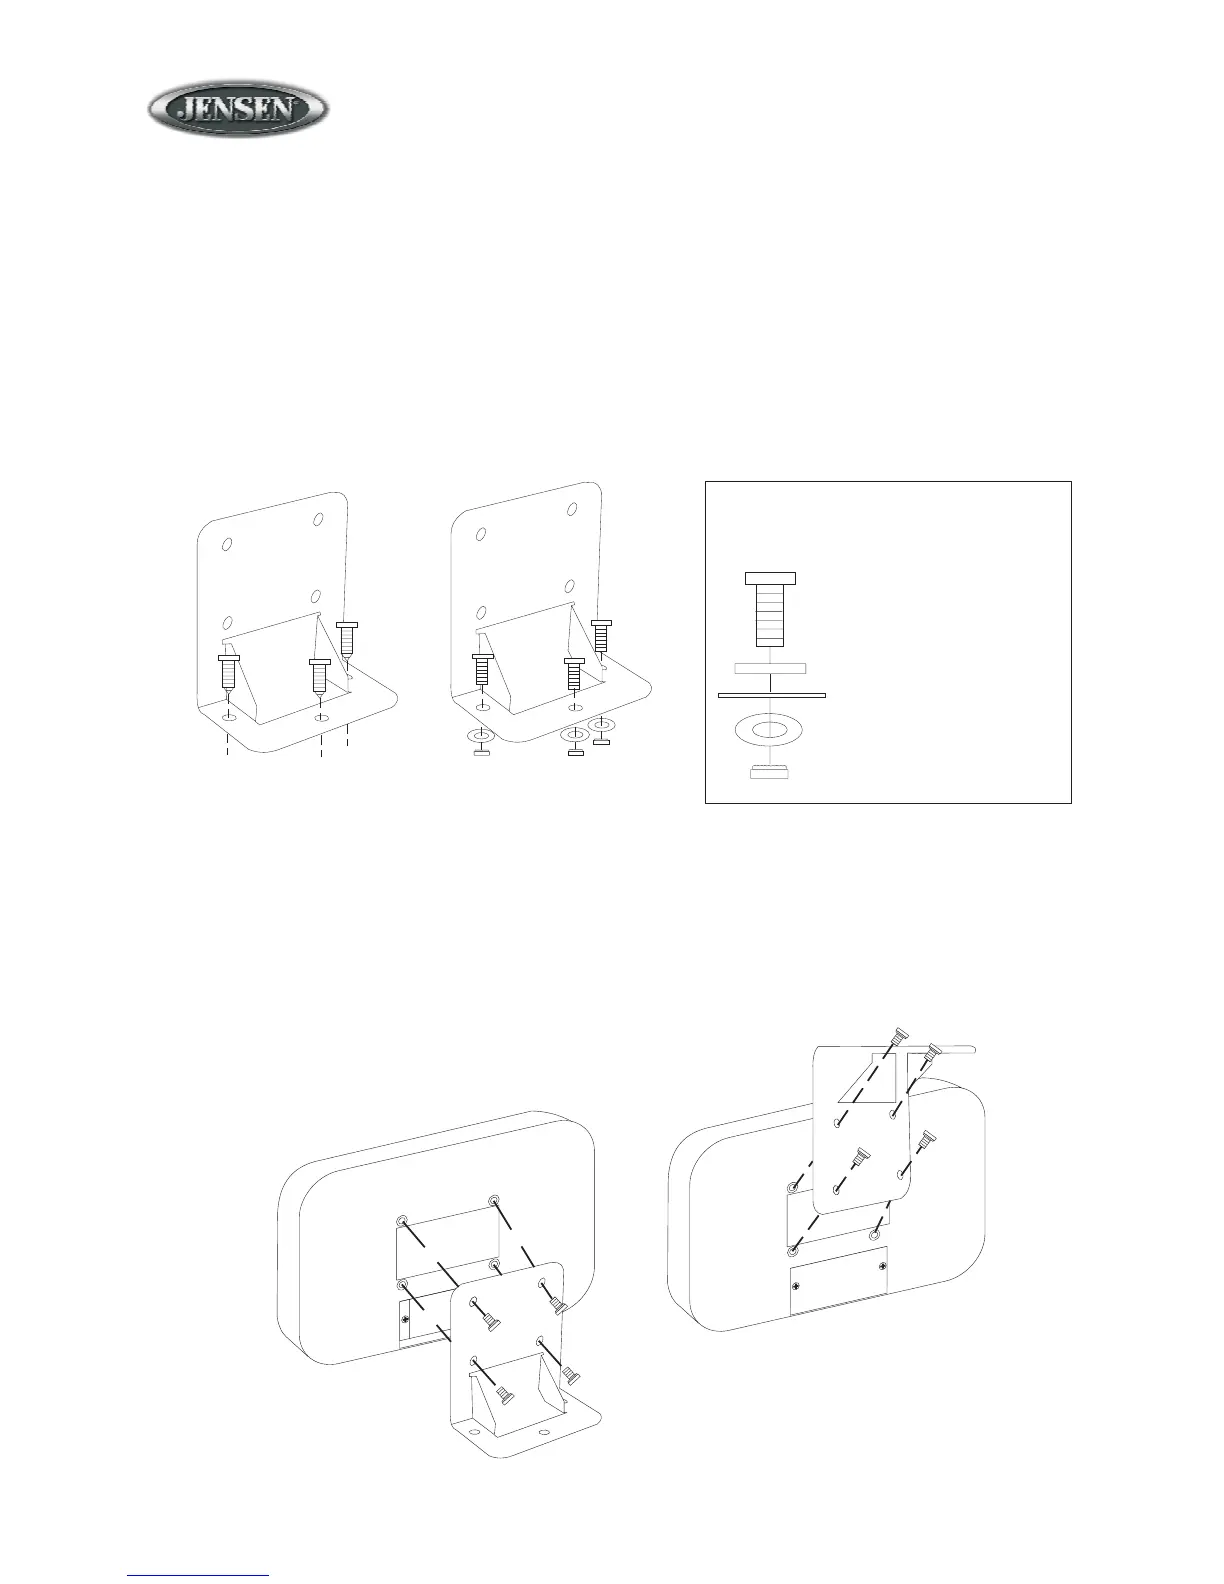
Mounting
Overhead
Mounting
Machine Screws
with Nuts
Self-Tapping
Screws
(Hole size 7/32")
(Hole size 7/32")
Mounting machine screw
Bracket metal
Vehicle mounting surface
Washer
Nut
Mounting Stack
Installation
Mounting the Bracket
Two options are provided for mounting the bracket (self-tapping screws or machine screws with nuts) to
ensure a mounting option ideal for your mounting location. Avoid obstructing airflow to the rear cooling
fins on the radio.
Note: Mounting holes should be drilled to 7/32”. Before drilling the mounting holes, make sure
the area behind the panel where the holes are desired is clear of wires and fuel, vacuum and or
brake lines.
Attaching the Radio
Once the bracket is securely mounted, use the four included M4 machine screws to fasten the bracket
to the back of the radio. Alternately, the radio can be mounted directly to the instrument panel if access
to the rear of the instrument panel is available.