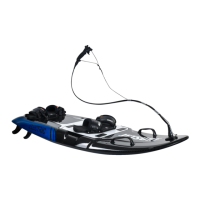
26
HOW TO CHARGE BATTERY USING A CHARGER
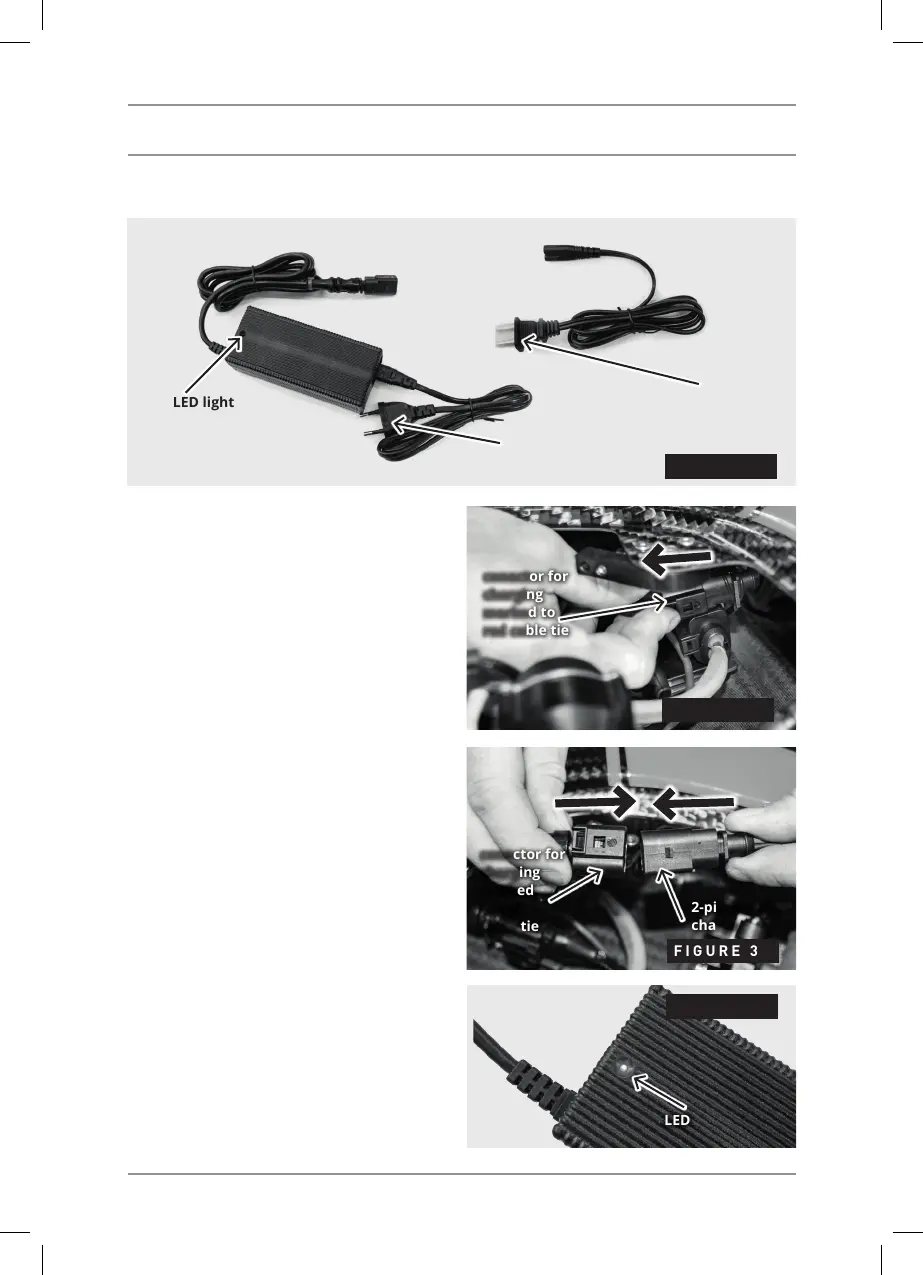
The charger – FIGURE 1 has an LED light
that shows the battery charge status.
1) Disconnect the 2-pin connector (marked
with a red cable tie) which is connected in the
connector holder – FIGURE 1.
2) Connect the charger to a 12 V socket in the
car or to a 110/220V power cable.
Never charge the battery while the car is
moving as there is a danger of damage to
both the charger and the ignition control
unit (ICU).
3) Connect the charger to the charg-
ing connector on the control unit (ICU)
– FIGURE 2. Never disconnect the
charger when charging from the ICU!!!
4) When the charger is connected, the LED light
on the charger lights up - FIGURE 3.
If the LED light is red, leave the charger plugged
in until the LED light turns green.
If the LED light is red, the battery is not 100%
charged. When the LED light is green, the battery
is 100% charged.
5) Disconnect the charging connector from the
charger and put the connector cover on back
the connector holder.
6) Disconnect the charger from the source.
RIDE
FIGURE 2
FIGURE 3
conector for
charging
marked to
red cable tie
conector for
charging
marked
to red
cable tie
2-pin female
charge
LED dioda
FIGURE 1
LED light
LED
FIGURE 4
Power cable
(EU)
Power cable
(USA)
 Loading...