Mounting and Wiring VMA1400 Series Controllers Technical Bulletin
14
Procedure Overview
Table 6: Mounting and Wiring VMA1400 Series Controllers
To Do This Follow These Steps:
Prepare the VMA for Mounting
1. Check that you have the essential equipment and tools.
2. For the VMA1410 and 1420, make certain that the damper shaft
protrudes at least 44 mm (1-3/4 in.) from the VMA mounting surface.
3. Ensure the VMA installation site meets environmental requirements.
4. Make sure the VMA mounting location has adequate clearance for
future servicing.
5. Set the VMA specific N2 address using the N2 switches or via VAV
Balancing Tool (VBT) or HVAC PRO programs. Use Addresses
1-253 only.
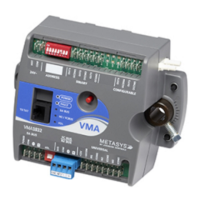
Mount the VMA1410/1420
1. Place the VMA in the desired mounting position on the damper shaft
so the wiring terminals are easily accessible. To allow space for VMA
movement during damper rotation, locate the shoulder washer at the
center of the slot. Make sure the VMA is parallel and mounted flat
with the VAV box.
2. Secure the self-drilling No. 10 screw provided into the VMA mounting
slot, using a power screwdriver and socket with a 100 mm (4 in.) extension.
3. Alternately use a punch to mark the position of the shoulder washer,
then drill a hole into the VAV box through the mark, using a 3.5 mm
(9/64 in.) bit. Position the VMA so the shoulder washer is over the
hole; insert the mounting screw and tighten against the washer.
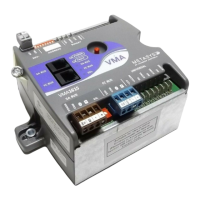
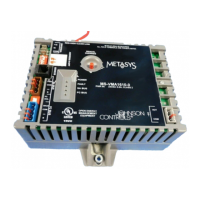
Mount the VMA1430
1. Place the VMA in the desired mounting position, preferably on a
vertical surface of the VAV box with the tubing down.
2. Secure the unit at each end with self-drilling No.10 screws, using a
power screwdriver, 100 mm (4 in.) extension, and socket.
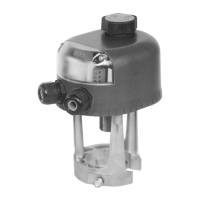
Set the Damper Position
(VMA1410, 1420, or VMA1430
with External Actuator)
1. Locate the damper position. Note the direction to close the damper.
2. Set the damper position:
3. For 90° boxes, grasp the damper shaft firmly with a pliers and
manually position it to fully closed (icon perpendicular to airflow).
Push down and hold the gear release lever and turn the VMA coupler
until it contacts the mechanical end stop at the fully closed position.
4. For 45° or 60° boxes, grasp the damper shaft firmly with a pliers and
manually position it to fully open. Push down and hold the gear
release lever and turn the VMA coupler until it contacts the
mechanical end stop at the fully open position.
5. Tighten the set screw to the shaft using an 8 mm (5/16 in.) wrench or
10 mm (3/8 in.) 12 point socket wrench. Tighten to 17 to 21 N⋅m
[150 to 180 lb⋅in. (14 lb⋅ft.)].
6. Push the gear release lever down, and turn the VMA coupler by hand
to ensure that the damper rotates from full closed to full open
positions without binding.
7. Plug or seal the end of a hollow damper shaft to stop cold duct air
from affecting the circuitry when the VMA is mounted in another
enclosure.
8. Attach the pneumatic tubing to the pressure sensor with the HI (red)
tubing connected to the inlet or high pressure side. The clear tube
connects to the LO inlet of the VAV box.
Continued on next page . . .
 Loading...