35
5 Determine the line by double-click or right-click.
6.4 Drawing the Area
1 Click on the [Type] button on the drawing toolbar.
An icon list is opened.
Select an icon of a polygon or an Alert area.
2 Click on the starting point position with the cursor.
The starting point is created and the property information of vertex 1 is displayed on the object
property dialog box.
3 Move the cursor to the next vertex.
The latitude and longitude of the cursor are displayed near the cursor.
4 Click on the position on which the 2
nd
vertex is to be created.
A vertex is created and the latitude and the longitude of the 2
nd
vertex are displayed on the object
property dialog box
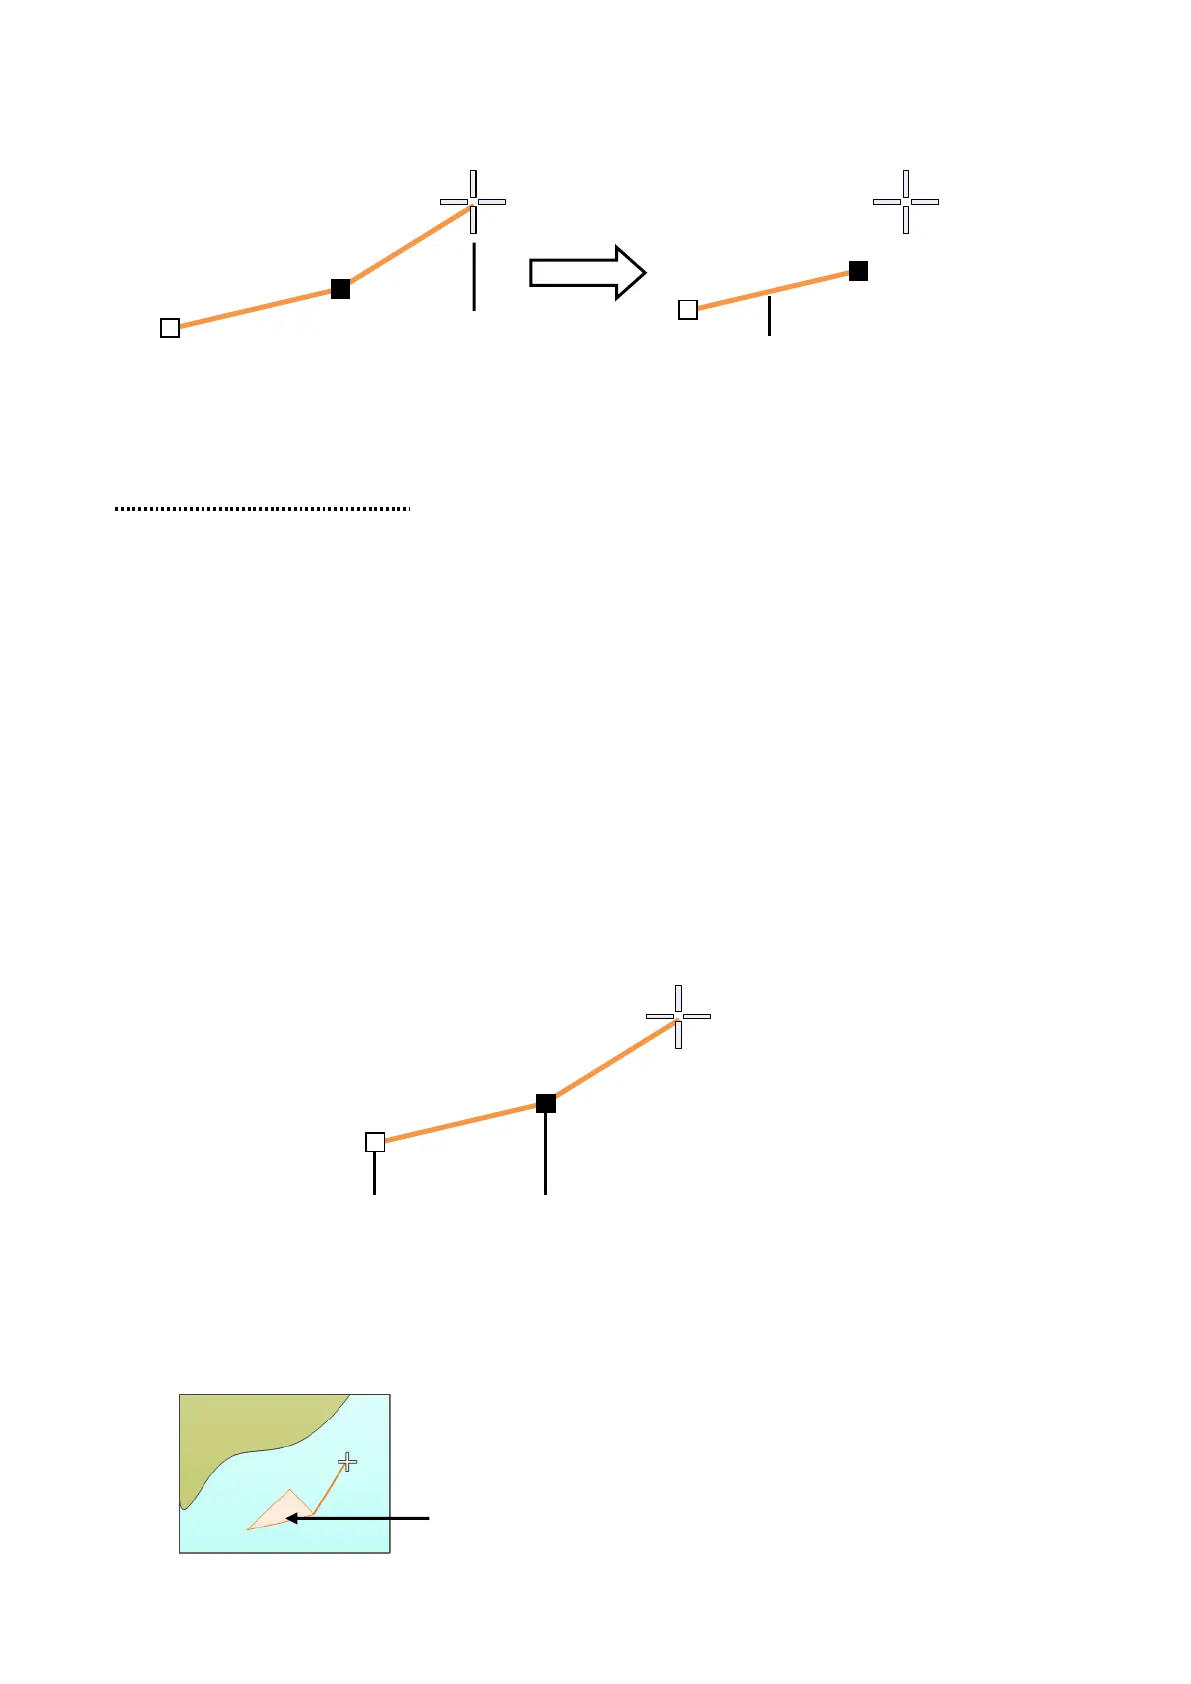
5 Click on the position on which the 3
rd
vertex is to be created.
A triangle is created by connecting the three vertices. A preview screen is displayed, enabling the
checking of the fill statuses of the polygon and the Warning area.
The latitude and longitude of the 3
rd
vertex are displayed on the object property dialog box.
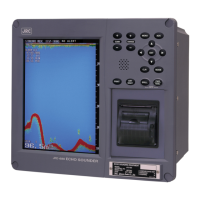
Determined with the line up to
the last vertex that was set
Resetting the starting
point selection state
The preview of the result of filling the area is displayed.
 Loading...