– 43 –
1
2
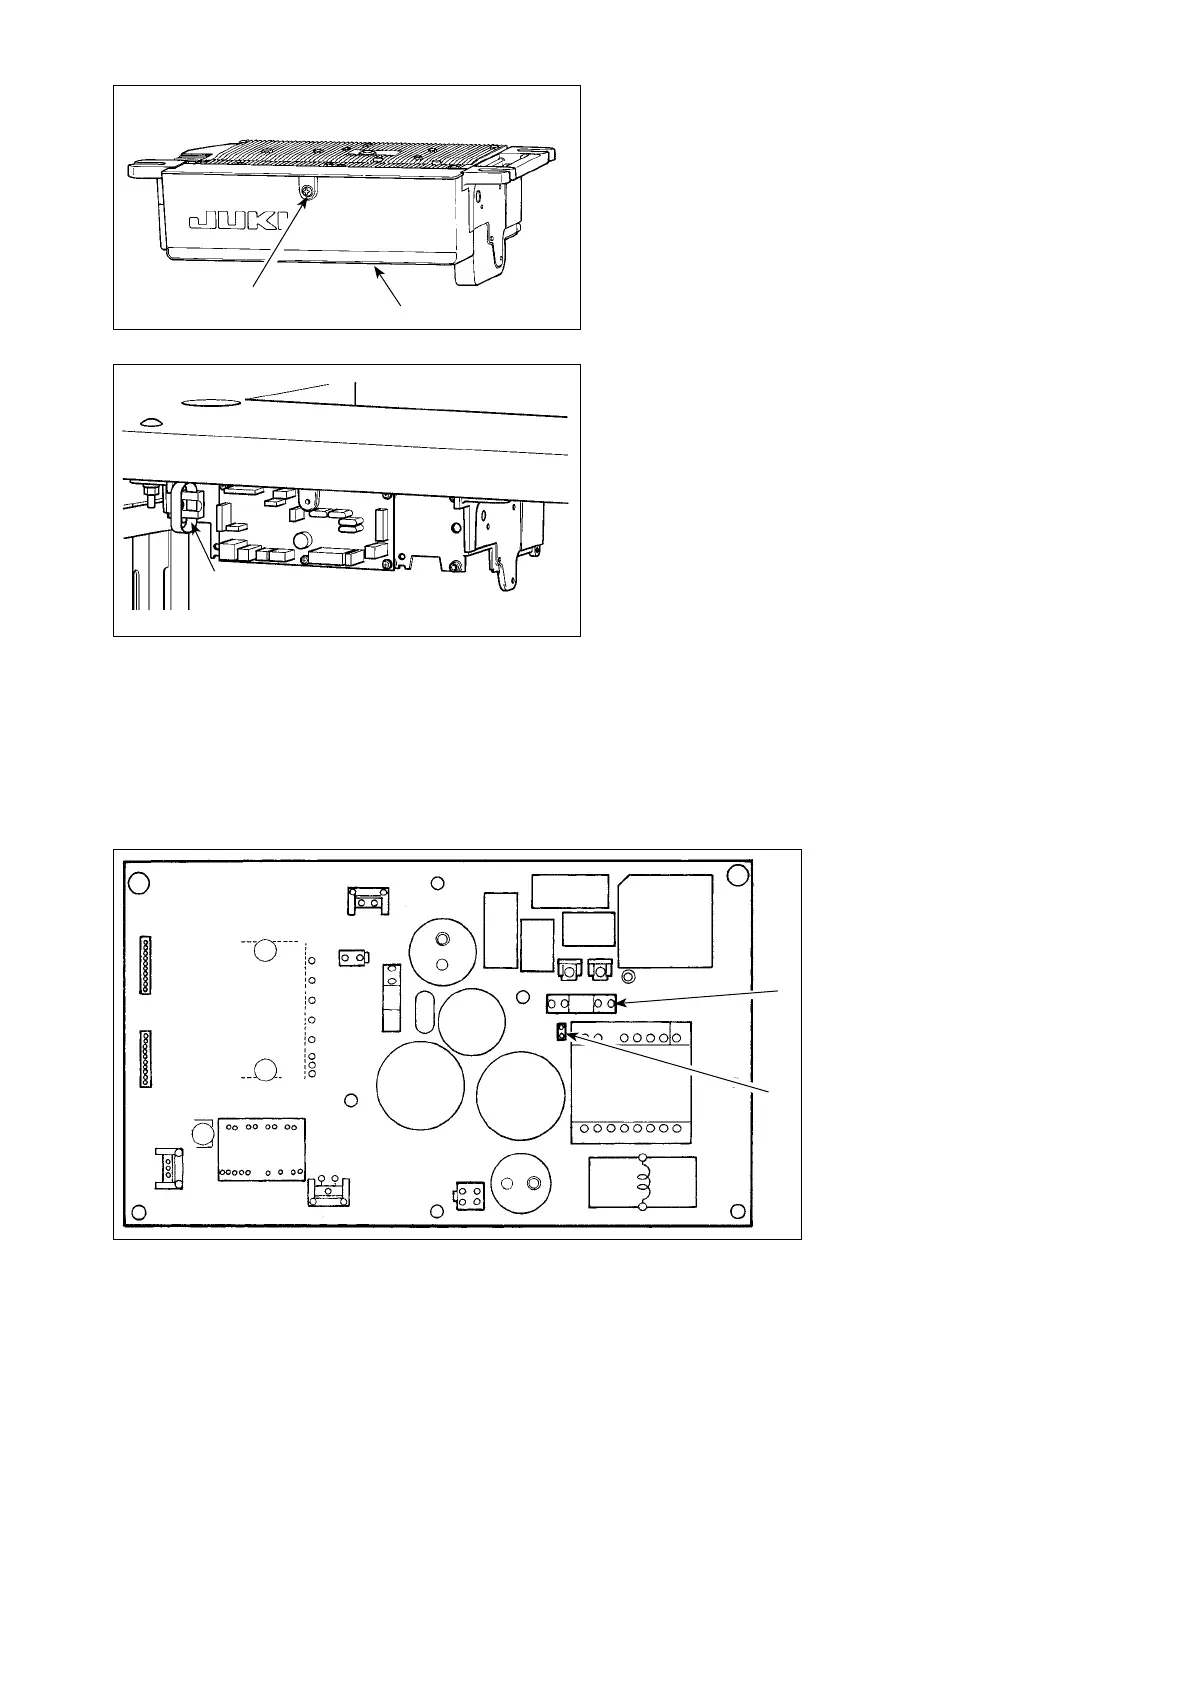
2. Replacing the fuse
(Caution) The illustration below shows the PWR-T PCB. The type of PCB differs by destination.
1) Remove all the cables
which are connected to
the control box.
2) Remove the connecting
rod.
3) Remove the control box
from the table stand.
4) Holding the glass sec-
tion of fuse
1
, remove
the fuse.
(Caution) There is a risk of electrical shock when removing the fuse. Be sure to remove the fuse after
LED
2
has totally gone out.
5) Be sure to use a fuse with the designated capacity.
1
: 3.15 A/250 V Time-lag fuse
(Power circuit protective fuse)
Part number: KF000000080
6) Install the control box on the table stand. (Refer to
"
@
-1. Installing to the table" p. 1
.)
7) Connect all the cables to the control box. (Refer to
"
@
-3. Connecting the cords" p. 3
.)
8) Fit the connecting rod back in place. (Refer to
"
@
-4. Attaching the connecting rod" p. 11
.)
3
3) Loosen setscrew
2
in cover
1
. Open cover
1
.
4) To close cover
1
, re-tighten setscrew
2
while
paying attention to the orientation of cable clip
band
3
mounted on the side face of the box.
1
2