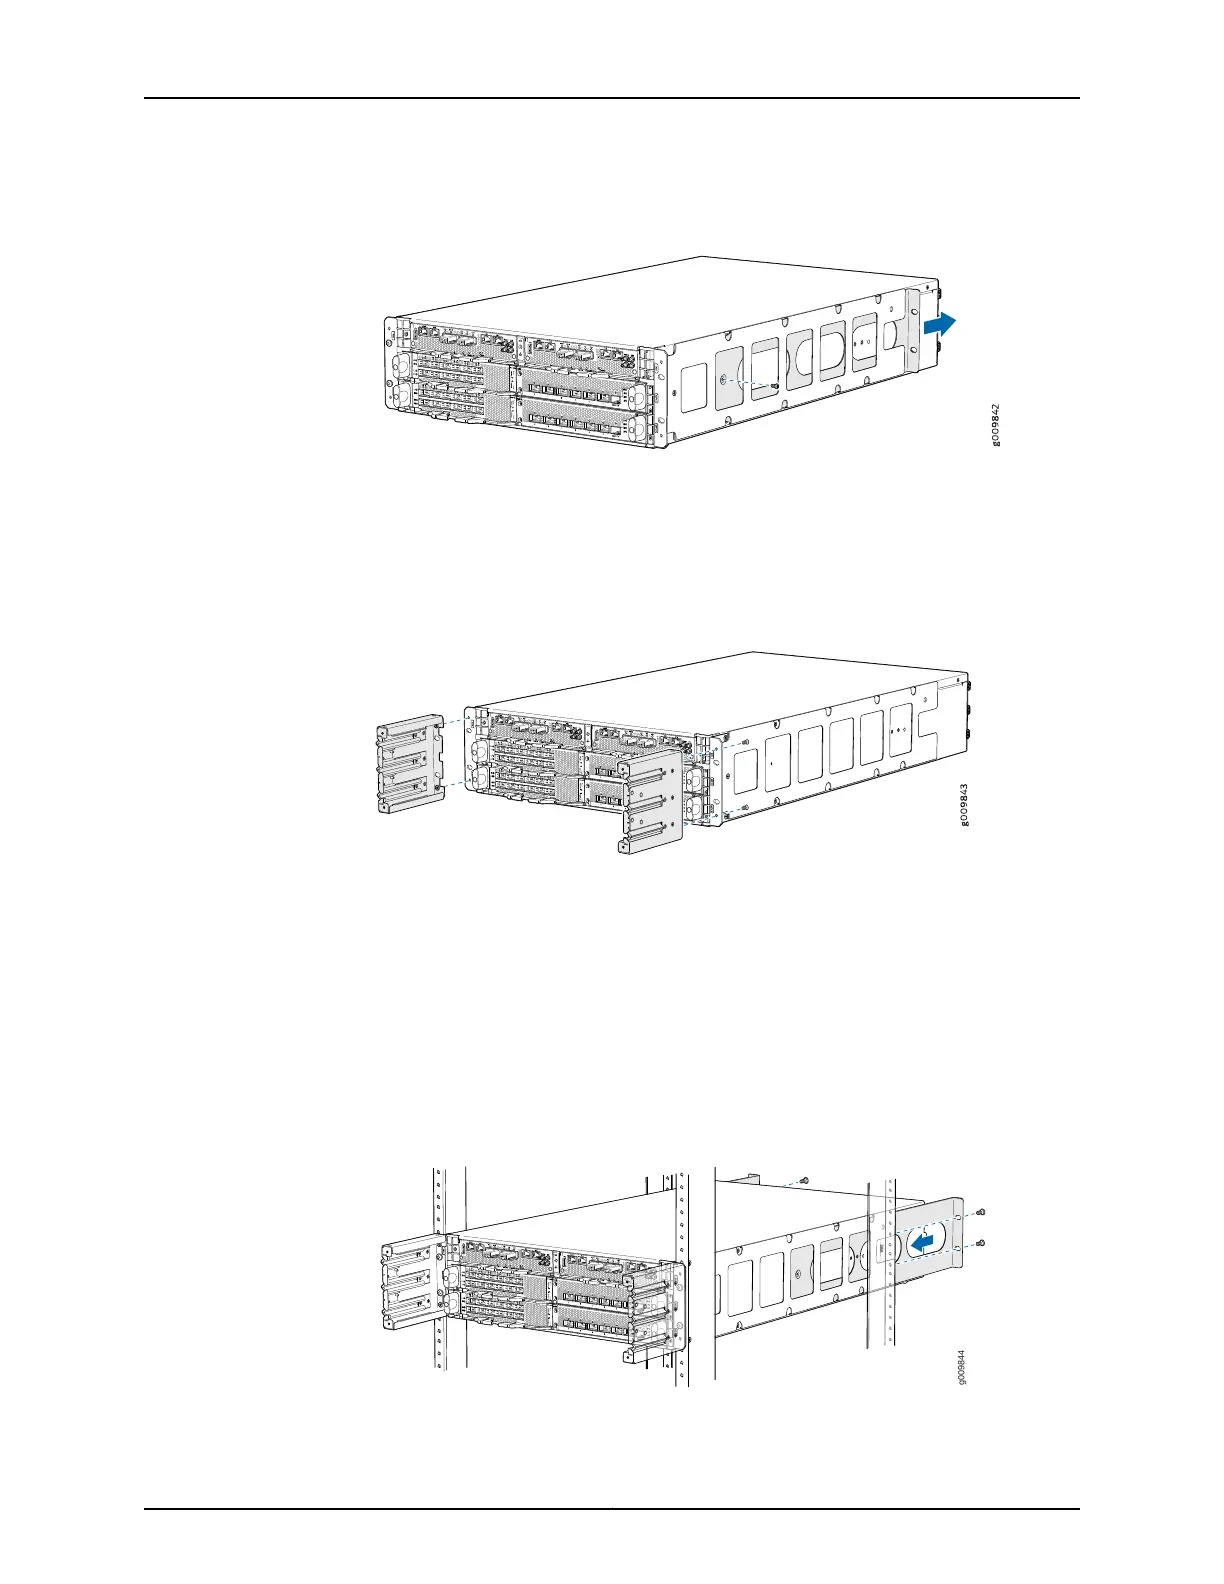
Figure 4: Removing the Rear-Mounting Brackets
4. Install the cable management brackets on each side of the front of the chassis, and
secure each bracket with screws at the bottom and top of the bracket (see
Figure 5 on page 7).
Figure 5: Installing the Cable Management Brackets
5. With one person on each side, hold on to the bottom of the chassis and carefully lift
it so that the mounting brackets contact the rack rails.
6. Carefully slide the router onto the mounting brackets until the front-mounting brackets
attached to the chassis contact the rack rails (see Figure 6 on page 7). The mounting
brackets ensure that the holes in the front-mounting brackets attached to the chassis
align with the holes in the rack rails.
Figure 6: Installing the Router in a Four-Post Rack
7Copyright © 2017, Juniper Networks, Inc.
Step 2: Install the MX10003 Chassis in the Rack