Before you remove a fan tray:
•
Ensure you understand how to prevent ESD damage. See “Prevention of Electrostatic Discharge Damage”
on page 343.
•
Ensure that you have the following parts and tools available to remove a fan tray:
•
Electrostatic discharge (ESD) grounding strap
•
Replacement fan tray
•
A Phillips (+) screwdriver, number 1 or 2 (optional), for the captive screws
CAUTION: A fan tray can be removed and replaced while the router is operating. Fan
trays must be replaced within the duration mentioned in Table 56 on page 179.
To remove either the JNP10008-FAN or the JNP10008-FAN2 fan tray:
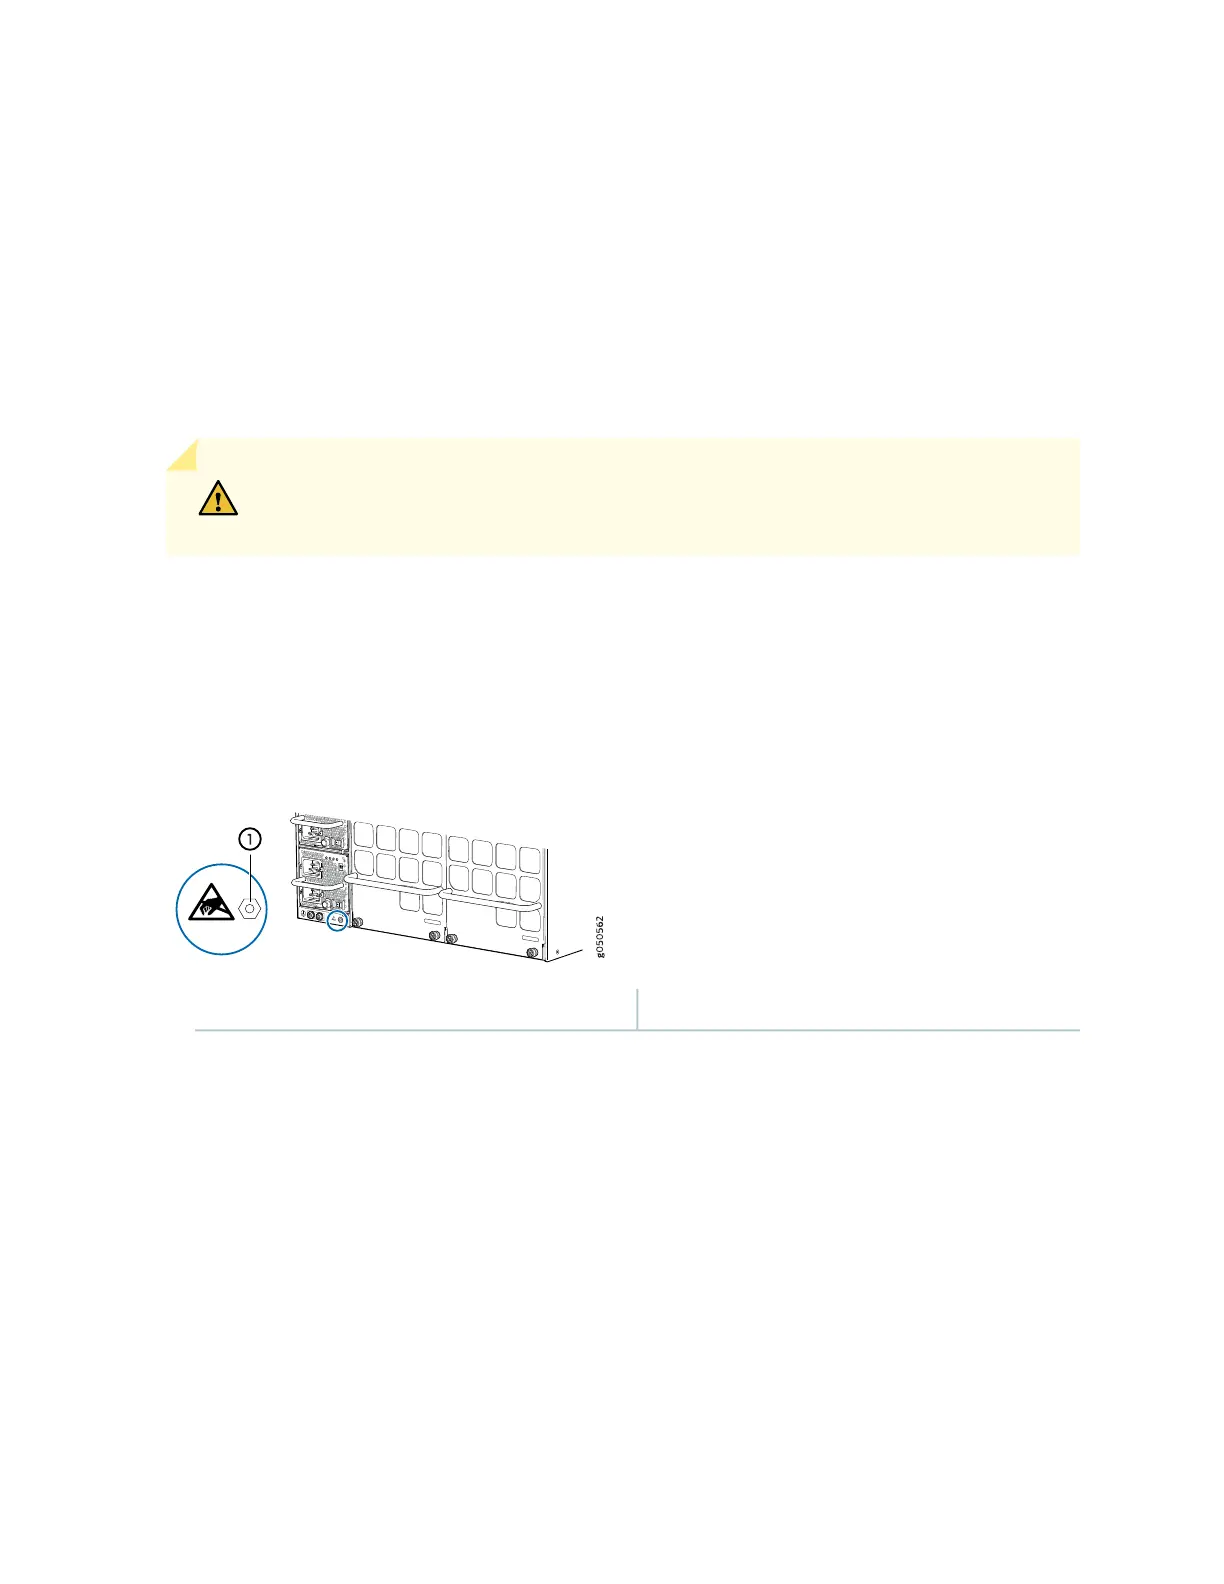
1. Attach the electrostatic discharge (ESD) grounding strap to your bare wrist, and connect the strap to
the ESD point on the rear left side of the chassis. See Figure 75 on page 180.
Figure 75: ESD Point on the Rear of an MX10008
1—ESD point
2. Loosen the four captive screws either by unscrewing with your thumb and forefinger or by using a
Phillips screwdriver.
3. Grasp the top and bottom handles and pull the fan tray out about 3 in. (7.6 cm). See Figure 76 on page 181
and Figure 77 on page 182.
180