10. Install the plastic cable cover over each set of power cables by using the Phillips (+) screwdriver,
number 2, to tighten the screw.
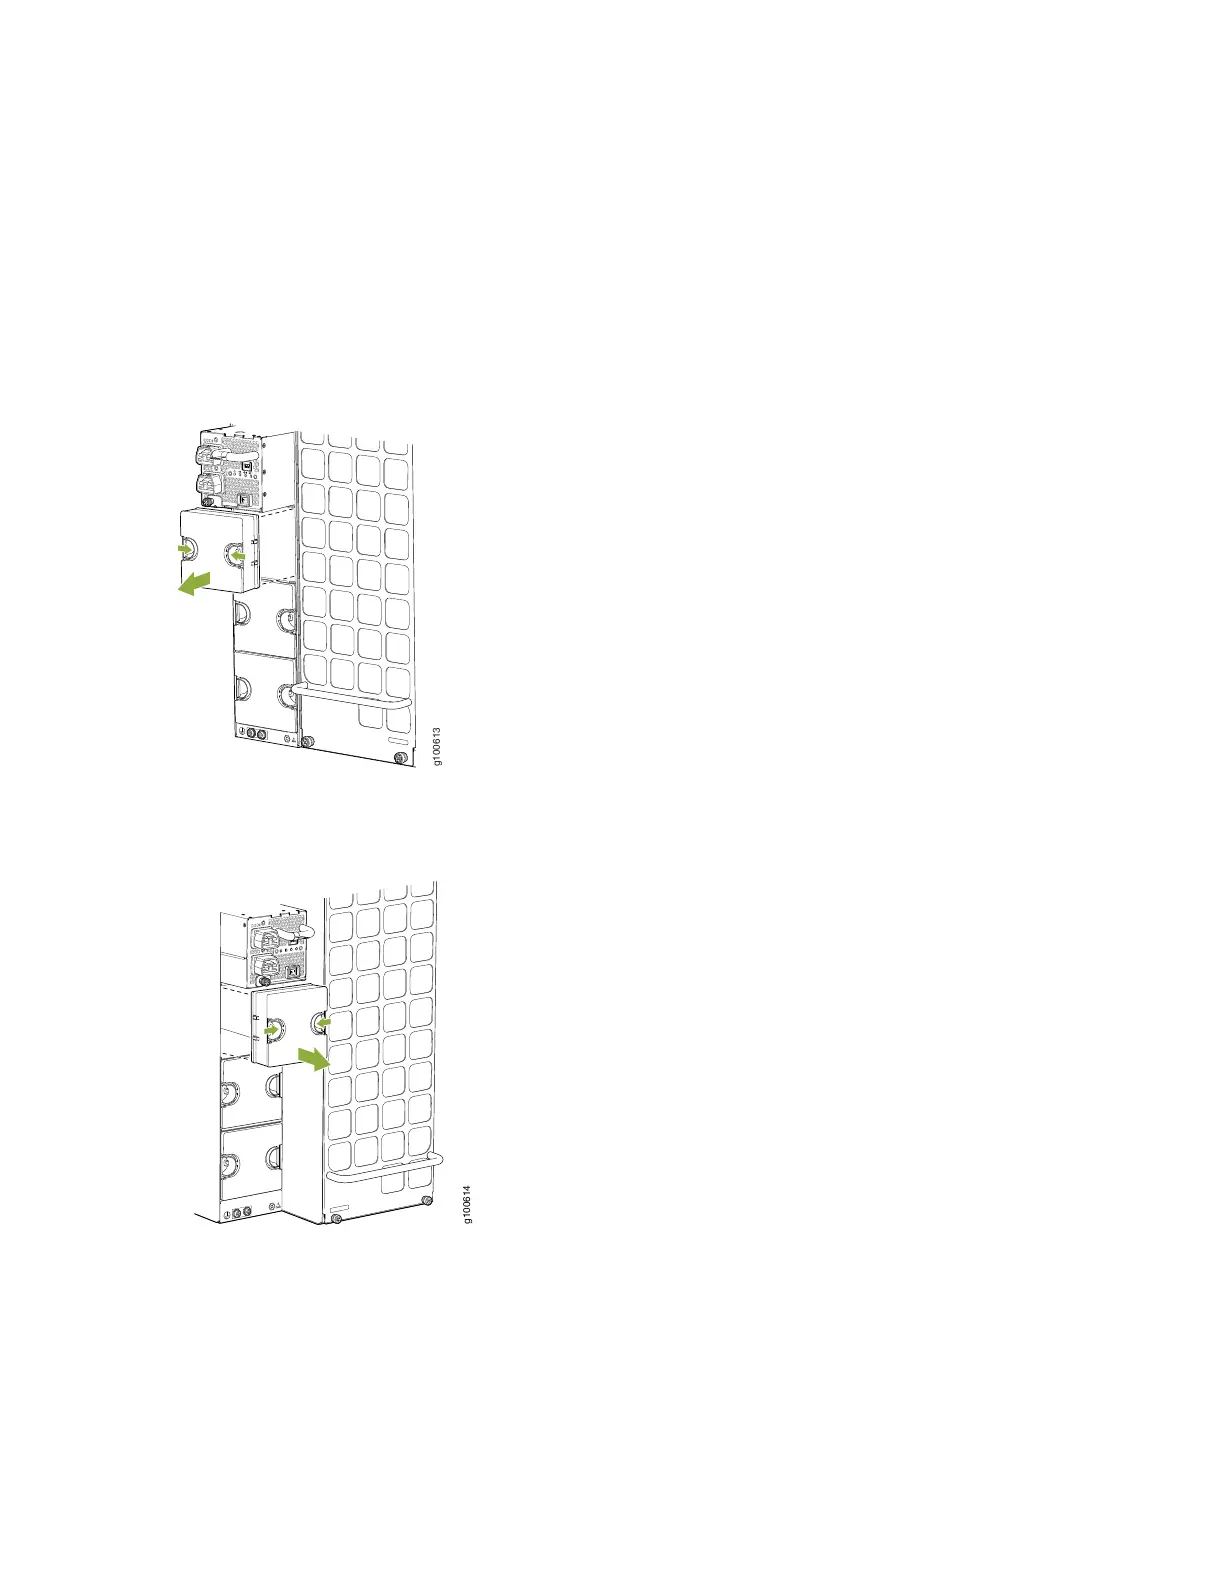
11. If the power supply slot on the chassis has a cover panel on it, insert your thumb and forefinger into
the finger holes, squeeze, and pull the cover out of the slot. Save the cover panel for later use (see
Figure 135 on page 239 and Figure 136 on page 239).
Figure 135: Removing the Power Supply Cover Panel on an MX10008
Figure 136: Removing the Power Supply Cover Panel on an MX10016
12. Unscrew the captive screw in the counterclockwise direction by using the Phillips (+) screwdriver,
number 1.
13. Rotate the captive screw away from the faceplate of the power supply to release the latch.
239