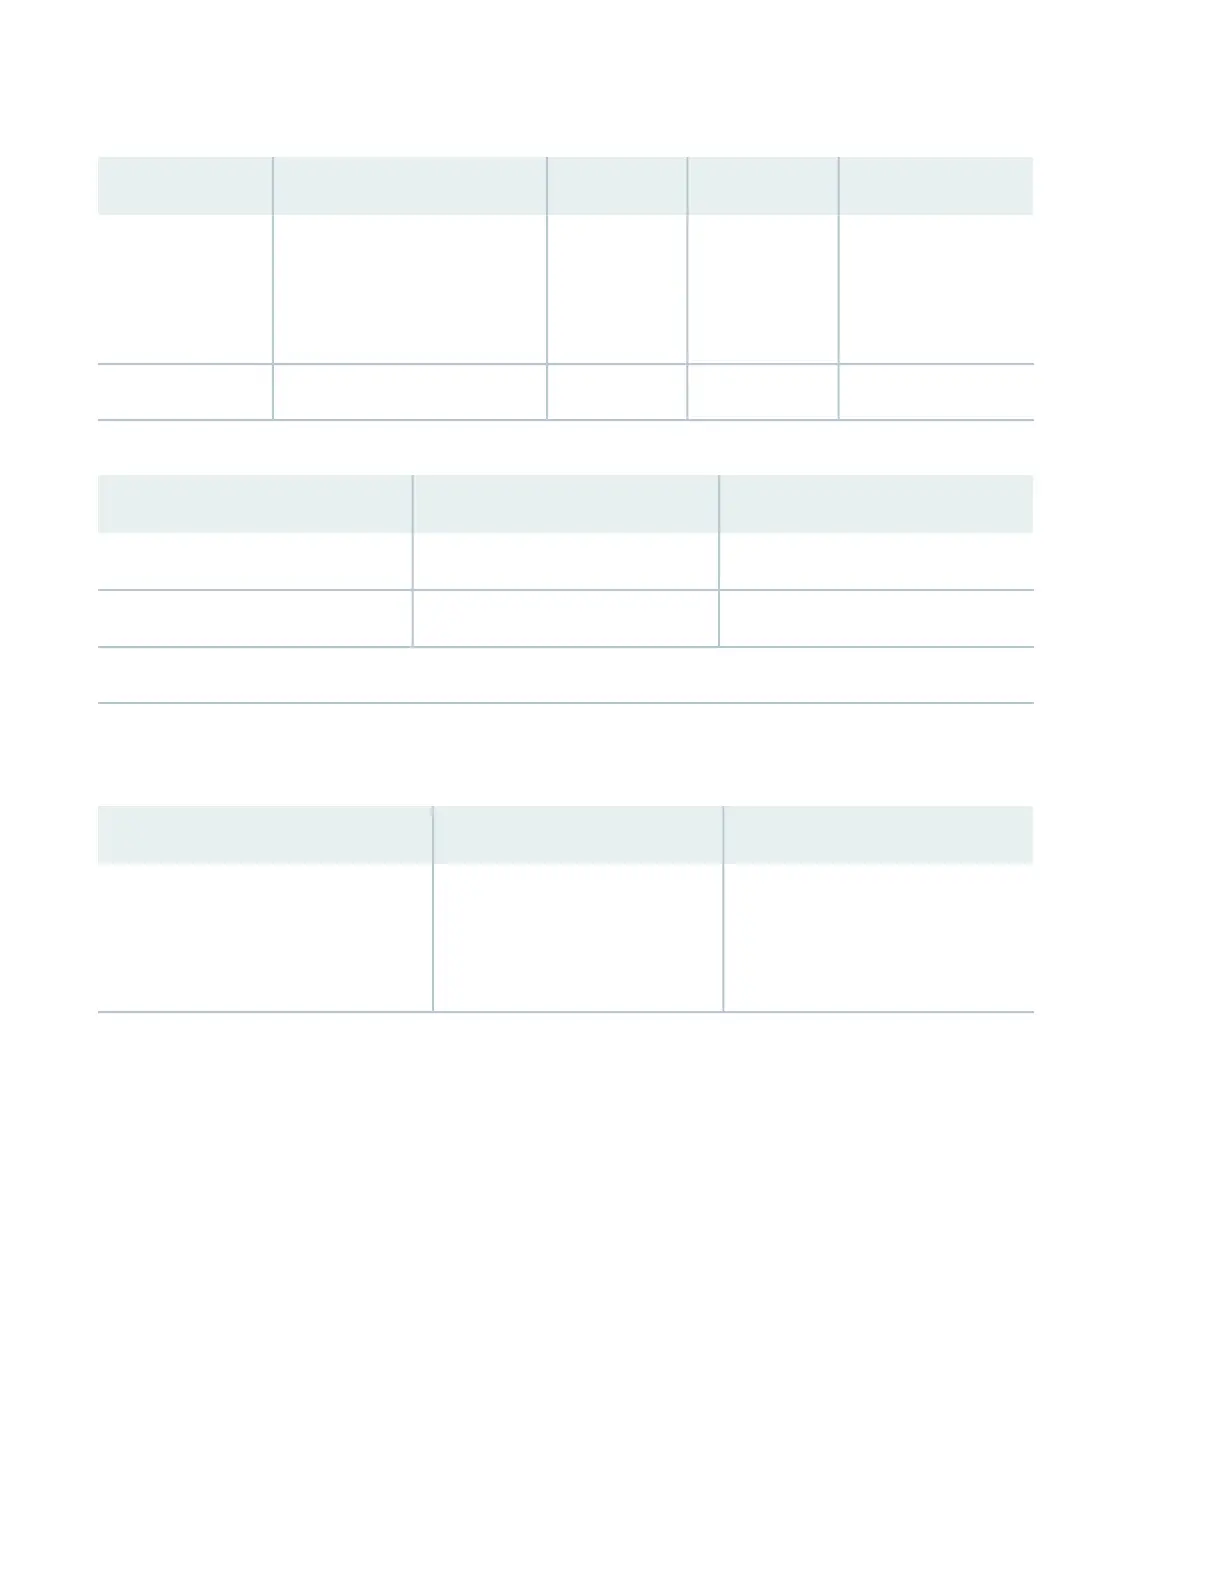
Table 4: Ethernet Interfaces (continued)
IP AddressDHCP StateSecurity ZoneInterfacePort Label
192.168.2.1/24ServertrustVLAN Interface irb.0
(ge-0/0/1 to ge-0/0/15)
(xe-0/0/16 to xe-0/0/18)
0/1 to 0/18
192.168.1.1/24Serverfxp0MGMT
Table 5: LTE Interfaces
IP AddressSecurity ZoneInterface
N/AN/Acl-1/0/0
ISP assigned*untrustdl0 (logical)
*Only if the LTE Mini-PIM is present
The SRX380 device is shipped with the following services and protocols enabled by default:
Table 6: Services, Protocols, and Startup Mode
Device Startup ModeProtocolsServices
SwitchingRSTP (all interfaces)SSH
HTTPS
NETCONF over SSH
To provide secure traffic, a basic set of screens are configured on the untrust zone.
Install the SRX380 in a Rack
You can install the SRX380 in a four-post rack. The rack mounting kit is shipped with the device. Before you start:
•
Review the General Safety Guidelines and Warnings
•
Have someone on hand to help you install the SRX380
•
Make sure you have a number 2 Phillips screwdriver and screws to secure the chassis to the rack
•
Check the SRX380 package for the following:
4