0
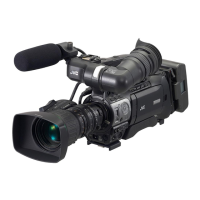
“ALL SCENES” (video)/“ALL IMAGES” (still image):
All videos or still images in this unit are copied.
0
“UNSAVED SCENES” (video)/“UNSAVED IMAGES” (still
image):
Videos or still images that have never been copied are automatically
selected and copied.
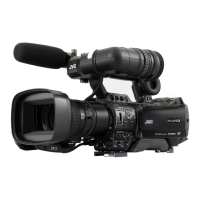
6
Tap “EXECUTE”.
.
0
The number of discs required to copy the files is displayed.
Prepare the discs accordingly.
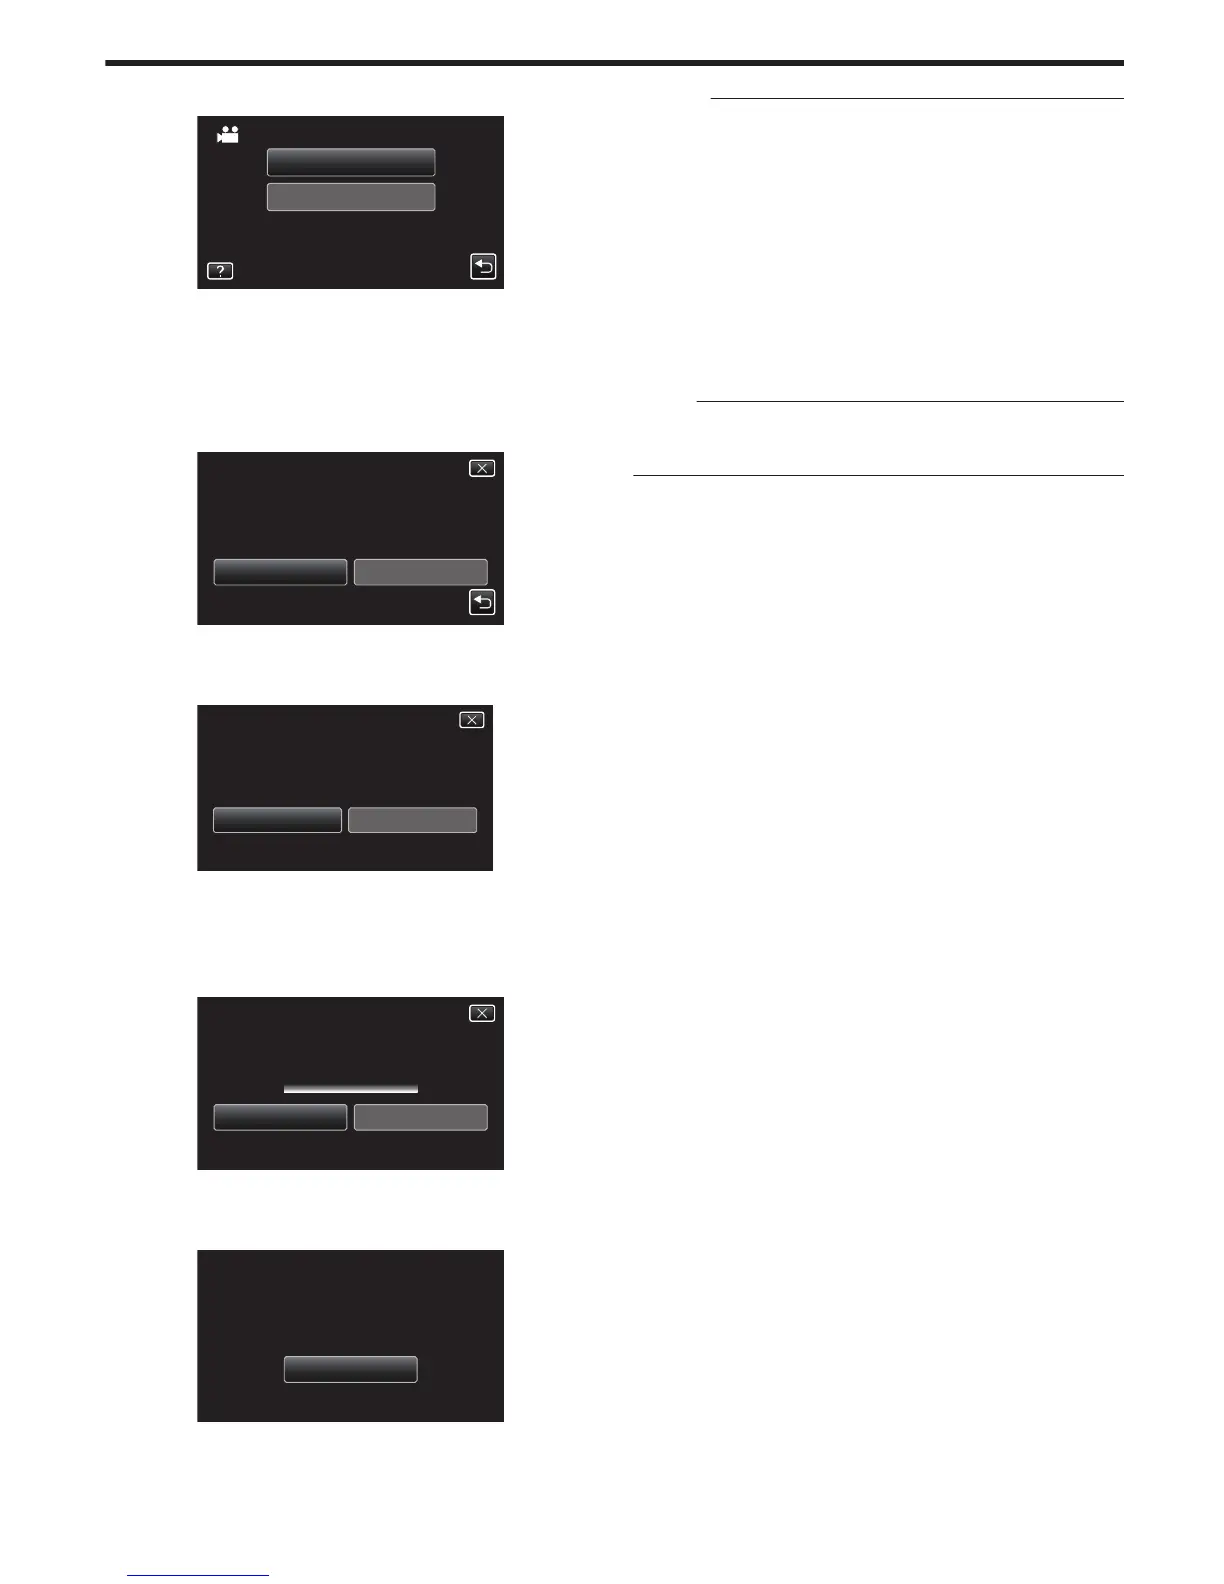
7
Tap “AUTO” or “BY DATE”. (A mode only)
.
0
When “AUTO” is selected, videos with similar recording dates are
displayed in groups.
0
When “BY DATE” is selected, videos are displayed according to
recording dates.
8
Tap “EXECUTE”.
.
0
When “INSERT THE NEXT DISC TO CREATE OR PRESS STOP TO
EXIT” appears, change the disc.
9
Tap “OK” when “COMPLETED” is displayed.
.
10
Turn off this unit and disconnect the USB cable.
Caution :
0
Do not turn off the power or remove the USB cable until copying is
complete.
0
Files that are not on the index screen during playback cannot be copied.
Special files cannot be copied either.
0
All DVDs will be finalized automatically.
While files
cannot be added to the DVD-R/DVD-RW later, files can still be
added to the BD-R/BD-RE.
0
DVDs that are created in “DVD(AVCHD)” format are playable only on
AVCHD compatible devices.
0
Videos that are recorded in the 50p mode (when “SYSTEM SELECT” is
set to “50p”) can only be copied to Blu-ray discs.
0
Blu-ray discs containing videos that are recorded in the 50p mode (when
“SYSTEM SELECT” is set to “50p”) are playable only on AVCHD
Progressive compatible devices.
Memo :
0
To check the created disc, refer to ““Playing Back with a BD Writer
(External Blu-ray Drive)” (A p. 77) ”.
“Playing Back with a BD Writer (External Blu-ray Drive)” (A p. 77)
Copying
71

 Loading...