Adjusting the Camera
Image
The picture quality of the camera can be set using
the [Camera Process] menu.
As the adjustments are shown on the screen, you
can adjust the values while checking the picture
quality on the camera.
0
[Detail]
0
[Master Black]
0
[Black Toe]
0
[Knee]
0
[White Clip]
0
[Gamma]
0
[WDR]
0
[White Balance]
0
[Color Matrix]
0
[Color Gain]
0
[Reverse Picture]
0
[Shooting Mode]
Memo :
0
For details of the respective items, see the
[Camera Process] menu.
(A P114 [Camera Process Menu] )
Using the Image Stabilizer
F
Reduces blurring of images due to camera shake.
1
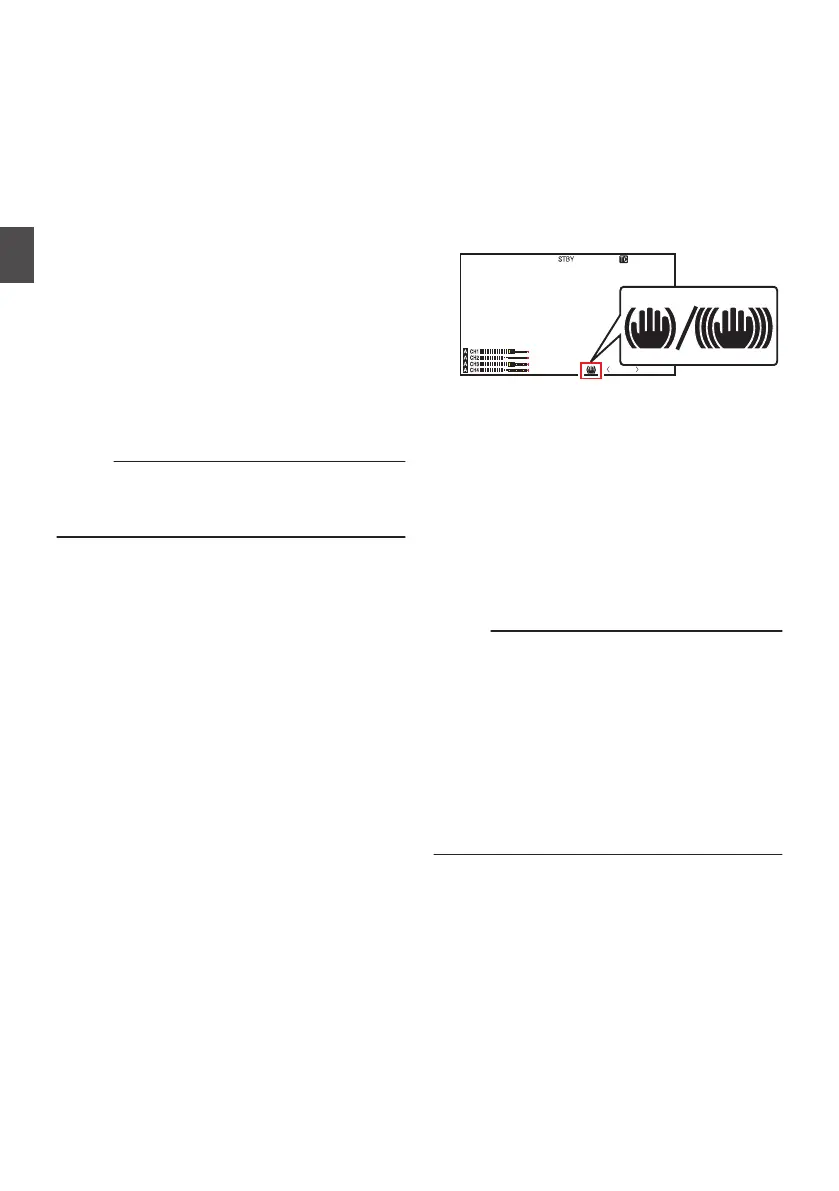
Check whether the image stabilizer feature
is turned ON or OFF.
If the image stabilizer icon (i/j) does not
appear on the screen display, the image
stabilizer function is OFF.
.
P13000K
1/100
F1. 6
0
dB
AE+6
ND 1 /64
12 :34 :56
Jan 24 , 2014
00: 00:00.00
5 . 6 f t
2
Press the [OIS/1] button to turn ON the
image stabilizer feature (when image
stabilizer feature is OFF).
The image stabilizer feature switches between
ON and OFF with every press of the [OIS/1]
button.
0
OFF:
Use this setting when the camera recorder is
secured, such as when using a tripod.
0
ON:
Reduces blurring of images due to camera
shake.
Memo :
0
Select [Main Menu] B [Camera Function] B
[OIS] B [Level] to set the correction level.
(A P108 [ Level ] )
0
Correction by this feature may not be sufficient
when camera shake is too strong.
0
“OIS” is assigned to [OIS/1] button in factory
default.
0
“OIS” can also be assigned to other user
buttons.
(A P42 [Assignment of Functions to User
Buttons] )
68
Adjusting the Camera Image
Shooting
 Loading...