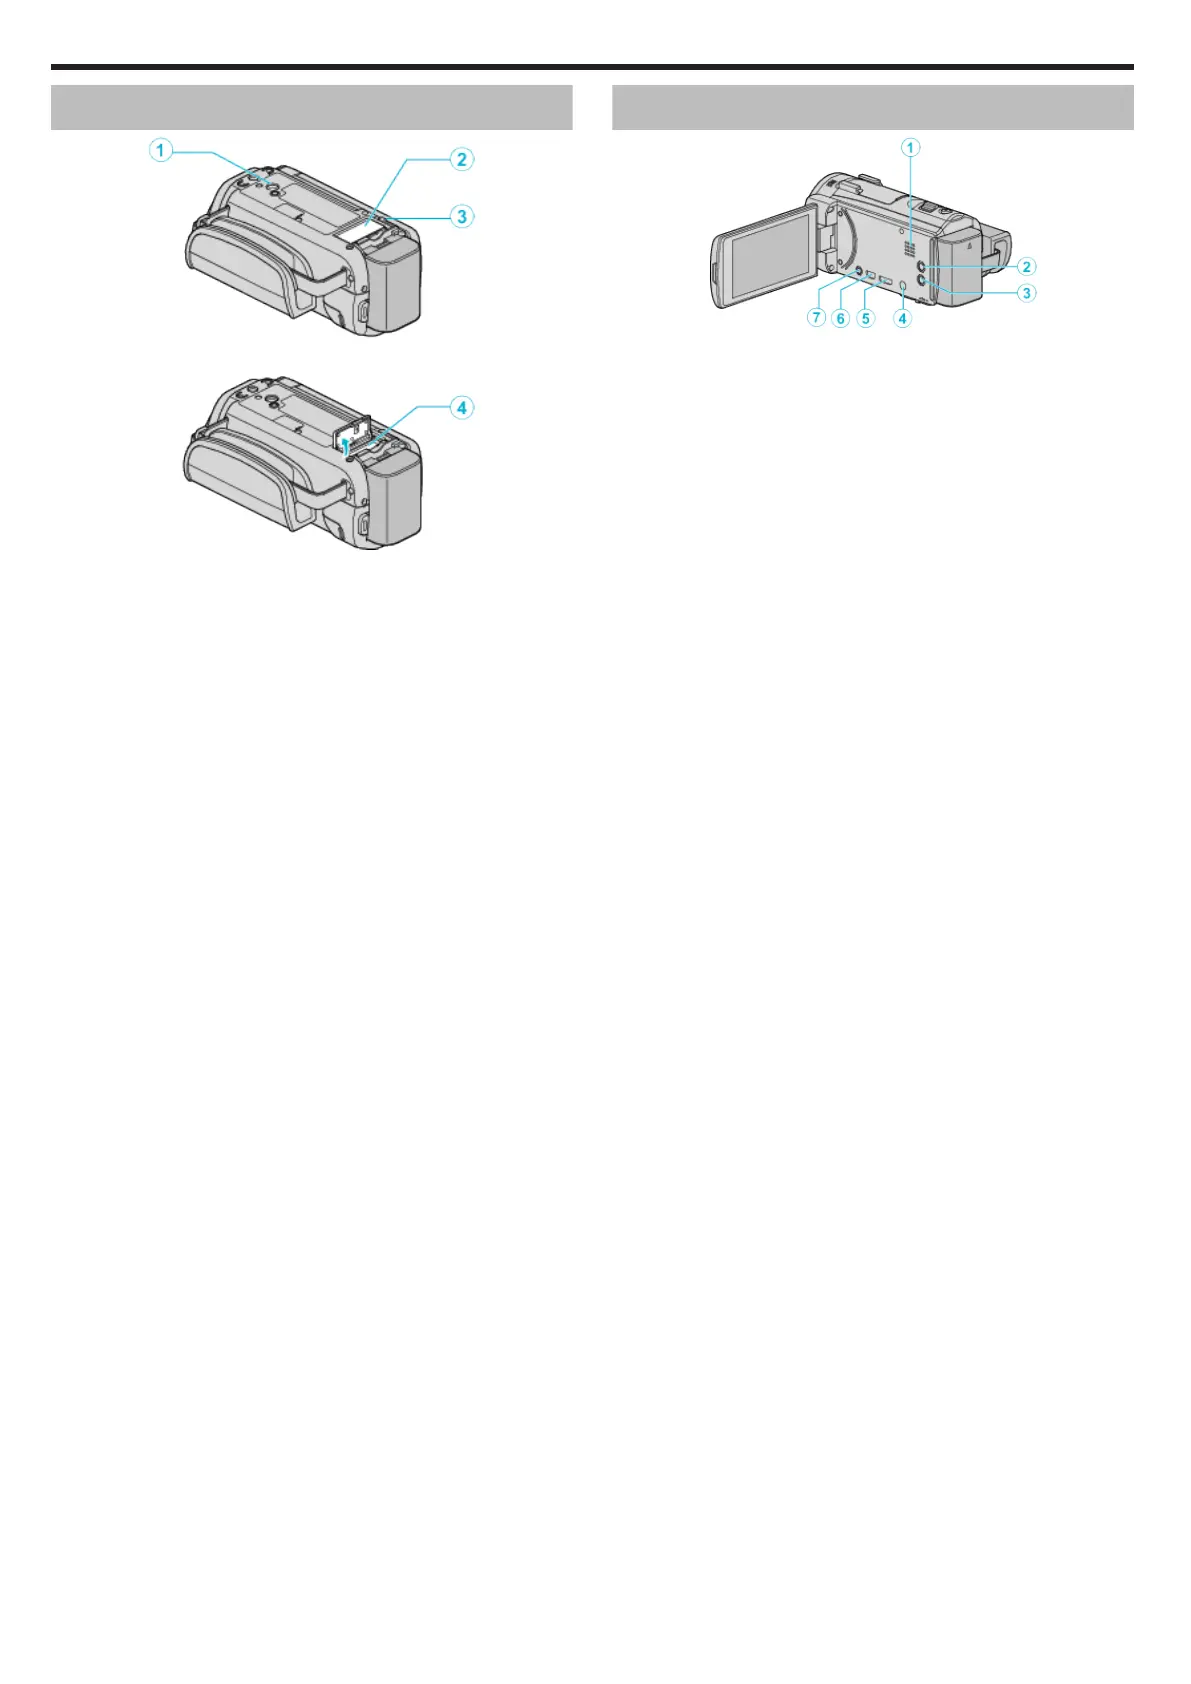
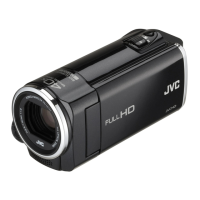
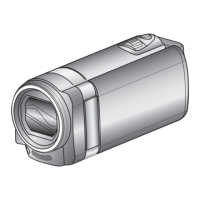
Bottom
.
A Tripod Mounting Hole
“Tripod Mounting” (A p. 23)
B SD Card Cover
C Battery Release Lever
“Charging the Battery Pack” (A p. 14)
D SD Card Slot
0
Insert an optional SD card.
“Inserting an SD Card” (A p. 16)
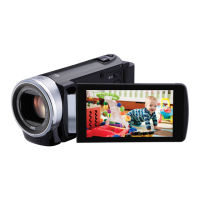
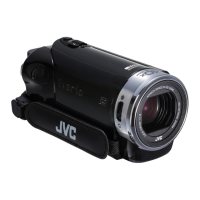
Interior
.
A Speaker
0
Outputs audio sound during video playback.
B a (Image Stabilizer) Button
0
The setting of image stabilizer changes with every press while video
recording is stopped.
“Reducing Camera Shake” (A p. 54)
C M (Power) Button
0
Press and hold to turn the power on/off while the LCD monitor is
opened.
D HDMI mini connector
0
Connects to TV using an HDMI mini cable.
E USB Connector
0
Connects to computer using a USB cable.
F
AV/Headphones Connector
0
Connects to the AV connector of a TV, etc.
0
Connects to the headphone (sold separately).
Names of Parts
248