Masterpage:Right-No-Heading
71
Filename [XVS30EK_10Subsidiary.fm]
Page 71 September 2, 2003 4:59 pm
NOTES:
● Fine tuning is performed automatically during Auto Channel
Set. If you want to perform tuning manually, refer to page 72.
● If you perform Auto Channel Set when the aerial cable is not
connected properly, “SCAN COMPLETED –NO SIGNAL–”
appears on the TV screen in step E. When this happens, make
sure of the aerial connection and press OK; Auto Channel Set
will take place again.
Manual Channel Set
Store channels that were not stored during Auto Set Up
(
墌 pg. 12), Preset Download (墌 pg. 13) or Auto Channel Set
(
墌 pg. 70).
A
Access the Main Menu screen.
Press SET UP MENU.
B
Access the Confirmation screen.
Press rt to move the highlight bar (pointer) to
“MANUAL CH SET”, then press OK or e. The
Confirmation screen appears.
C
Select the channel position.
D
Select the band.
E
Input the channel.
Press the number keys to input the channel number you
want to store.
● Input “0” before any single number entries.
● To input the registered station name (ID –
墌 pg. 73), press e
until “– – – –” (ID setting) begins blinking, then press rt.
● For fine tuning adjustment, press e until “+/–” begins blinking,
then press rt. While tuning, “+” or “–” appears.
● When “L-2 SELECT” is set to “A/V” or “SAT”, the “DECODER”
setting cannot be changed. (
墌 pg. 57)
F
Enter new channel information.
Press OK and the Confirmation screen appears.
● Repeat steps C – F as necessary.
G
Close the Confirmation screen.
Press SET UP MENU.
● To change positions, see “Change Station Channel Position”
(
墌 pg. 72).
● If you wish to set station names other than the ones registered
in your unit, see “Set Stations (B)” (
墌 pg. 72).
Delete A Channel
A
Select the item.
Press rt w e until the item you want to delete begins
blinking.
B
Delete a channel.
Press &.
● The item directly beneath the cancelled one moves up one
line.
● Repeat steps A and B as necessary.
C
Close the Confirmation screen.
Press SET UP MENU.
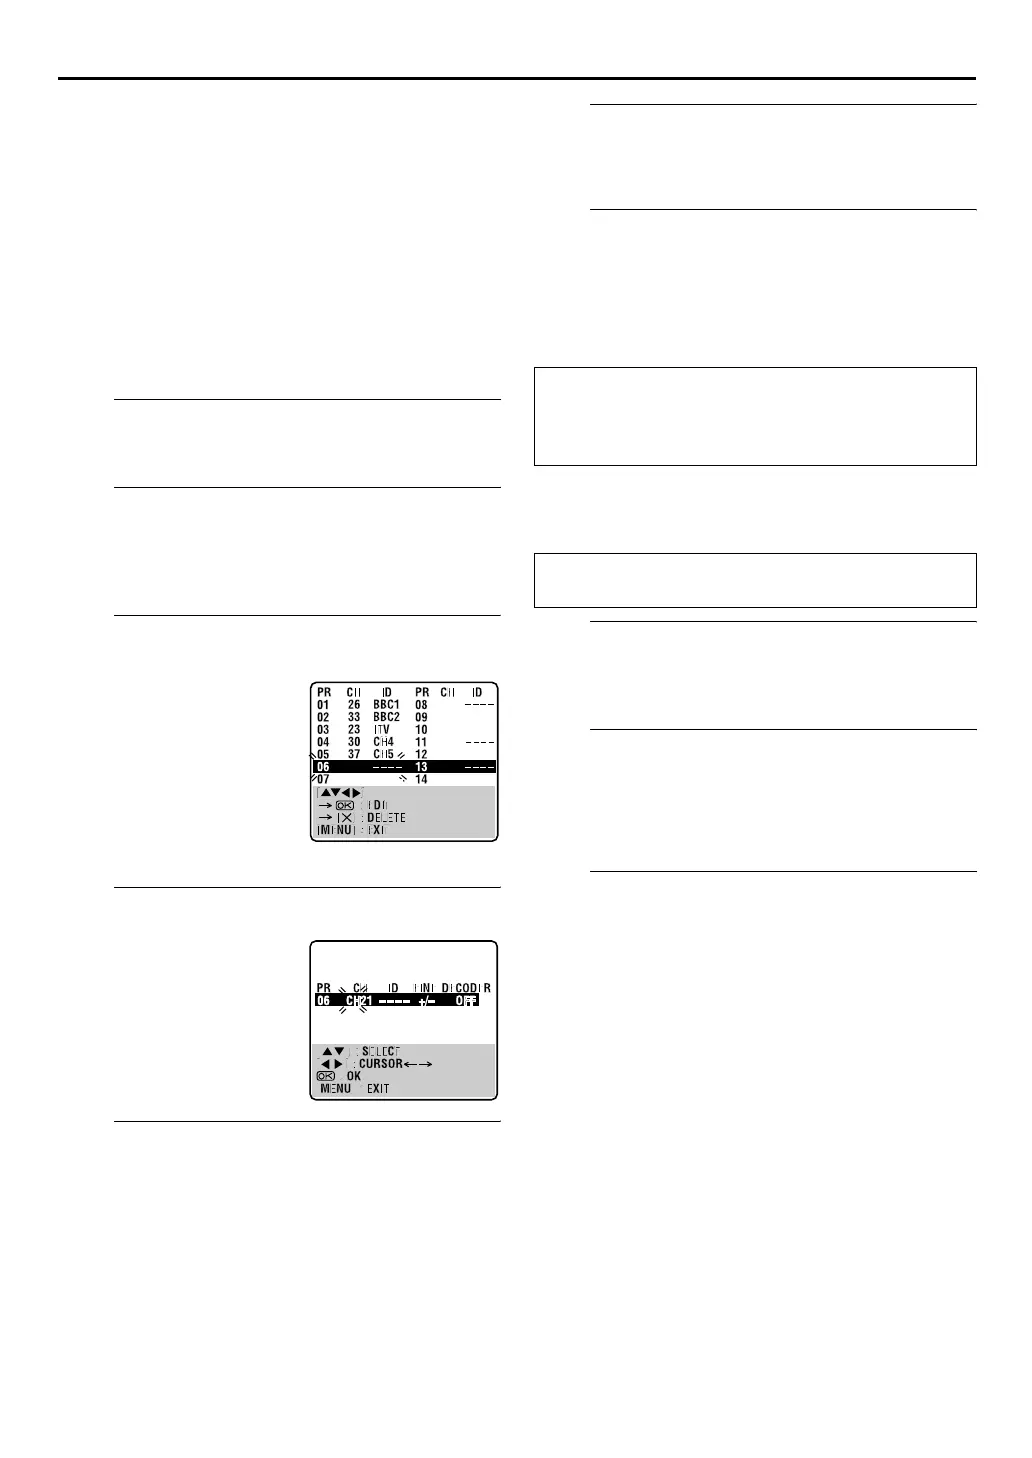
Press rt w e until an open
position in which you want to
store a channel begins
blinking, then press OK. The
Manual Channel Set screen
appears.
● The blueback screen and the
programme currently being
broadcast by the selected
channel appear alternately for 8
seconds each.
(Example) To store in position 12.
Press rt to change the
band between CH (regular)
and CC (cable), then press e.
ATTENTION
Guide Program numbers are not set when channels are
stored manually. (
墌 pg. 24, “VIDEO Plus+
®
Timer
Programming”)
Perform steps A and B of “Manual Channel Set” on page 71
to access the Confirmation screen before continuing.
XVS30EK_01.book Page 71 Tuesday, September 2, 2003 5:01 PM
 Loading...