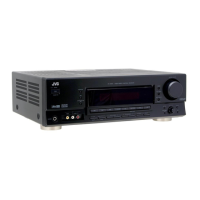
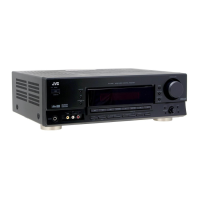
(No.MB504)1-9
3.1.3 Removing the rear panel and each I/O boards
(See Fig. 6 to 8)
(1) Remove the two screws F attaching the tuner board.
(2) Disconnect the card wire from CN411
of main board.
(3) Remove the three screws G attaching the digital board.
(4) Disconnect the connector CN481
and CN482 of main
board.
(5) Remove the four screws H attaching the main board and
remove the one screw J attaching the ground wire to front
board.
(6) Disconnect the connector CN421
of main board.
(7) Remove the two screws K attaching the subwoofer board.
(8) Disconnect the connector CN431
of main board.
(9) Remove the three screws L attaching the video board (for
European model, two screws L see Fig. 8)
(10) Remove the two screws M attaching the speaker terminal
board.
(11) Remove the one screw N attaching the fuse board.
(12) Remove the three screws P attaching the rear panel.
Fig.6
Fig.7
Fig.8
G FKJH L M
CN481
CN482
CN421
CN431
CN441
CN411
Digital board
Audio board
Subwoofer board
Tuner
Video board
K
 Loading...