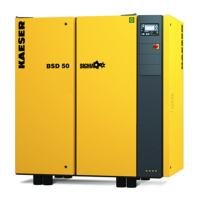
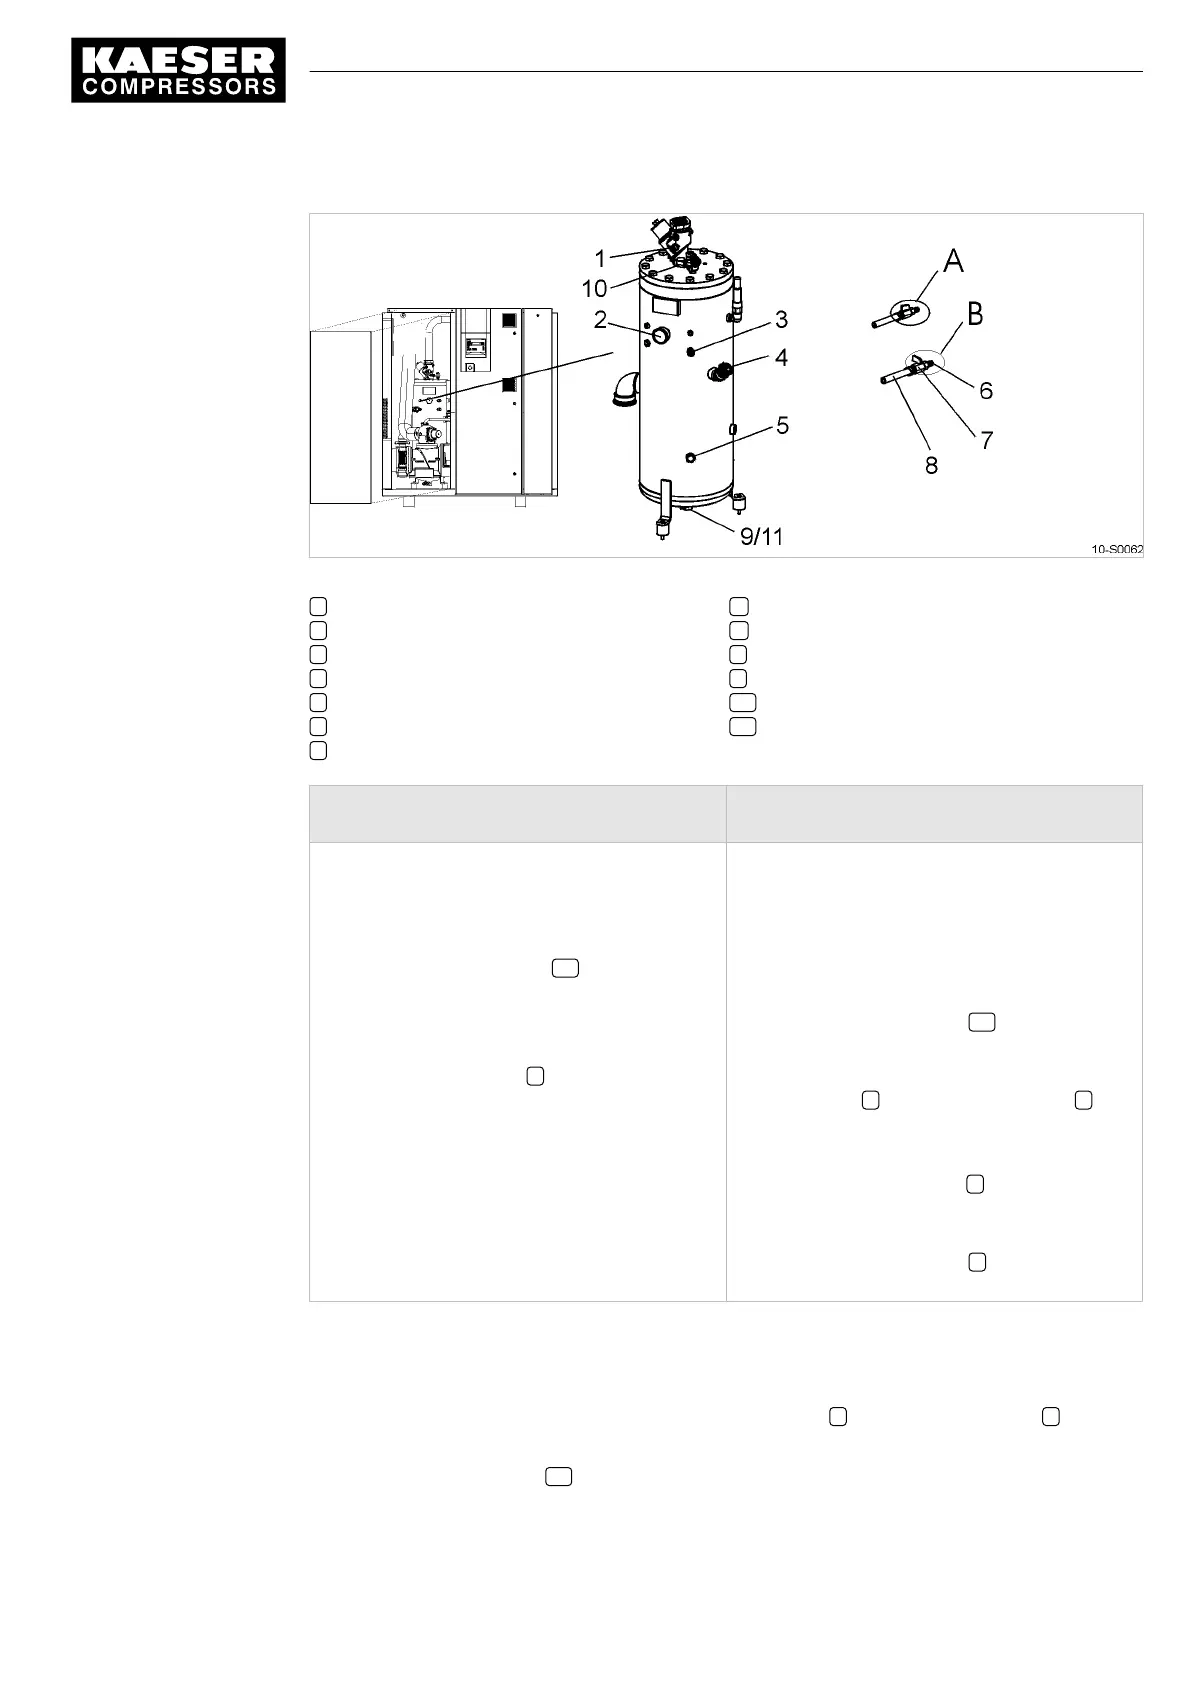
Fig. 32 Changing the cooling oil, oil separator tank
1 Hose coupling (air cooler venting)
2 Pressure gauge
3 Hose coupling (oil separator tank venting)
4 Oil filler port with plug
5 Cooling oil level indicator
6 Male hose fitting
7 Shut-off valve
A Shut-off valve open
B Shut-off valve closed
8 Maintenance hose
9 Hose coupling (oil drain)
10 Shut-off valve (venting line)
11 Shut-off valve (oil drain)
Changing the oil with internal pressure Changing the oil using an external compressed
air source
Machine has been running at least 5 minutes un‐
der LOAD.
The machine is fully vented, the pressure gauge
on the oil separator tank reads 0 bar.
1. Close the shut-off valve 10 in the venting
line.
2. Select IDLE running.
3. Start the machine and watch the oil separator
tank pressure gauge 2 until it reads 43–73
psig.
4. Switch off and lock out the power supply dis‐
connecting device and check that no voltage
is present.
5. Wait at least 2 minutes to allow the oil to flow
back to the separator tank.
The power supply isolating device is switched off,
the device is locked off,
a check has been made that no voltage is present.
The machine is fully vented, the pressure gauge
on the oil separator tank reads 0 psig.
An external source of compressed air is available.
1. Close the shut-off valve 10 in the venting
line.
2. With the shut-off valve closed, insert the male
hose fitting 6 into the hose coupling 3 .
3. Connect the maintenance hose to the exter‐
nal air supply.
4. Open the shut-off valve 7 until the pressure
gauge on the oil separator tank reads 43–
73 psig.
5. Close the shut-off valve 7 and remove the
male hose fitting from the coupling.
Draining the oil from the separator tank
1. Have an oil receptacle ready.
2. With the shut-off valve closed, insert the male hose fitting 6 into the hose coupling 9 .
3. Place the other end of the maintenance hose in the oil receptacle and secure it in place.
4. Open the shut-off valve 11 .
10 Maintenance
10.16 Changing the cooling oil
9_5708 08 USE
Service Manual Screw Compressor
BSD
79
 Loading...