1-10 Performance Verification Model 2500 Service Manual
Voltage bias accuracy
Follow the steps below to verify that Model 2500 bias voltage accuracy is within specified
limits. This test involves setting the bias voltage to specific values and measuring the volt-
ages with a DMM.
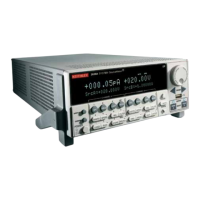
1. With the power off, connect the digital multimeter to the Model 2500 channel 1
INPUT and OUTPUT jacks, as shown in Figure 1-3. (Connect DMM INPUT HI to
the VOLTAGE SOURCE OUTPUT CHANNEL 1 jack, and connect DMM INPUT
LO to the inner ring (LO) of the INPUT CHANNEL 1 jack.)
2. Turn on the Model 2500 and DMM, and allow them to warm up for at least one
hour.
3. Restore BENCH defaults as covered in “Restoring factory defaults.”
4. Select the multimeter DC volts measuring function, and choose auto-range.
5. Press the SCR1 key, then select the Model 2500 10V bias range on channel 1 with
the RANGE
key.
6. Set the channel 1 source voltage to +10.000V as follows:
• Press the SRC1 key. Note that the EDIT annunciator turns on, and a digit
blinks in the
Src1:
display field to indicate the unit is in the edit mode.
• Set the source value in one of two ways: (1) key in the value using the numeric
keys, or (2) set the value using the EDIT keys. Use EDIT
and
to place the
cursor on the digit to be changed, and use EDIT
and
to increment or dec-
rement the value.
7. Press the OUTPUT key to turn on the output.
 Loading...