13
EN
5. Trasmitter
(remote control unit)
programming
START
RADIO
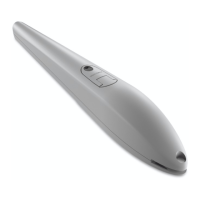
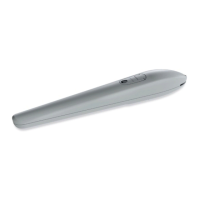
The transmitters to be programmed must be of the “Sty-
lo4K”, “Stylo2K”, DigyPad, Myo C4, NovoTX, NovoDigy series
by King Gates. See adjacent pictures.
If, at the start of the following procedures, the “set”, “ra-
dio” and “error” LEDs ash, it means that the programming
protections have been activated – see Paragraph 14.1.
Therefore, radio transmitters learning is not possible.
To interrupt the following programming procedures at
any time, press the RADIO button or wait 20 seconds.
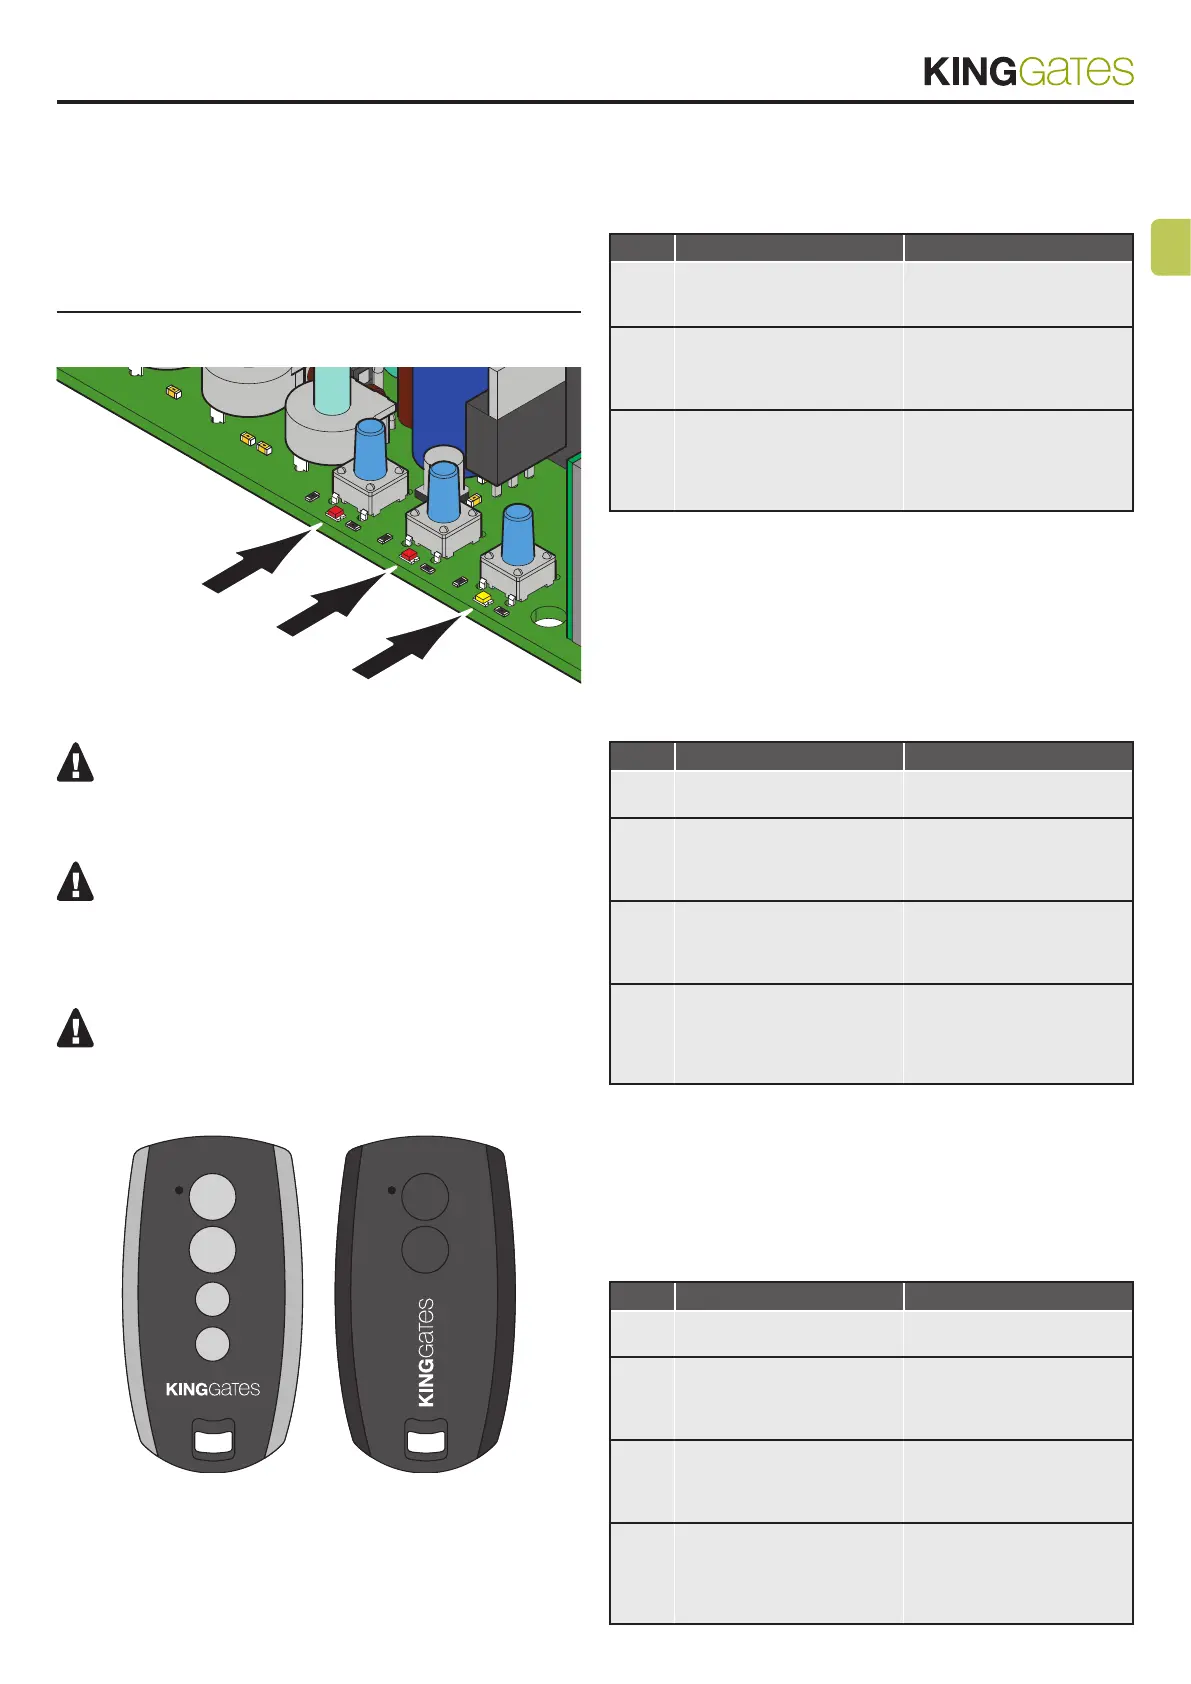
“Stylo4K” “Stylo2K”
5.1 - Start button programming
This procedure allows for programming the button of the radio
control linked to the automation’s start function.
STEP ACTION RESULT
1
PRESS THE RADIO
BUTTON FOR 1 SECOND
The red “radio” LED turns
on in the fixed mode (if not,
consult Paragraph 14.1)
2
PRESS THE DESIRED
BUTTON ON EVERY
TRANSMITTER TO BE
PROGRAMMED
The red “radio” LED
flashes
3
PRESS THE RADIO
BUTTON UNTIL RADIO
LED TURNS OFF OR WAIT
20 SECONDS TO EXIT
THE PROCEDURE
The red “radio” LED turns
off
5.2 - Programming of the button
linked to the “Lock/AUX”
output
This procedure allows for programming the button of the radio
control linked to the “Lock/AUX” output (terminals 11-12).
To use this function, the Lock/AUX output must be set to courtesy
light – see Paragraph 13.1.
STEP ACTION RESULT
1
PRESS THE RADIO
BUTTON FOR 1 SECOND
The red “radio” LED turns
on in the fixed mode
2
PRESS THE START
BUTTON FOR 1 SECOND
The red “radio” LED
remains lit in fixed mode
and the red “error” LED
turns on in fixed mode
3
PRESS THE DESIRED
BUTTON OF ALL THE
TRANSMITTERS TO BE
PROGRAMMED
The red “radio” LED
flashes and the red “error”
LED ramins lit in fixed
mode
4
PRESS THE RADIO
BUTTON UNTIL RADIO
LED TURNS OFF OR WAIT
20 SECONDS TO EXIT
THE PROCEDURE
The red “radio” LED and
the red “error” LED turn off
5.3 -
Programming of the button linked
to the on-board courtesy light
This procedure allows for programming the button of the radio
control linked to the on-board led courtesy light.
To use this function, the Lock/AUX output must be set to courtesy
light – see Paragraph 13.1.
STEP ACTION RESULT
1
PRESS THE RADIO
BUTTON FOR 1 SECOND
The red “radio” LED turns
on in the fixed mode
2
PRESS THE SET BUTTON
FOR 1 SECOND
The red “radio” LED
remains lit in fixed mode
and the yellow “set” LED
turns on in fixed mode
3
PRESS THE DESIRED
BUTTON OF ALL THE
TRANSMITTERS TO BE
PROGRAMMED
The red “radio” LED
flashes and the yellow
“set” LED ramins lit in fixed
mode
4
PRESS THE RADIO
BUTTON UNTIL RADIO
LED TURNS OFF OR WAIT
20 SECONDS TO EXIT
THE PROCEDURE
The red “radio” LED and
the yellow “set” LED turn
off
33