Scan
9
Click Scan Now to start the scan.
The picture is scanned and scan progress information appears that shows the progress of the scan.
When the scan is completed, scan complete information and controls appear.
10
If you have more pictures to scan, place the next one on the scanner glass and click Scan Next or
Preview>.
11
When you have finished scanning, you can enhance your scanned pictures before selecting an
output option by clicking Edit
(see Enhance Picture).
12
Click Continue to select output options.
13
Select Kodak EasyShare in the Destinations list box.
14
Select an album from the drop-down list or enter the name of a new album
15
Enter a base filename in the edit box.
16
If desired, select Open EasyShare software.
17
Click Send to Destination to send the scanned picture(s) to Kodak EasyShare.
Scan to Application
1
Place your photo or photos face down on the scanner glass. Your Kodak All-in-One Printer can
detect multiple photos.
2
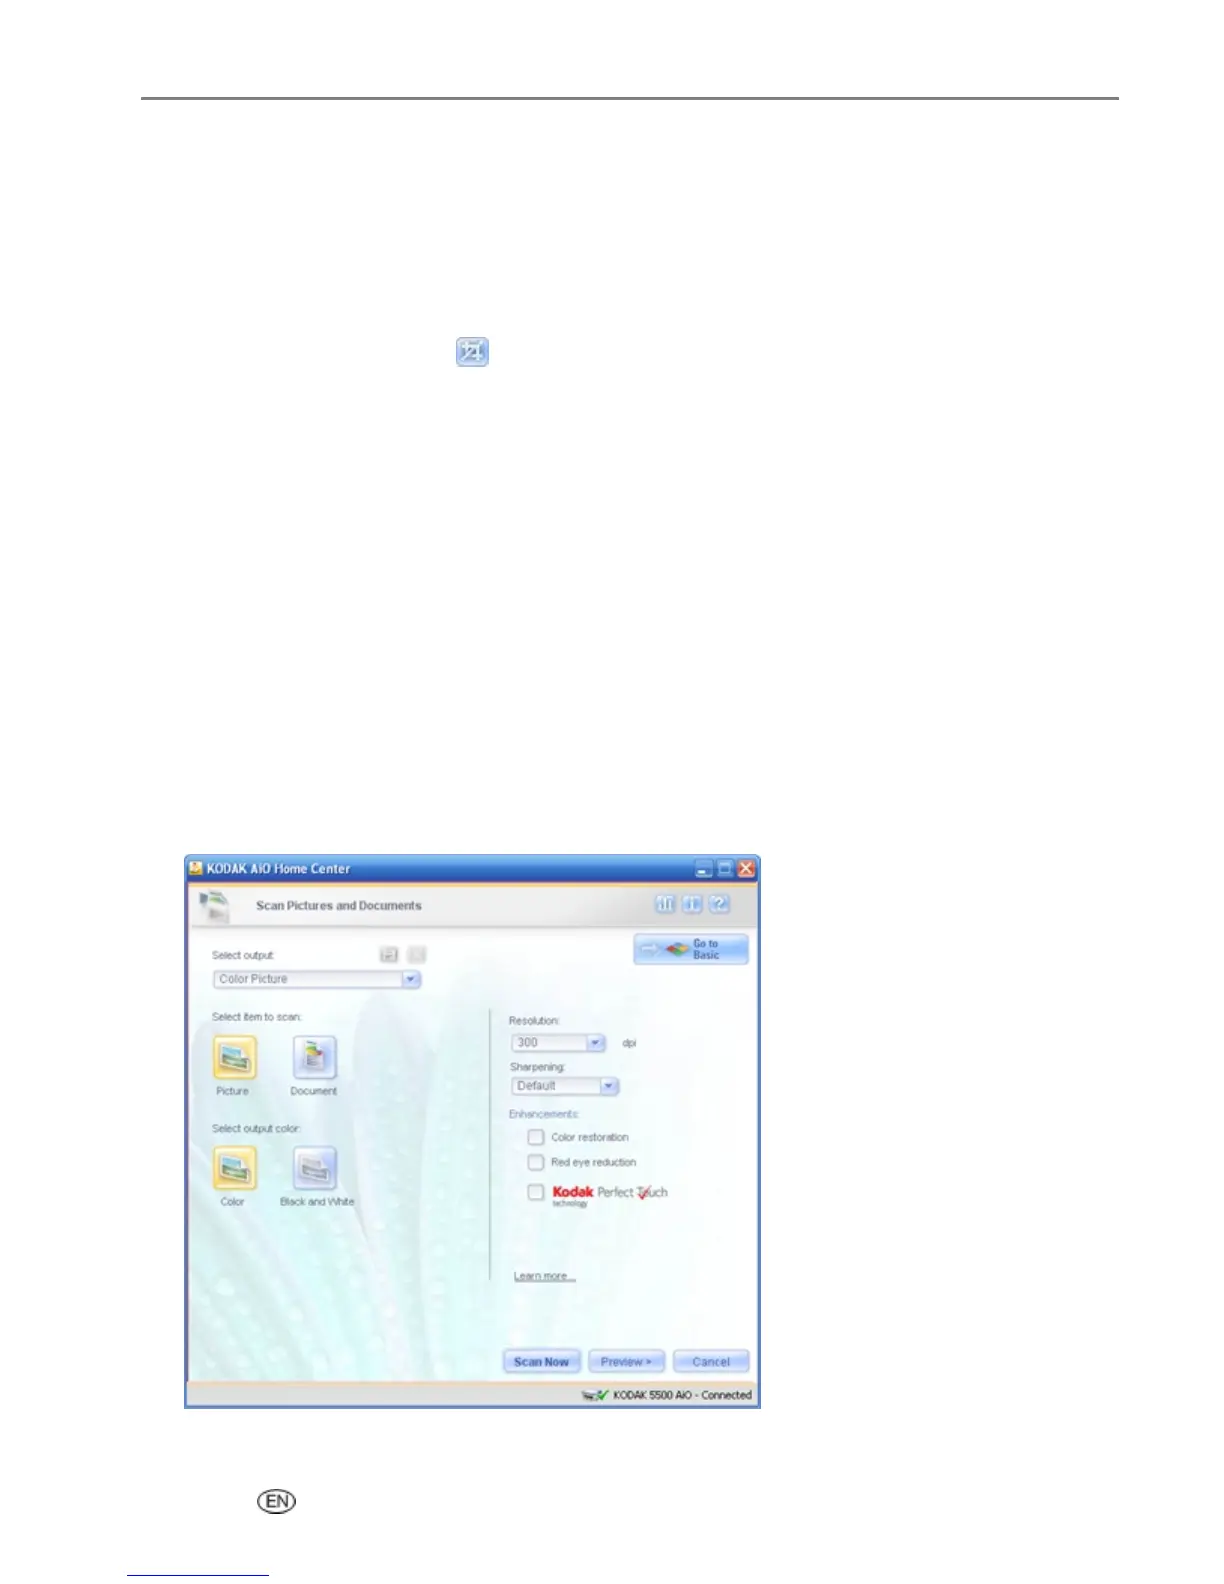
On the main Home Center window, click Scan Photos and Documents to open the Basic Scan
window.
3
Click Go to Advanced to open the Advanced Scan window.
4
Select Picture.
User’s Guide 85
 Loading...