EasyManuals Logo

Kodak EasyShare Printer Dock Plus User Manual

Kodak EasyShare Printer Dock Plus
66 pages
To Next Page IconTo Next Page
To Previous Page IconTo Previous Page
Page #9 background imageLoading...
Page #9 background image
Getting started
www.kodak.com/go/support
3
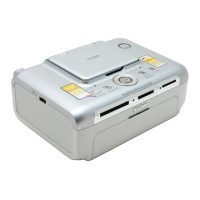
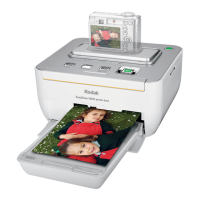
2 Install the custom camera insert included with
your camera:
a Place the rear tabs of the insert in the slots
toward the back of the printer dock.
b Press the front of the insert down and snap
into place.
Connecting the power
RISK OF ELECTRIC SHOCK:
Use only the AC power adapter included with your printer dock. Other adapters
or cords can damage your camera, printer dock, or computer.
1 Remove the camera from the printer dock.
2 Connect the AC power cord to the AC power
adapter, then to the back of the printer dock.
NOTE: The AC power cord included with your printer dock
may be different from the one shown.
3 Connect the AC power cord into a power
outlet.
Purchase an AC power cord and other
accessories at
www.kodak.com/go/accessories.

Table of Contents

Questions and Answers:

Question and Answer IconNeed help?

Do you have a question about the Kodak EasyShare Printer Dock Plus and is the answer not in the manual?

Kodak EasyShare Printer Dock Plus Specifications

General IconGeneral
Maximum resolution300 x 300 DPI
Time to first page (color, normal)75 s
Minimum RAM64 MB
Minimum processor233 MHz
Minimum storage drive space200 MB
Minimum system requirementsCD-ROM USB Mac: PowerPC MACINTOSH
I/O portsUSB
File typeJPEG/EXIF v2.2
Power requirements24V AC
Compatible operating systemsWINDOWS 98, 98SE, 2000, ME, XP OS MACINTOSH OS 10.2
Custom media sizes10 × 18 cm, 15 cm
Market positioningHome & office

Related product manuals