A-61550 February 2010 5-13
Replacing the pre-
separation pad
1. Remove the separator module as previously directed.
2. Locate the pre-separation pad on the separator module.
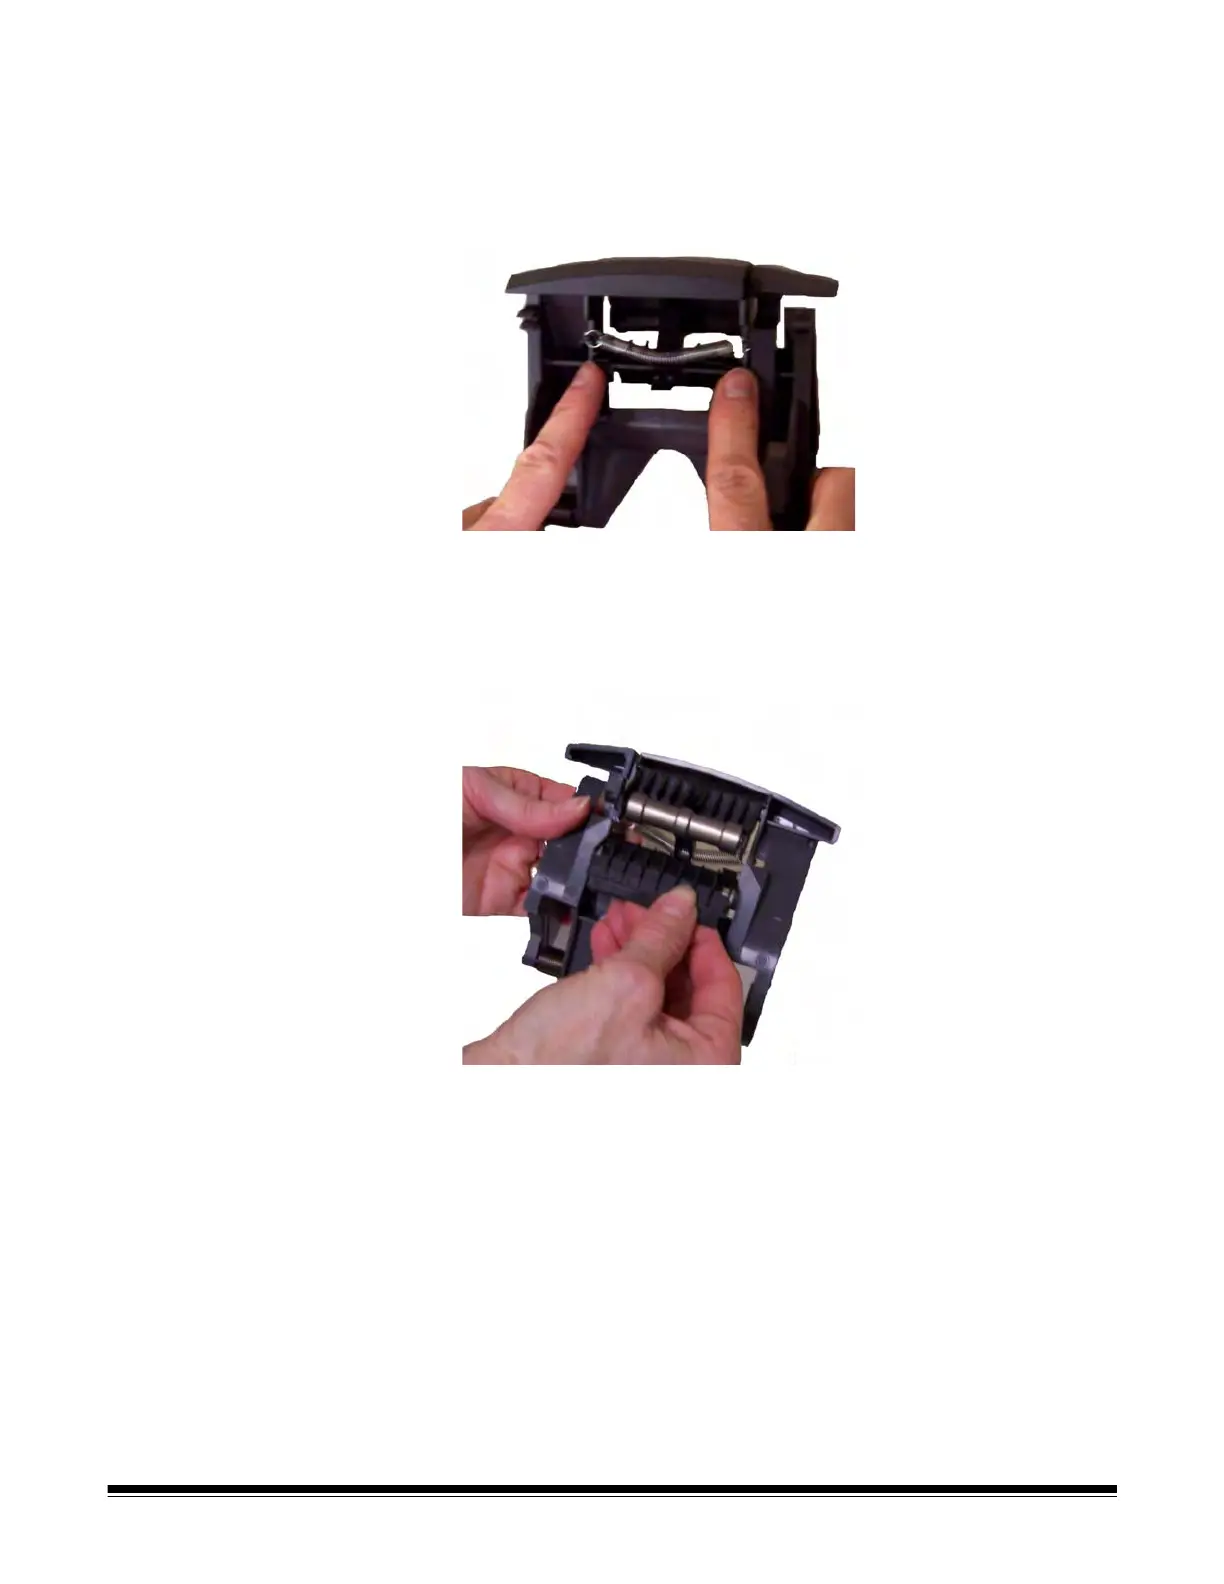
3. Hold the separator module in both hands and find the two pre-
separation pad side tabs which protrude slightly from the back of the
separator module.
4. Push on the pre-separation pad side tabs on the back until the pre-
separation pad protrudes slightly from the front of the separator
module.
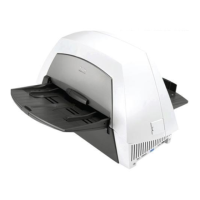
5. Grasp the pre-separation pad and pull it out of the separator
module.
6. Discard the worn pre-separation pad.
7. Align the side tabs of a new pre-separation pad with the slots on the
separator module.
8. Push the pre-separation pad firmly in the slots until the pre-
separation pad flap rests lightly against the separator module tires.
9. Reinstall the separator module.
10.Close the scanner cover with both hands; push it down firmly until it
latches into place.