J
jfritzSep 12, 2025
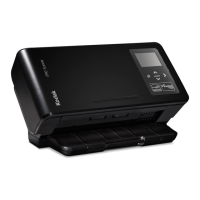
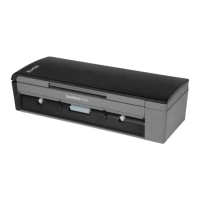
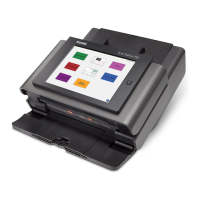
How to fix incorrect cropping on Kodak scanner?
- Ssamantha70Sep 12, 2025
If auto or aggressive cropping is enabled and your Kodak scanner images are not cropped correctly, clean the white background strips in the calibration area.