5 Fan the plain paper to be printed and then tap the paper
sheets so the ends are all the same.
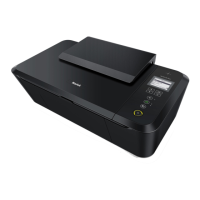
6 Insert the paper into the Top tray. You can load up to 60 plain
paper sheets (20 lb. or 75 g/m2). Slide the paper guide firmly
against the edge of the paper.
7 Paper loaded screen will be displayed in the Menu display.
Press to change the settings or press to use the
current settings.
»
Refer to “Paper Detection” on page 57.
Paper loaded
Did you load the
following paper?
Paper Size Leer
Paper Type Plain
No
OK Yes
8 If is selected, press to select Paper Size
and Paper Type, then follow the on-screen instructions to
configure.
Select Paper
Skip
Leer (Plain)
Leer (Glossy)
4x6 in. (Glossy)
other paper
OK
Select
Note(s)
●
By selecting [other paper], Paper Size and Paper Type can
be configured separately.
»
Refer to “Print settings” on page 34.
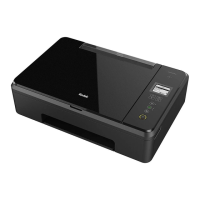
9 Open the paper exit tray and exit tray extender.
1
2
Pull out the Paper exit tray all the way
before opening the Exit tray extender.
Note(s)
Loading Photo paper
●
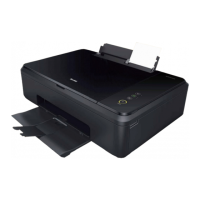
Insert the photo paper into the Photo tray. You can load up
to 10 sheets of photo paper (4 x 6 in.). Place the photo paper
with the non-printed side facing forward in the Photo tray.
Note(s)
●
Photo printing with the Photo tray takes precedence over
other printing with the Top tray. To print using Top tray,
please remove photo paper from the Photo tray.
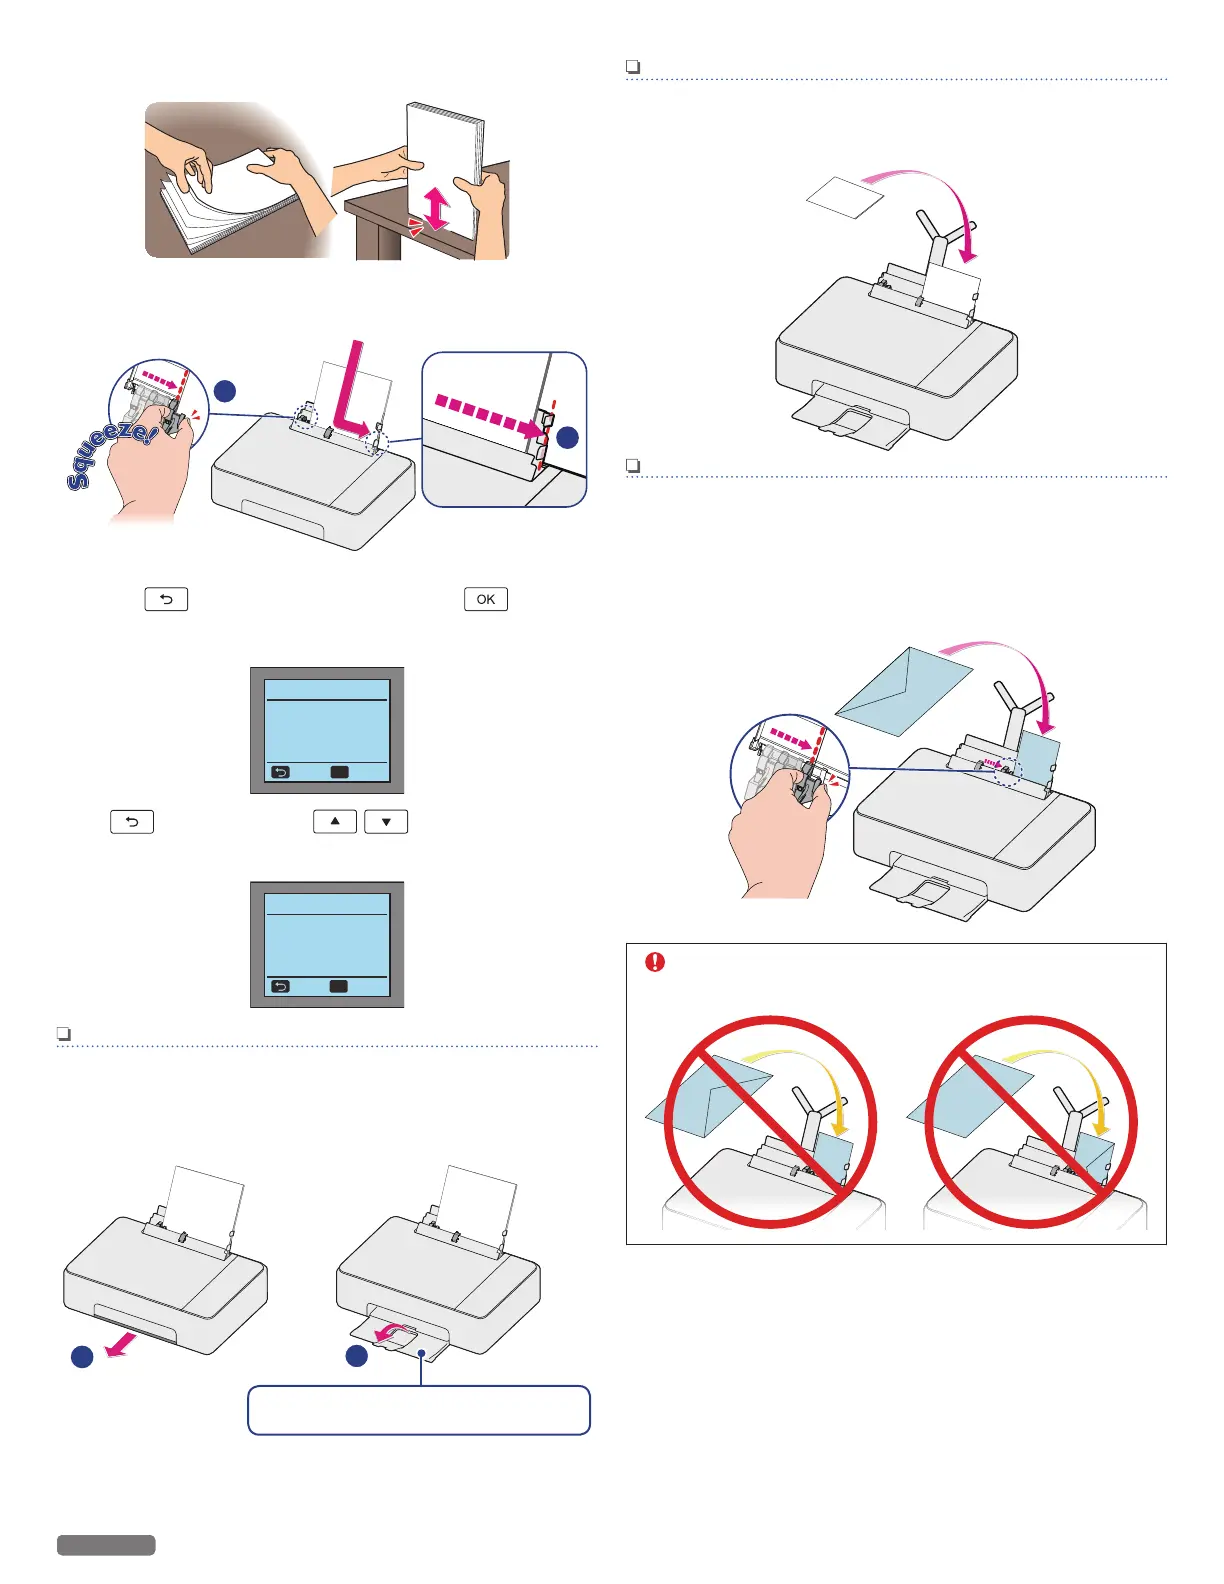
Loading Envelopes
●
Insert the envelopes into the Top tray. You can load up to 5
envelopes. Place the envelopes with the non-flap side
facing forward in the Top tray.
CAUTION
●
DO NOT reverse the direction when loading
envelopes.
31
English
Continued on next page.

 Loading...