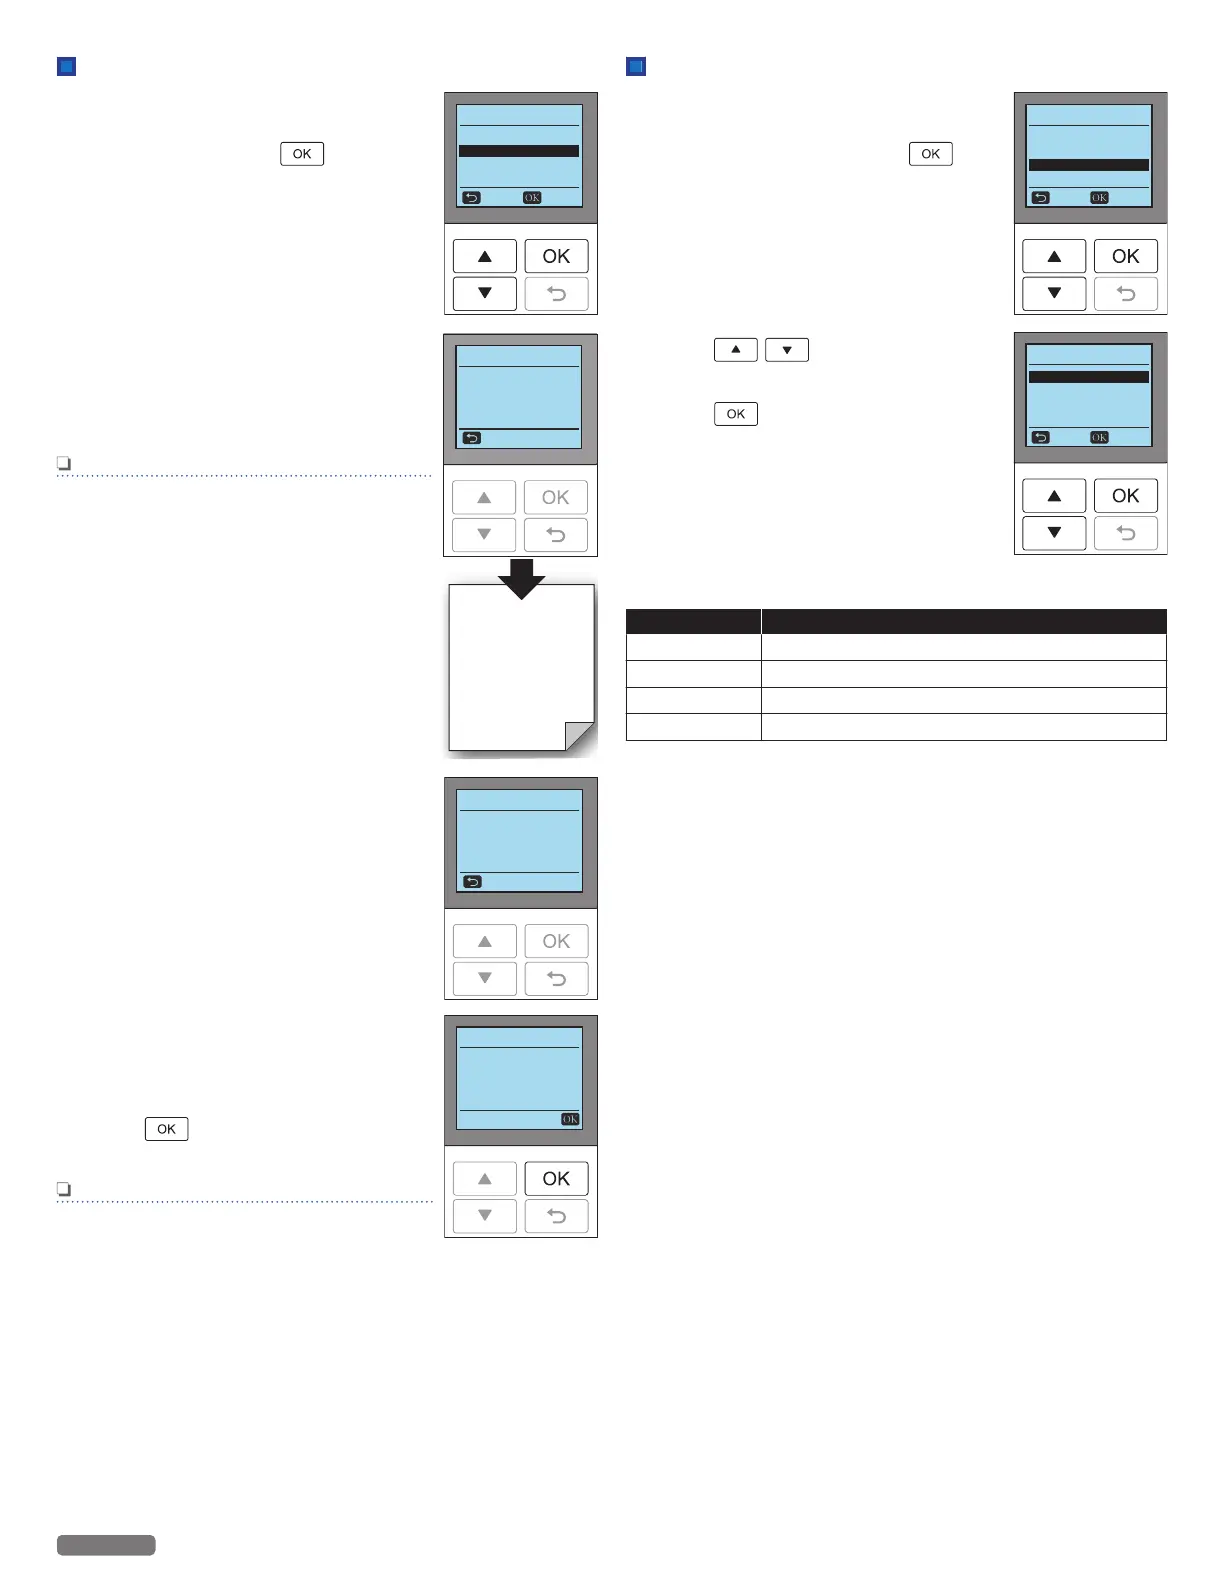
Register to Google Cloud Print™
1 From the Control panel, navigate to
[Home > Setup > Google Cloud Print >
Register], then press .
2 Registration will start and [Registering
printer with Google.] message will be
displayed on the screen. The unit will
print a registration URL for the Google
Cloud Print™ registration.
Note(s)
●
Load plain Letter or A4 -size paper.
3 Use your tablet/smartphone or PC to
access that registration URL within 14
minutes and follow its instructions.
4 The mail address you registered will
appear on the Menu display,
Registration to Google Cloud Print™ is
completed.
5 Press
to [Google Cloud Print]
screen.
Note(s)
●
Make sure you access the registration
URL within 14 minutes at Step 3. The
registration URL will be unavailable after
15 minutes.
Google Cloud Print
Status
Enable/Disable
Back Select
Register
GCP Registration
Registering printer
with Google.
Cancel
GCP Registration
Registration in progress
Waiting for
access to URL
Cancel
GCP Registration
Cloud Printer
Mail address
xxxxxxx x@gmail.com
VeriteC6-XXXX
Enable/Disable to Google Cloud Print™
1 From the Control panel, navigate to
[Home > Setup > Google Cloud Print >
Enable/Disable], then press .
2 Press
to set [Enable] or
[Disable].
3 Press to confirm.
Google Cloud Print
Status
Register
Back Select
Enable/Disable
GCP Enable/Disable
Disable
Cancel Select
Enable
The following table shows actions available in the Google Cloud
Print™ action.
Select Action Action
Register Register to Google Cloud Print™
Unregister Unregister from Google Cloud Print™
Enable Enable Google Cloud Print™
Disable Disable Google Cloud Print™
59
English
Continued on next page.

 Loading...