Created by Hotline Support
Konica Minolta Hotline Support (UK)
6
SCAN TO E-MAIL
1) Using Internet Explorer, type the IP address of the Konica Minolta machine into
the address bar and press Go
2) Click on Logout to logout of Public Mode. You will need to confirm you want to
logout.
3) Login to the Admin Mode by typing in the admin code of 12345678
4) Click on the orange Network tab
5) Click on E-mail Setting down the left hand side of the page
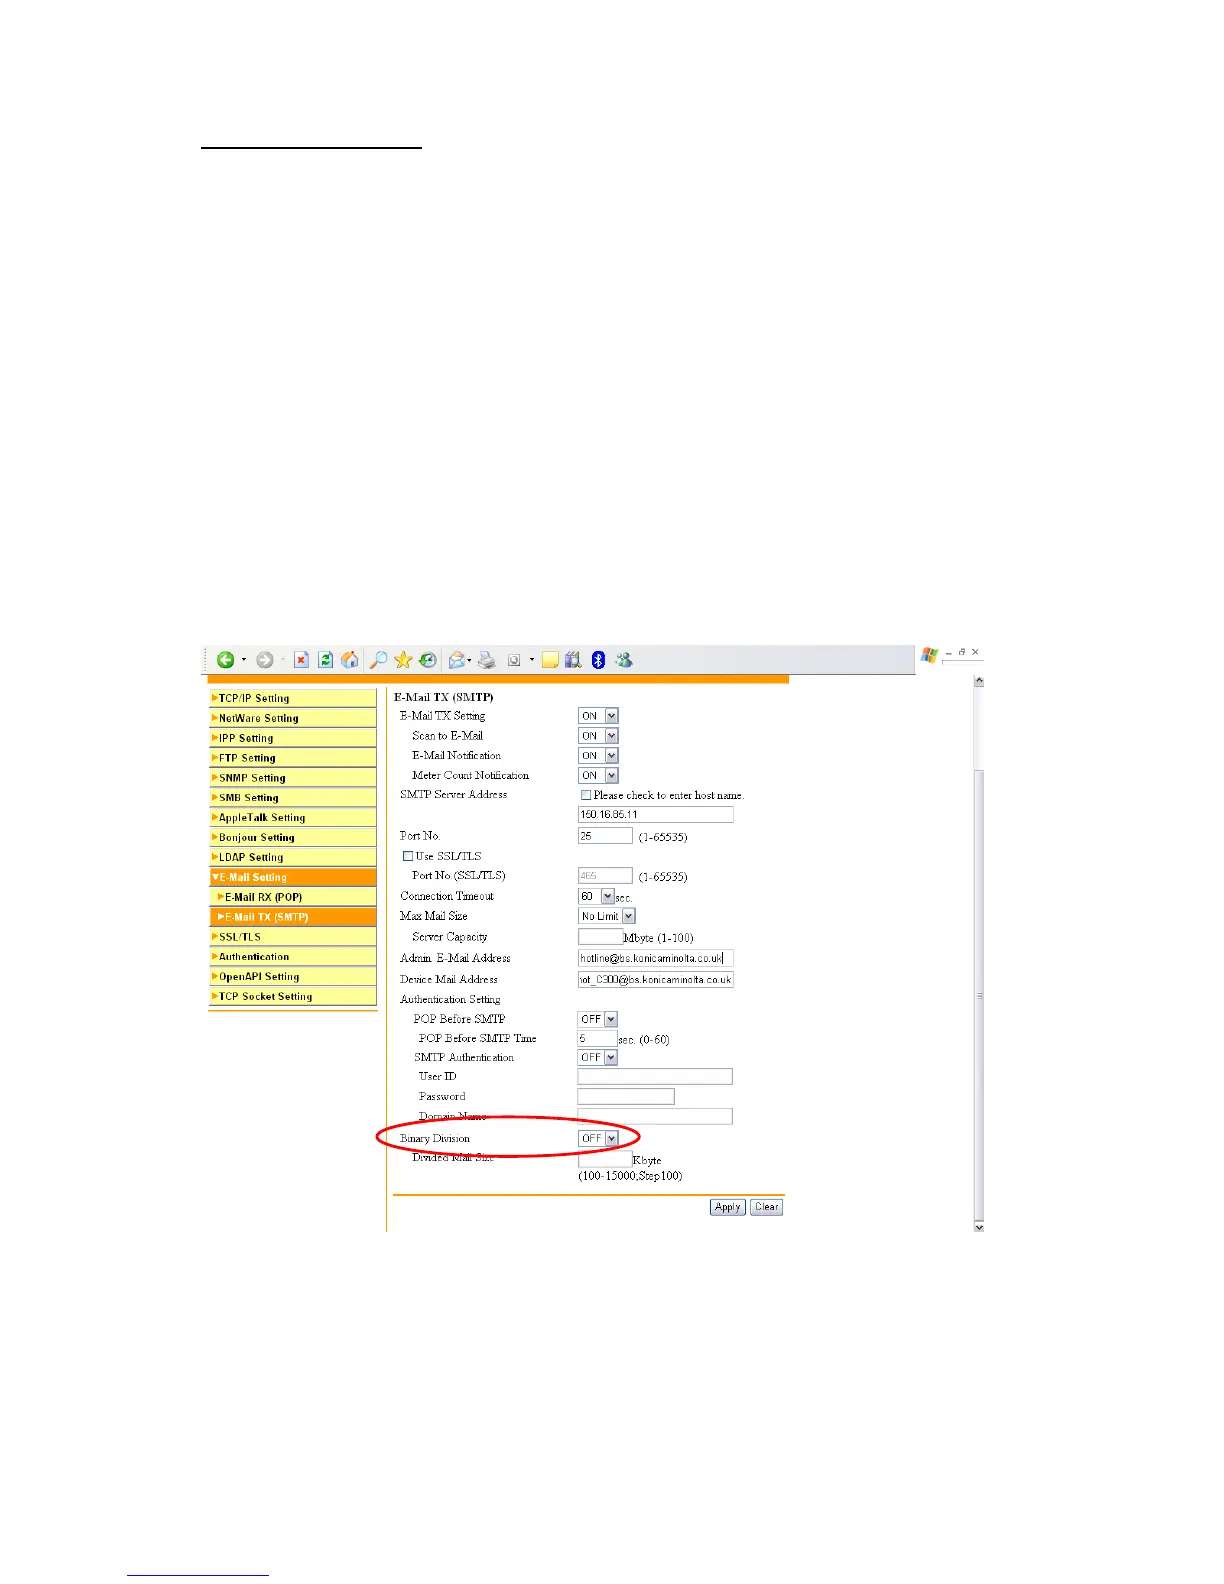
6) Click on E-mail TX (SMTP)
7) Ensure that ‘E-mail TX Setting’ and ‘Scan to E-mail’ are turned ‘ON’
8) Enter in the IP address or Host Name of the E-mail server
9) Enter an ‘Admin. Email Address’ & ‘Device Mail Address’. Neither of these
addresses need to be real.
10) If required, turn on ‘SMTP Authentication’ and enter a user name and
password of a user set up on the e-mail server. It is recommended that if you
need to use this setting, that a new e-mail account for the Konica Minolta device
is created on the e-mail server.
11) Binary division by default is turned off. If enabled, the machine will send
separate scanned images. For example, if you scan in a 10 page document, you
may end up receiving 10 separate e-mails or you may received a .dat file.
12) Click Apply and then OK
13) Log out of Administrator mode and confirm that you wish to log out
 Loading...