Shenzhen Anycubic Technology Co., Ltd.
20
should be changed by 1~3 step by step (default value =151) and then re-upload the
firmware. It is suggested to increase this value if the resulting model has a convex surface,
while decreasing this value if the resulting model has a concave surface.
Step 5. Extrusion output
Open „Printrun‟, and preheat the nozzle temperature to 190 degree C and set the extrusion
length as 100mm long. At the same time, mark the filament in order to see the actual
extrusion length. If the actual extrusion length is 100± 2mm then it is fine. If the actual
extrusion length is 80mm for example, then the corresponding parameter in firmware
should be modified. The default value of this parameter in firmware is 150, so if the actual
extrusion value is 80mm, this parameter should be changed into 150× (100/80)=187.5.
The corresponding code in firmware could be located by searching:
#define DEFAULT_AXIS_STEPS_PER_UNIT {XYZ_STEPS, XYZ_STEPS, XYZ_STEPS, 150}
where the 150 here is the length parameter.
4. Printing
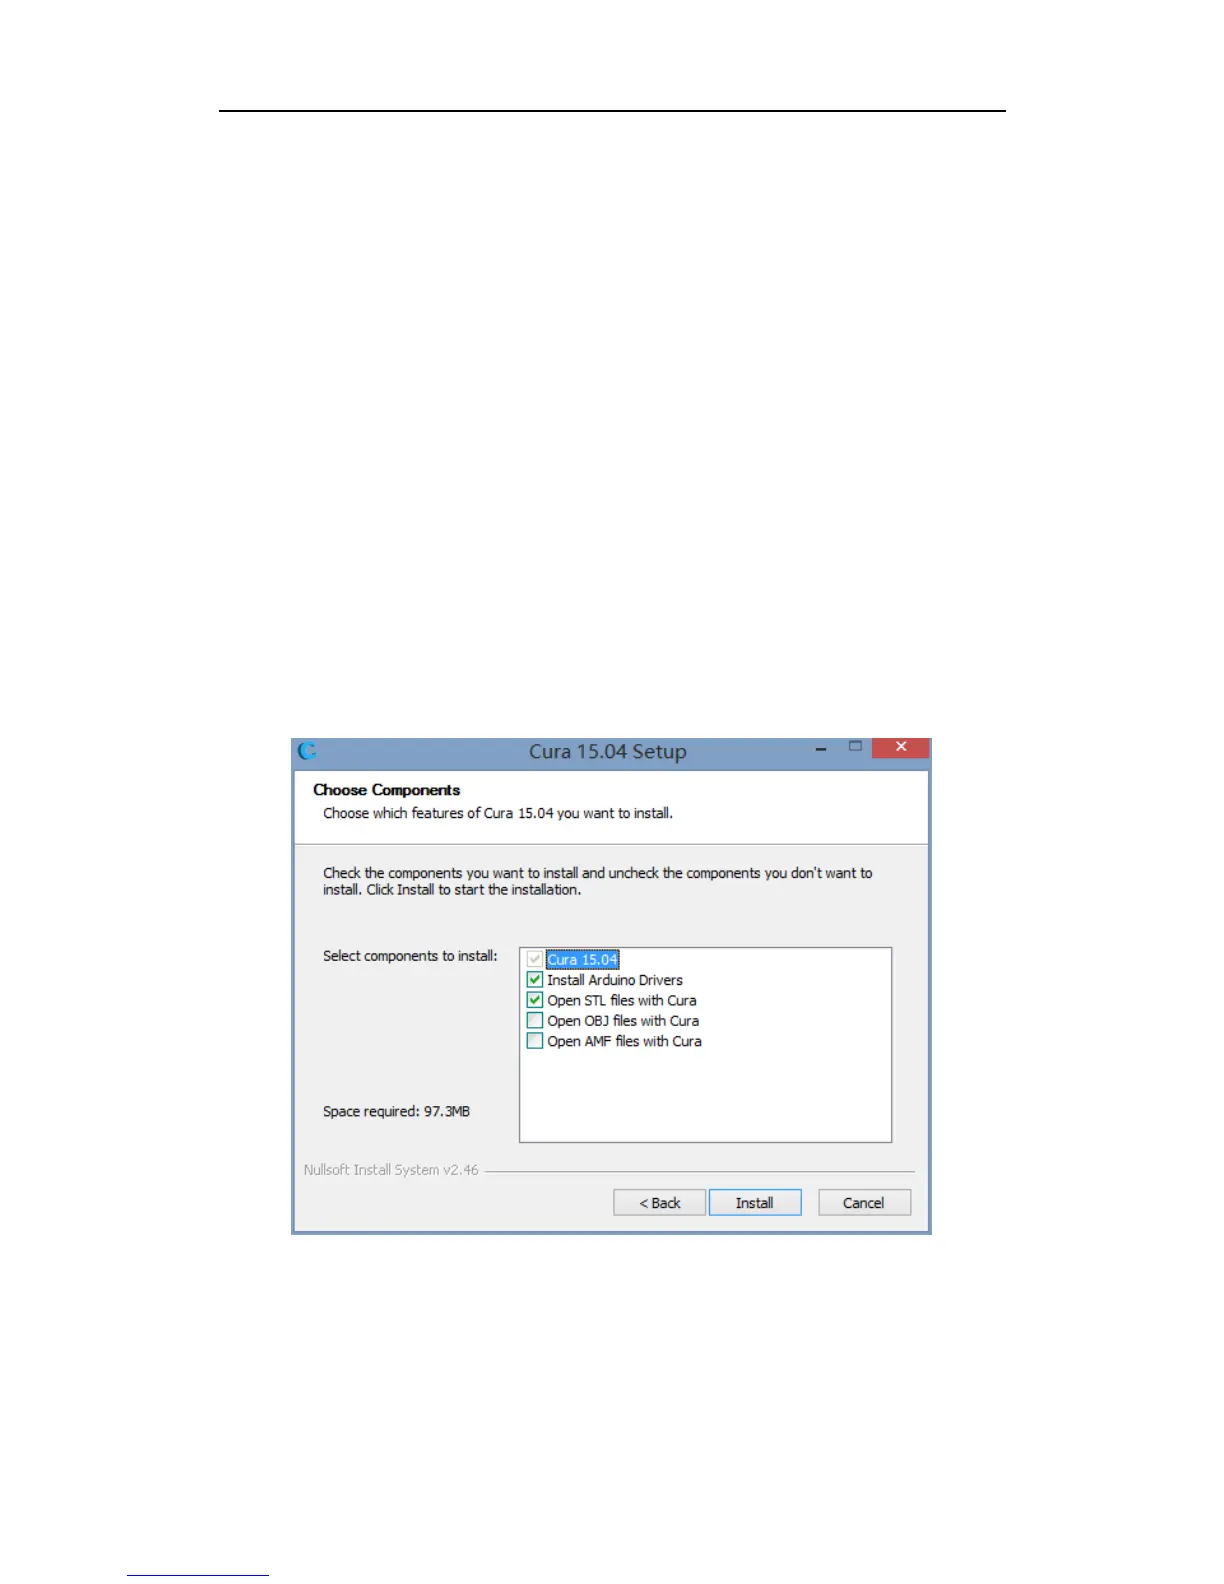
Step 1. Installation of the slicing software. Cura is used for example. Double click
„Cura_15.04‟ to proceed with the installation. When the dialogue appears you may tick all
the boxes as shown in Fig. 39.
Fig. 39
Step 2. Configuration. When finishing the installation and opening „Cura‟ for the first time,
a configuration dialogue would appear. Choose the „language‟ that suits you and click
„Next‟ if necessary. When come across „Select your machine‟, please choose „Other‟ and hit
„Next‟ and choose „DeltaBot‟ in the following dialogue, which is shown step by step in Fig.
40. Lastly, click „Finish‟ to complete the configuration and enter the home interface of Cura.