Connecting the VP-311DVI Automatic DVI / Audio Switcher
15
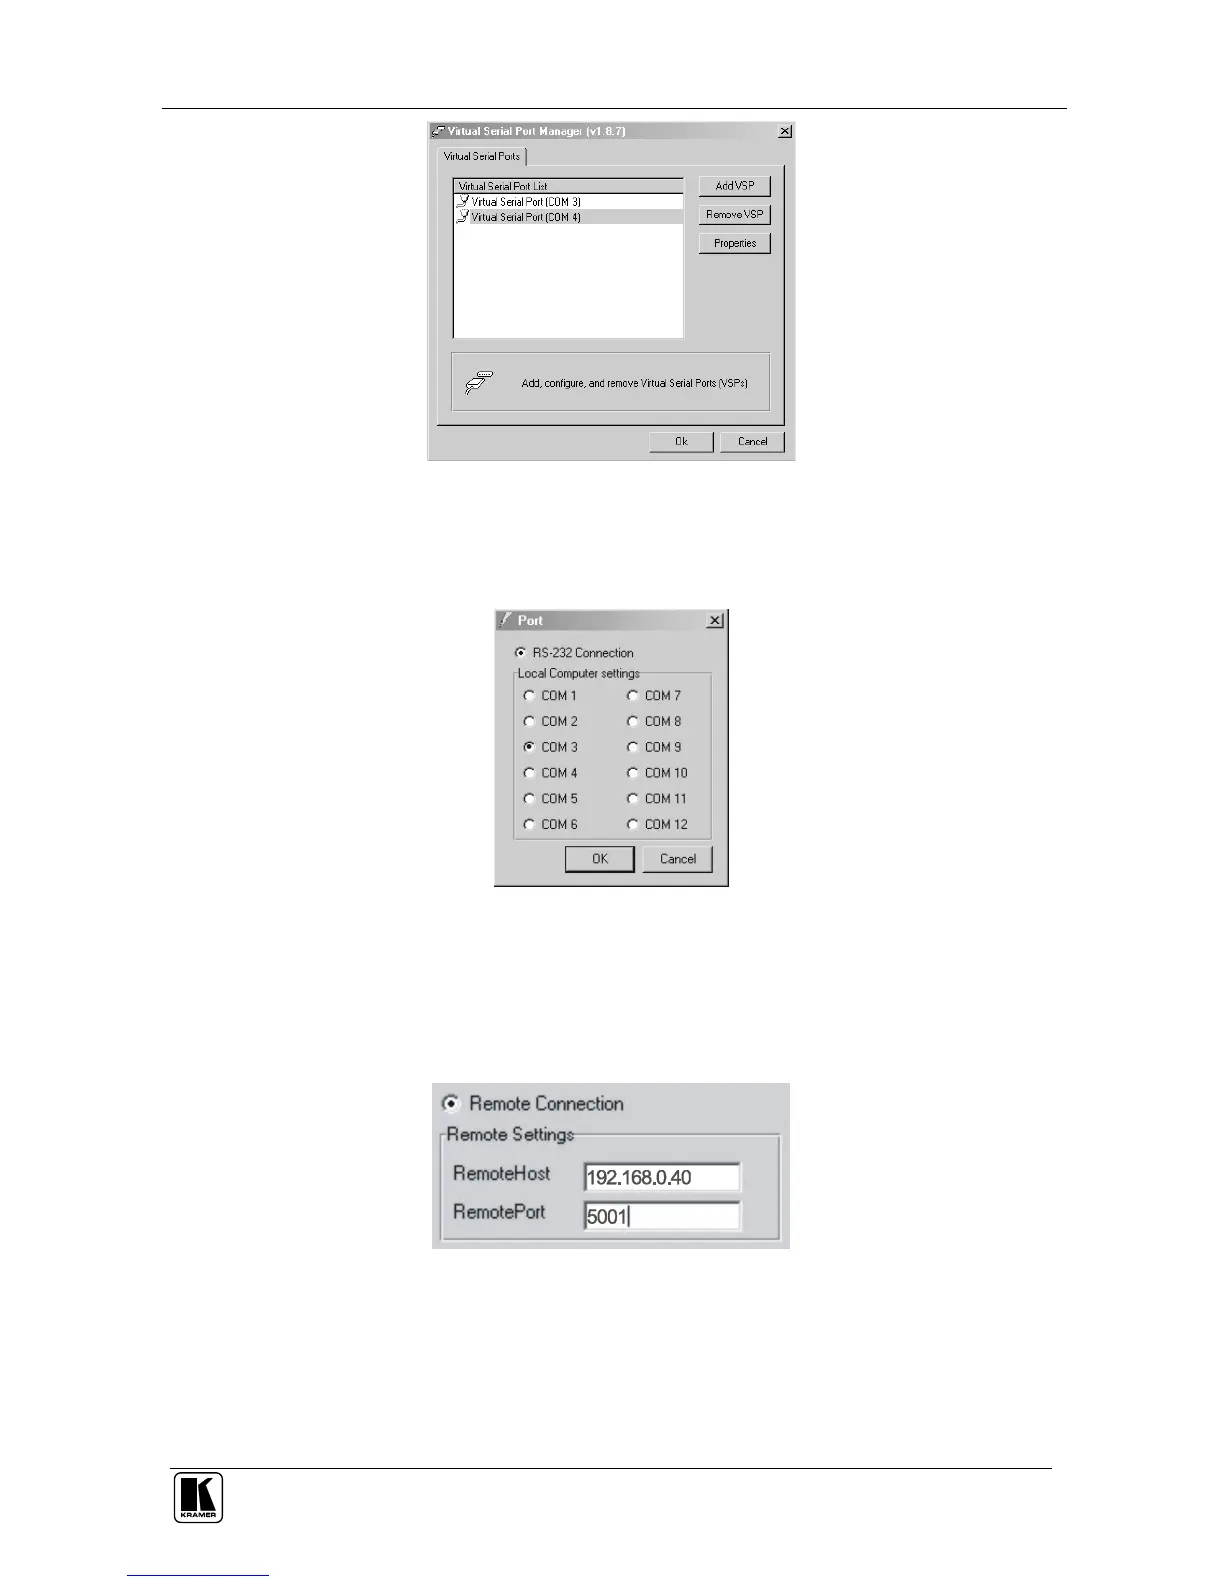
Figure 12: The Virtual Serial Port Properties Window (COM 3 and COM 4)
4. In the control application, choose the COM-port connection according to your
virtual serial port connections (see Figure 13).
Figure 13: The Port Window – Selecting a Virtual Serial Port
5.5.2 Setting an Ethernet Connection
If the control application can directly connect to the Ethernet driver, select the
host IP and port number, as illustrated in Figure 14.
Figure 14: The Port Window – Selecting a Remote Connection

 Loading...


