EasyManuals Logo

Kyocera ECOSYS FS-6525MFP User Manual

Kyocera ECOSYS FS-6525MFP
376 pages
To Next Page IconTo Next Page
To Previous Page IconTo Previous Page
Page #173 background imageLoading...
Page #173 background image
6-13
Sending > Preparation for Sending a Document to a PC
8
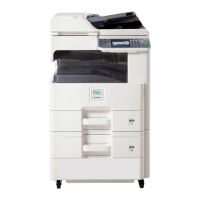
Make sure all checkboxes are selected.
9
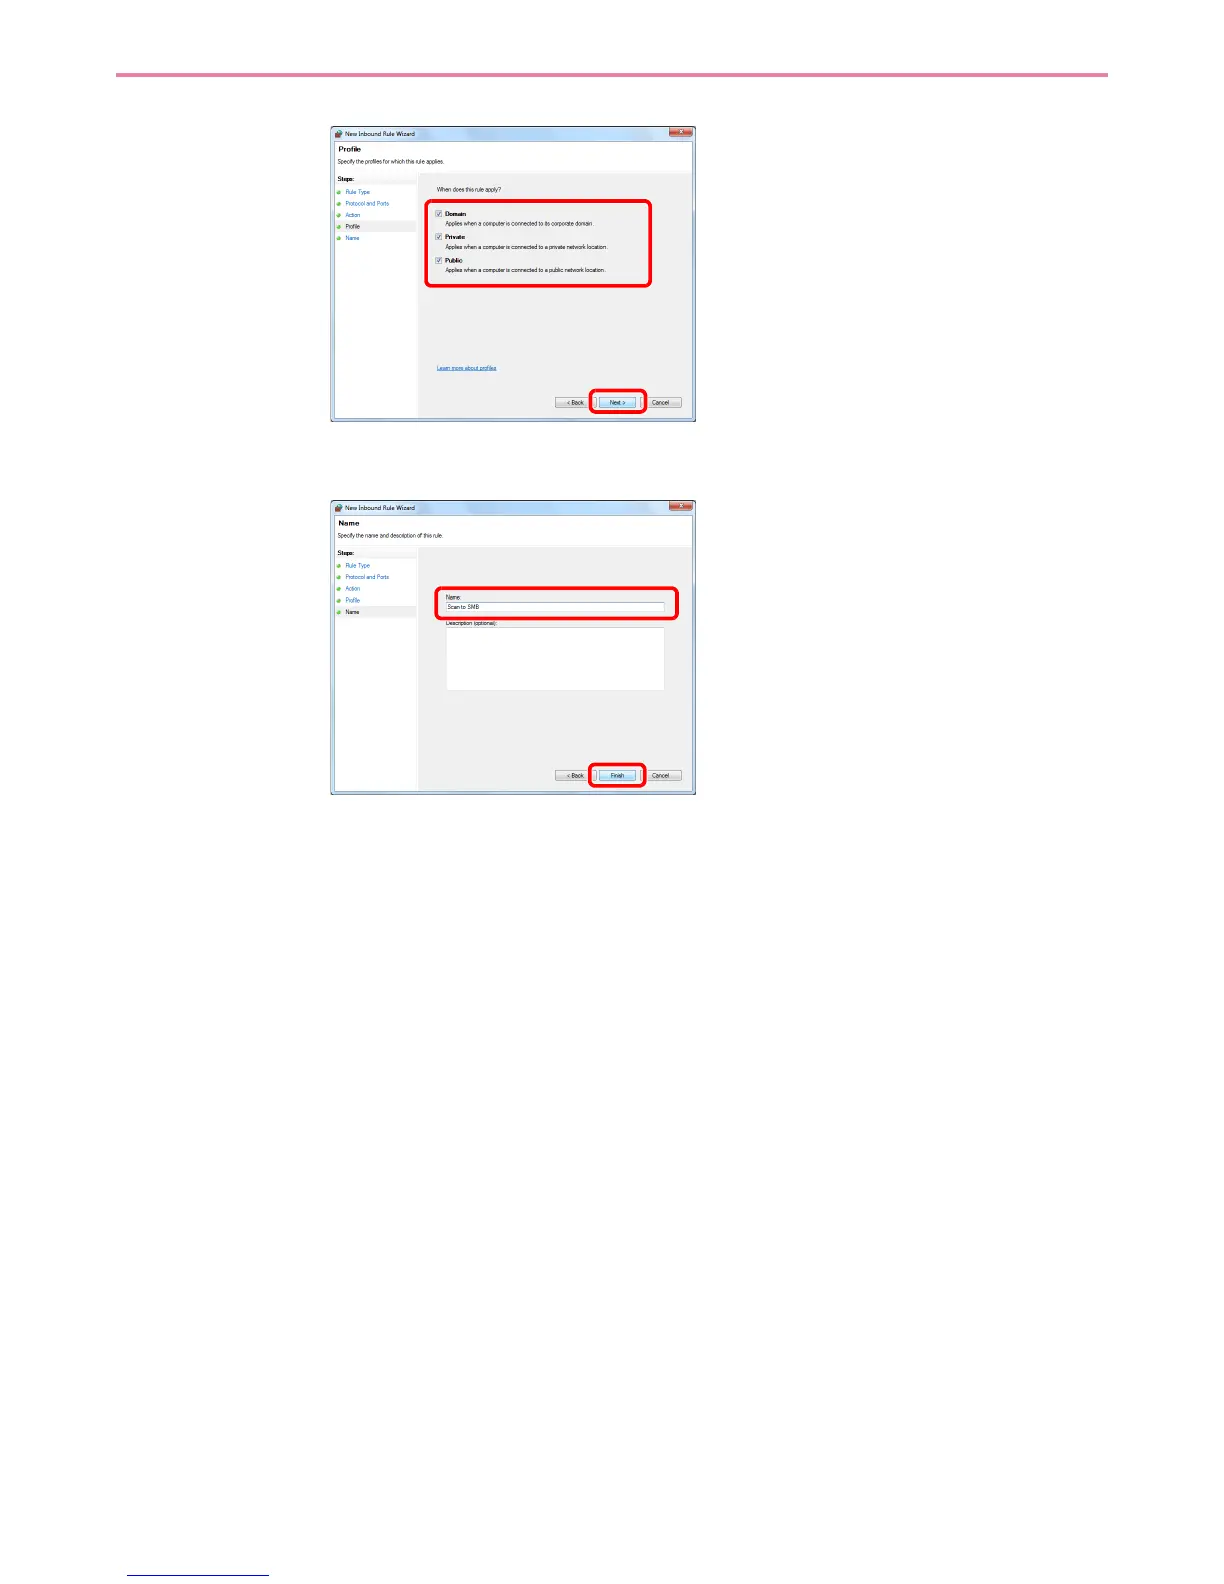
Enter "Scan to SMB" in "Name" and click Finish.
In Windows XP or Windows Vista
1 From the Start menu, select Control Panel, System and Security (or Security Center),
and then Check Firewall Status (or Windows Firewall).
If the User Account Control dialog box appears, click the Continue button.
2 Click the Exceptions tab and then the Add port... button.
3 Specify Add a Port settings.
Enter any name in "Name" (example: Scan to SMB). This will be the name of the new port.
Enter "139" in "Port Number". Select TCP for "Protocol".
4 Click the OK button to close the Add a Port dialog box.
1
2
1
2

Table of Contents

Other manuals for Kyocera ECOSYS FS-6525MFP

Questions and Answers:

Question and Answer IconNeed help?

Do you have a question about the Kyocera ECOSYS FS-6525MFP and is the answer not in the manual?

Kyocera ECOSYS FS-6525MFP Specifications

General IconGeneral
TypeMultifunction Printer
FunctionsPrint, Copy, Scan, Fax
Print TechnologyLaser
Max Paper SizeA4
Duplex PrintingYes
ConnectivityUSB 2.0, Ethernet
Scanner TypeFlatbed with ADF
ADF Capacity50 sheets
Copy Resolution600 x 600 dpi
Scan Resolution600 x 600 dpi
Fax Transmission Speed33.6 kbps
Print Speed25 ppm
Copy Speed25 cpm
Paper Capacity250 sheets
Operating System CompatibilityWindows, Mac, Linux
Print Resolution600 x 600 dpi

Related product manuals